


Colunas elevatórias modulares LG-12 com opções de controle remoto
Colunas elevatórias modulares LG-12 com opções de controle remoto
Modelo: LG-12-2RM-16-1300-HS-24


Não foi possível carregar a disponibilidade de coleta


Quantidade do conjunto de colunas
Crie e personalize seu conjunto de colunas elevatórias escolhendo até 4 colunas. Escolha entre uma configuração compacta de uma única coluna, uma configuração de duas colunas, como a mesa regulável em altura padrão, uma combinação de três colunas para alta capacidade de peso e superfície ampla ou um sistema de quatro colunas para capacidade de peso e tamanho máximos, capaz de atender a qualquer estação de trabalho. Selecionar o número de colunas desejado para um sistema ajudará a determinar quais caixas de controle serão mais adequadas para sincronização e posições de memória, e você pode finalizar a configuração adicionando o controle remoto de sua preferência.| Caixa de controle | Imagem do produto | Tensão de entrada | Número de colunas |
|---|---|---|---|
| FLTCON-1 |  |
110 VAC | 1 |
| FLTCON-2 |  |
110 VAC | 2 |
| FLTCON-2-24VDC |  |
24VDC | 2 |
| FLTCON-3 |  |
110 VAC | 3 |
| FLTCON-4 |  |
110 VAC | 4 |
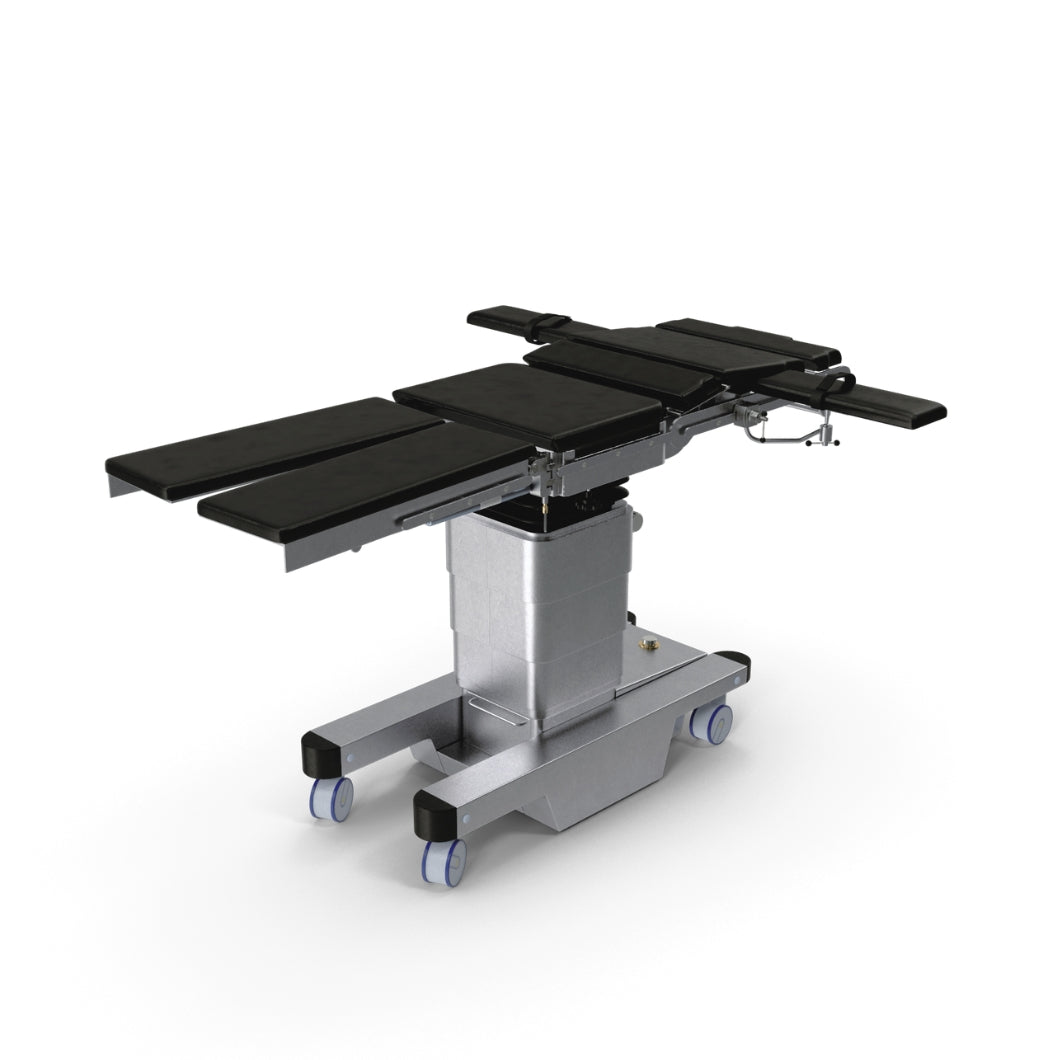
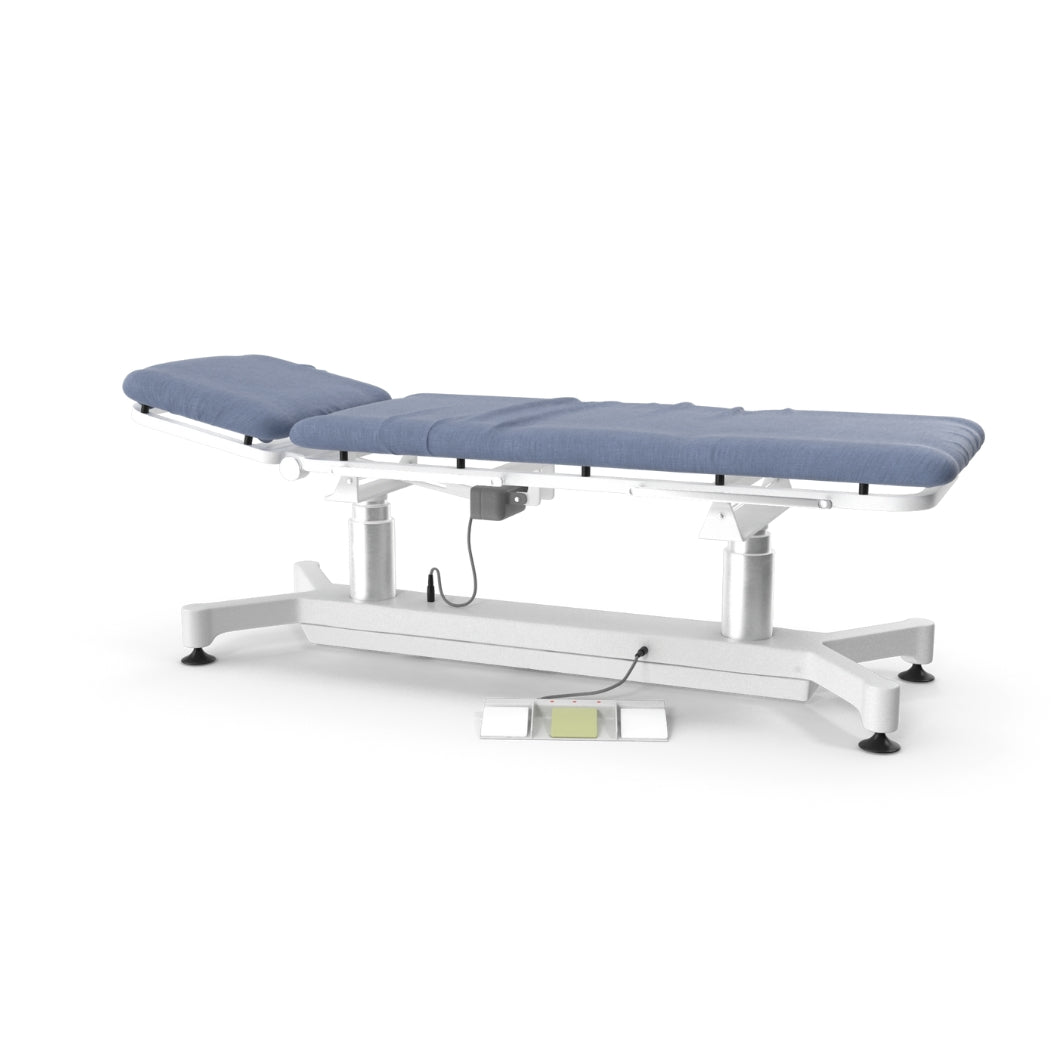
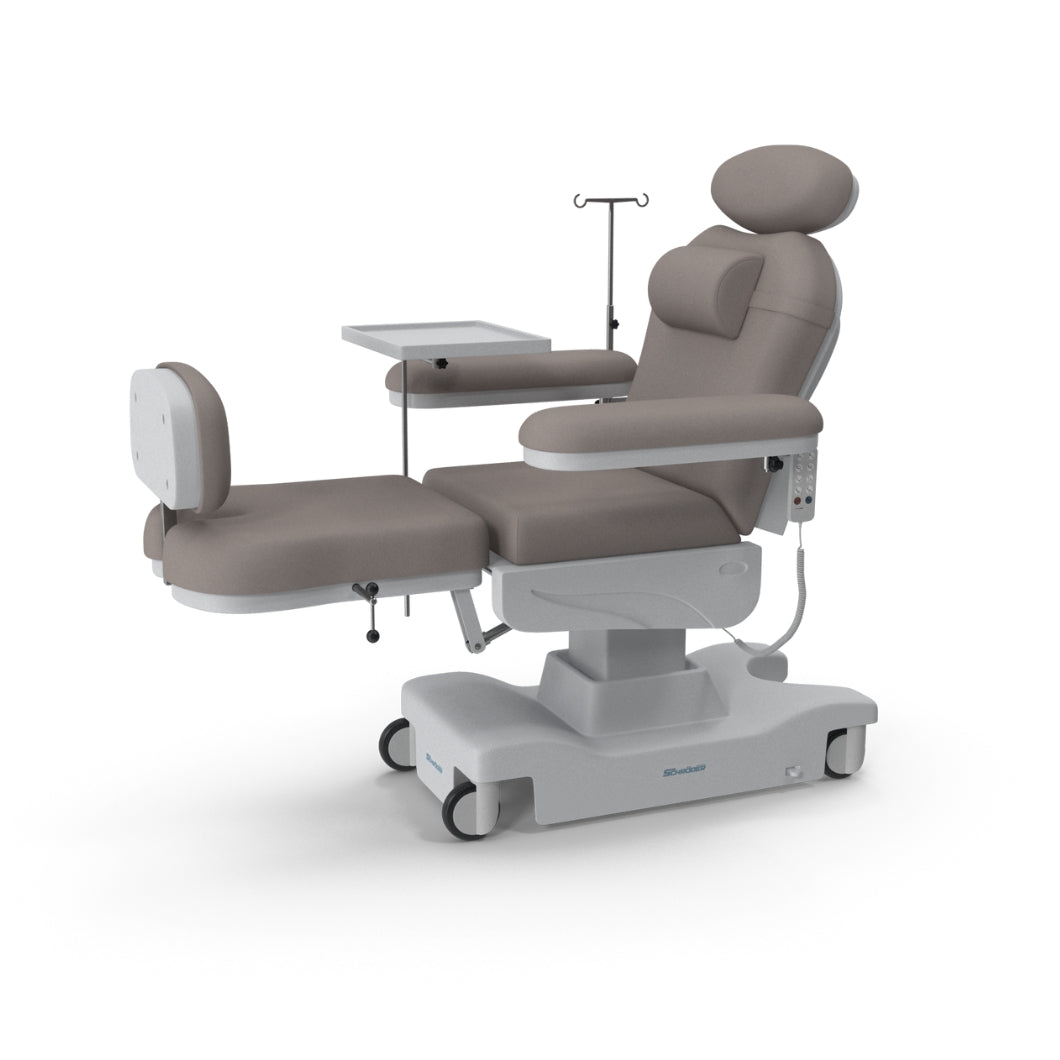
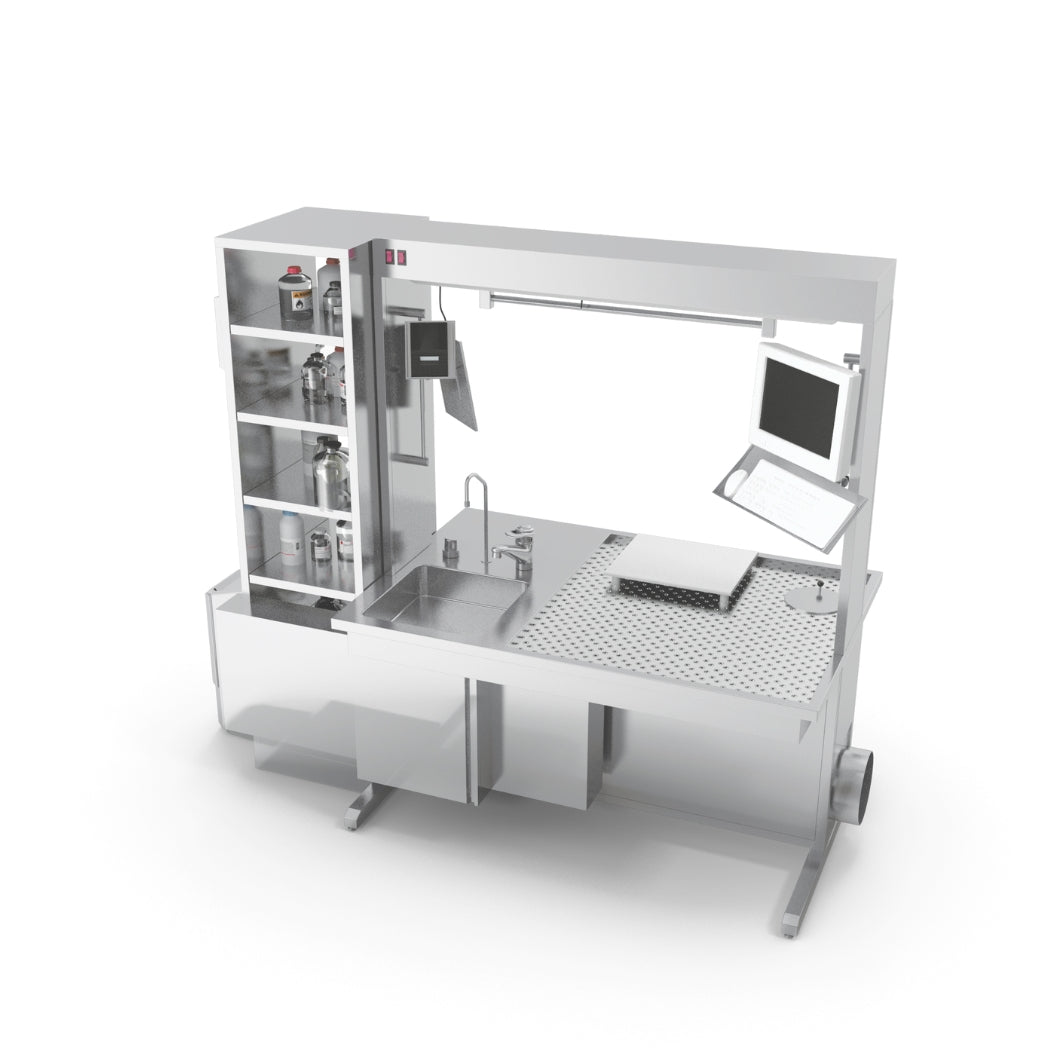
As LG-12-2RM-16-1300-HS-24 são colunas de elevação modulares de unidade única, que podem ser pareadas com nossos controles remotos e a série de caixas de controle FLTCON, capazes de gerenciar até 4 pernas em um único sistema de controle. Esta coluna é capaz de produzir até 1300 libras de força, permitindo configurações versáteis de colunas que podem lidar com uma variedade de diferentes arranjos.
Projetada com formato de coluna retangular, este modelo de 2 estágios também possui uma faixa de altura de 22,8" a 37,8". Selecione entre nossa ampla variedade de opções de controle remoto e aproveite todos os recursos exclusivos de nossos diferentes controles com fio programáveis, que podem ser usados junto com controles sem fio para maior conveniência. A instalação é um procedimento simples com a ajuda do nosso manual em PDF, que você pode encontrar aqui. Ele inclui informações técnicas importantes, como o procedimento de redefinição e como operá-lo, além de um diagrama de fiação.
Opções personalizadas
Procurando um atuador, mas as especificações não correspondem exatamente ao que você precisa? Temos uma extensa lista de capacidades de personalização para garantir que você obtenha exatamente o que precisa para o seu projeto. Baixe a ficha técnica deste produto e saiba mais sobre suas opções de personalização!
| Input Voltage | 24VDC |
| Travel Distance | 15.8" |
| Height Range | 22.4" to 38.2" |
| Lifting Capacity | 1300 lbs |
| Speed | 0.22 "/s |
| Lifting Mechanism | Electric Motor |
| Stages | 2 |
| Shape | Rectangular |
| Number of Remote Options | Various (with Progressive Automations Control Box) |
| Leveling | None |
| Material | Aluminum Alloy |
| Duty Cycle | 10% (2 minutes on, 18 minutes off) |
| Noise Level | <65dB from 1.5m |
| Protection Level | IP43 |
| Unit Weight | 20.2 lbs |
| Energy Saving Mode | More Info |
| Programmable Memory Presets | More Info |
| Charging Port | More Info |
Seguir um conjunto de padrões é crucial para que as empresas garantam que seus produtos e serviços alcancem um nível de qualidade que promova a satisfação do cliente. Na Progressive Automations, buscamos sempre o melhor para nossos clientes e nos esforçamos por melhorias contínuas. Por isso, temos o prazer de anunciar que a Progressive Automations agora é certificada pela ISO 9001:2015!
Qualidade em que você pode confiar – Saiba maisFichas técnicas
LG-12 Ficha técnica
Modelos 2D/3D