LG-11 modulaire hefkolommen met keuze uit afstandsbedieningen
LG-11 modulaire hefkolommen met keuze uit afstandsbedieningen
Model: LG-11-3SS-16-230-HS-24V-N


Ophaalbeschikbaarheid kon niet worden geladen.


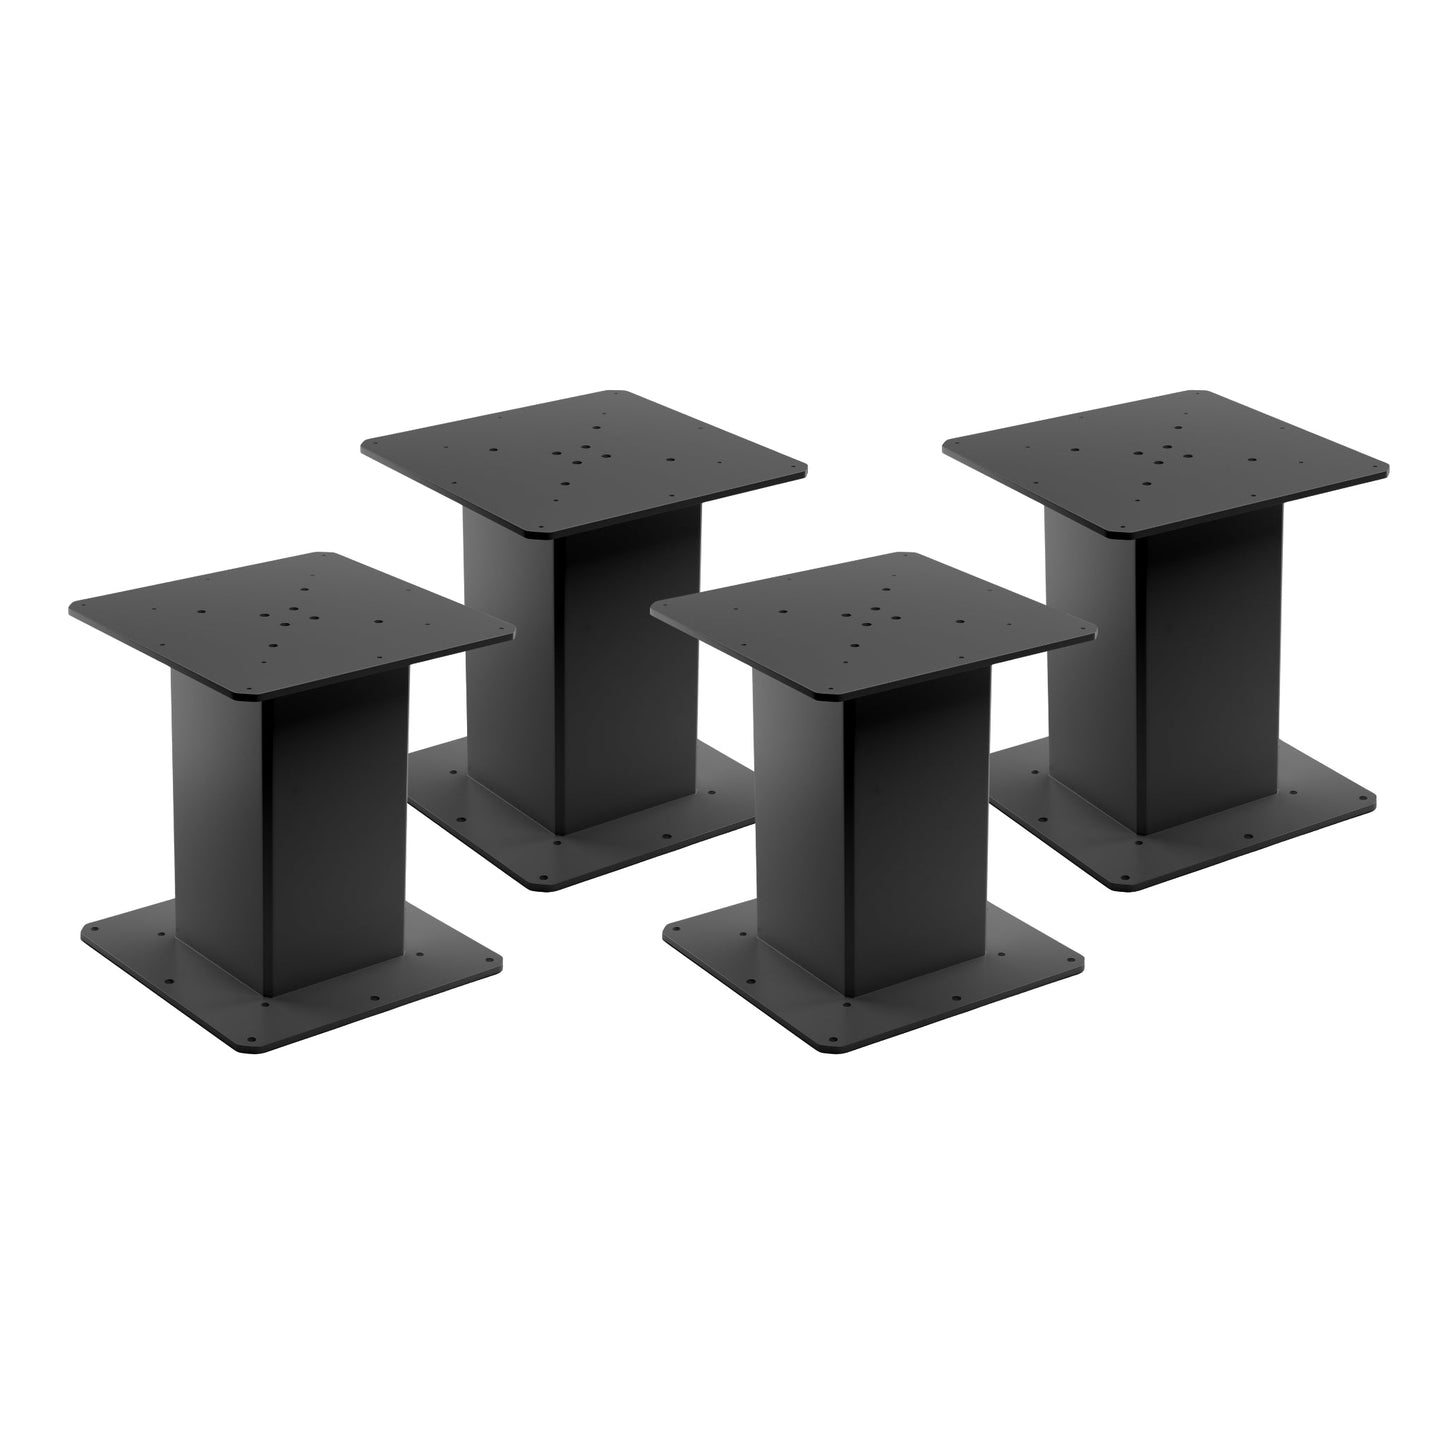
Aantal kolomsets
Stel en personaliseer uw hefkolomset door tot 4 kolommen te kiezen. Kies voor een compacte opstelling met één kolom, een configuratie met twee kolommen zoals bij een standaard zit-sta-bureau, een combinatie met drie kolommen voor hoog draagvermogen en een groot oppervlak, of een systeem met vier kolommen voor maximaal draagvermogen en formaat om elke werkplek aan te kunnen. Het kiezen van het gewenste aantal kolommen voor een systeem helpt te bepalen welke besturingskasten het meest geschikt zijn voor synchronisatie en geheugenposities, en u kunt de opstelling afronden door de afstandsbediening van uw keuze toe te voegen.| Besturingskast | Productafbeelding | Ingangsspanning | Aantal kolommen |
|---|---|---|---|
| FLTCON-1 |  |
110 VAC | 1 |
| FLTCON-2 |  |
110 VAC | 2 |
| FLTCON-2-24VDC |  |
24VDC | 2 |
| FLTCON-3 |  |
110 VAC | 3 |
| FLTCON-4 |  |
110 VAC | 4 |
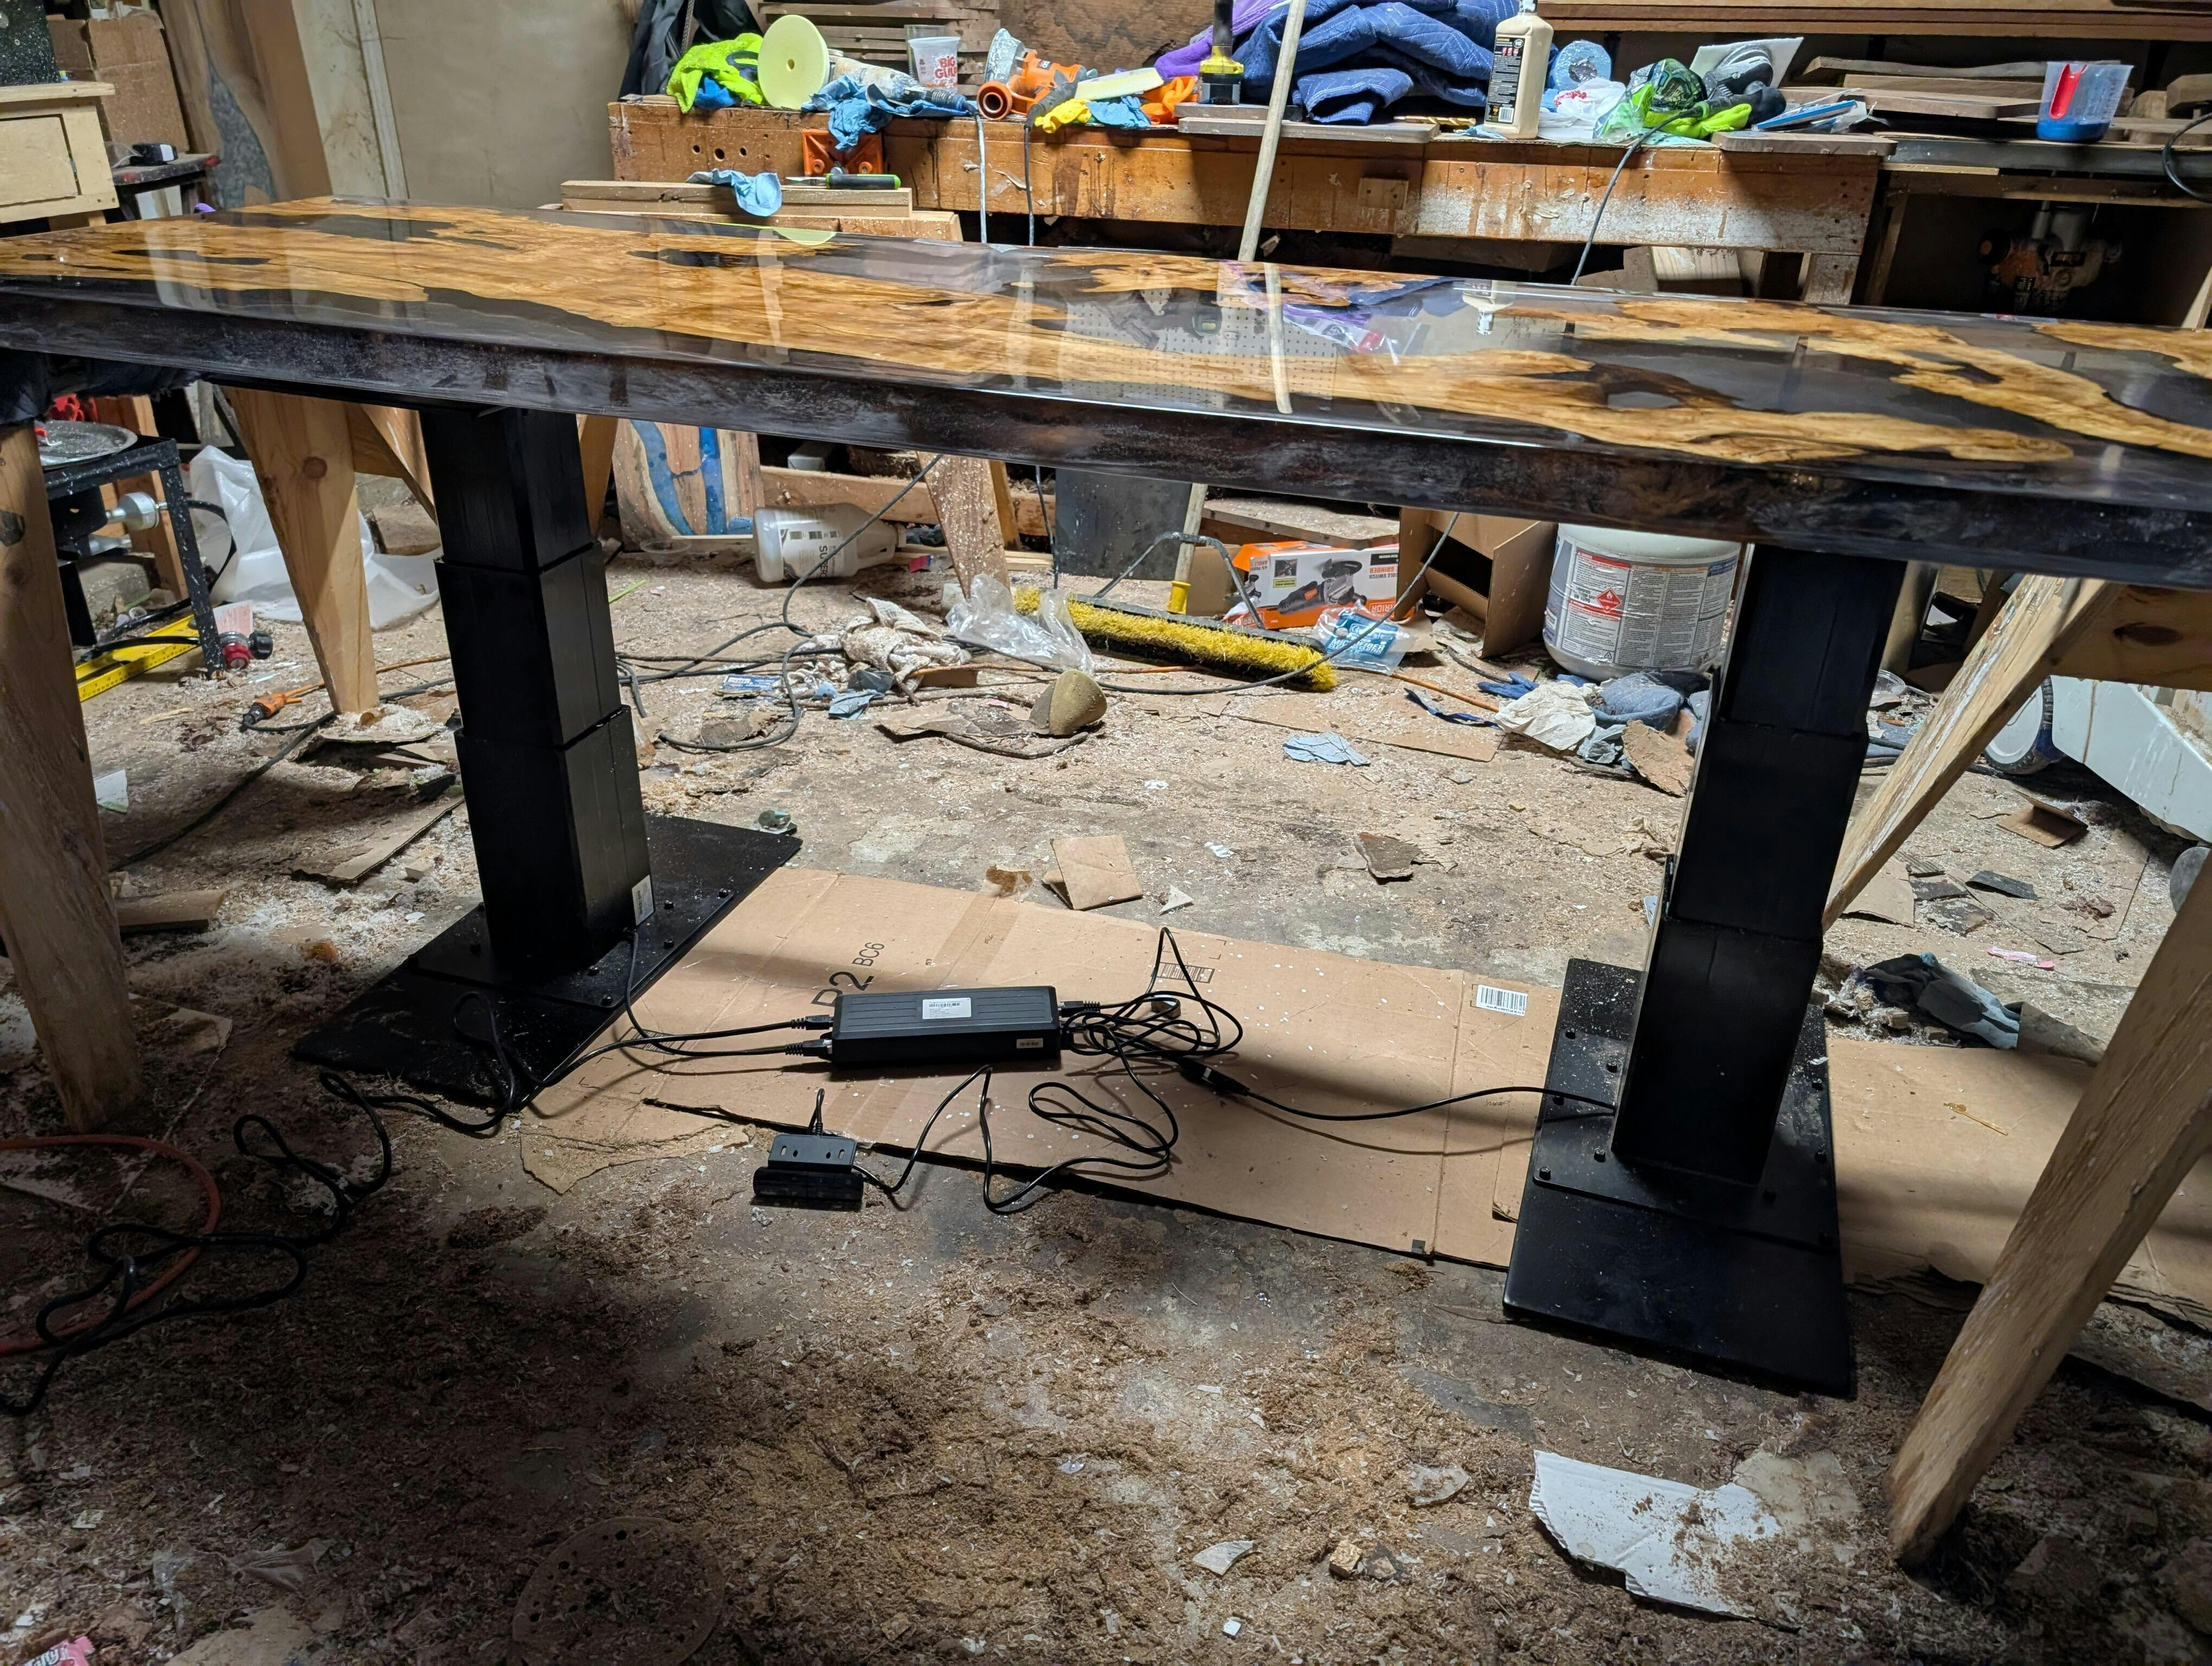
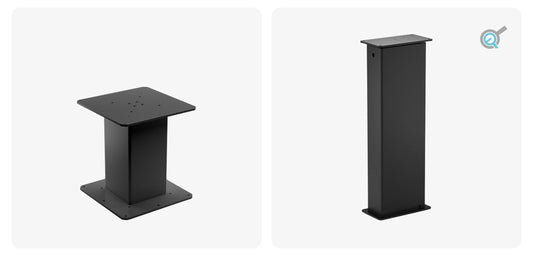
De LG-11-3SS-16-230-HS-24V is een modulaire hefkolom als losse eenheid die kan worden gecombineerd met onze afstandsbedieningen en de FLTCON-serie besturingsboxen, die tot 4 poten in één besturingssysteem kunnen aansturen. Deze kolom kan tot 230 lbs aan kracht leveren, waardoor aanpasbare configuraties mogelijk zijn die een verscheidenheid aan persoonlijke opstellingen aankunnen.
Ontworpen met een vierkant kolomprofiel, heeft dit 3-traps model ook een hoogtebereik van 12.4" tot 28.9". Kies uit ons brede aanbod aan afstandsbedieningsopties en profiteer van alle unieke functies van onze verschillende programmeerbare bedrade afstandsbedieningen, die samen met draadloze afstandsbedieningen kunnen worden gebruikt voor extra gemak. Installatie is een eenvoudige procedure met behulp van onze instructieve PDF-handleiding, die u hier kunt vinden.
Aangepaste opties
Op zoek naar een actuator, maar komen de specificaties niet precies overeen met wat u nodig hebt? We hebben een uitgebreide lijst met aanpassingsmogelijkheden om ervoor te zorgen dat u precies krijgt wat u voor uw project nodig hebt. Download de datasheet van dit product en ontdek meer over uw maatwerkopties!
| Ingangsspanning | 24 VDC |
| Reisafstand | 16.5" |
| Hoogtebereik | 12.4" tot 28.9" |
| Hefvermogen | 230 lb |
| Snelheid | 0.55 "/s |
| Draadlengte | 17” |
| Hefmechanisme | Geborstelde gelijkstroommotor |
| Etappes | 3 |
| Vorm | Vierkant |
| Kleur | Zilver, Zwart |
| Aantal opties op afstand | Divers (met Progressive Automations Control Box) |
| Materiaal | Aluminiumlegering |
| Inschakelduur | 10% (2 minuten aan, 18 minuten uit) |
| Geluidsniveau | <55dB vanaf 1.5m |
| Beschermingsniveau | IP54 |
| Eenheidsgewicht | 32 lb |
| Energiebesparende modus | Meer info |
| Programmeerbare geheugenvoorinstellingen | Meer info |
| Oplaadpoort | Meer info |
Het volgen van een reeks normen is cruciaal voor bedrijven om ervoor te zorgen dat hun producten en diensten een kwaliteitsniveau behalen dat klanttevredenheid bevordert. Bij Progressive Automations gaan we voor niets minder dan het beste voor onze klanten en streven we naar voortdurende verbeteringen. Daarom zijn we verheugd aan te kondigen dat Progressive Automations nu ISO 9001:2015‑gecertificeerd is!
Kwaliteit waarop u kunt vertrouwen – Meer informatieGegevensbladen
LG-11 Datasheet
2D/3D-modellen

LG-11 3D-modellen
Maak kennis met onze nieuwe modulaire hefzuilen LG-11 en LG-13
Diverse toepassingen die een aandrijfsysteem voor lineaire beweging nodig hebben, maken gebruik v...