


Nowadays, almost any robotics enthusiast can build an automated robot arm. While robotic solutions for manufacturing, medicine, and scientific work are better left to professionals, something small to impress your friends can be constructed by available means. Want to find out how to create a simple robot arm based on the Arduino microcontroller and servomotors? Read on!

Technology meaning
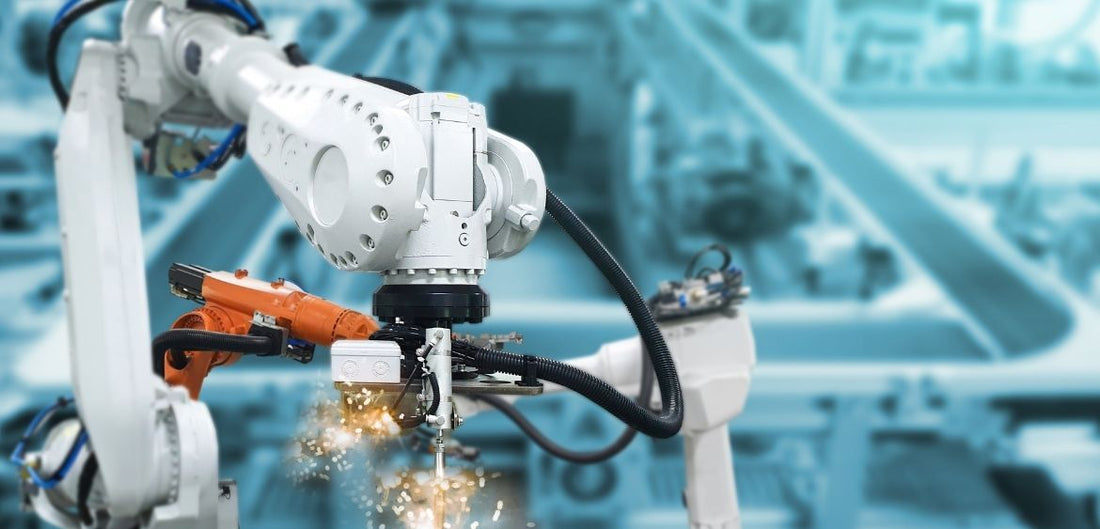
A robotic arm is an automated mechanical device controlled via special software installed on the dedicated microcontroller. It can be either a standalone device or an element of a human-like robot. The work of such a device depends on the motion of joints – each can have from one to three degrees of freedom. For instance, separate joints can move both in a linear direction in relation to an arm base and in rotational.
Reasons for automating
Robotic arms can be created for handling tasks a human arm would have trouble doing on their own. It can hold and put together separate details, weld, reach hard to access areas, etc. Generally speaking, the main goal of such devices in robotics, which scientists and inventors have been achieving for quite some years is to imitate human arm motion as precisely as possible.
Who gets benefits?
An automated industrial robot arm can be very useful in human labor among other things. The most obvious advantages it brings are:
- High speed and precise movements;
- Low energy consumption and high reliability;
- Ability to perform for extended periods of time without stopping;
- Ability to perform in hazardous conditions, with hazardous materials;
- Decreased human factor influence and injury rate.
How to automate a robotic arm guide
We will tell you how to create and automate a robot arm below. For starters, let’s define the type of the device we are going to be working on.
Types of the robot’s arm
Currently, there exists the following classification for robotic arms:
- Cartesian: This type is based on the motion of three joints in accordance with the Cartesian reference system. It can grip and hold details and is mostly used in manufacturing and medicine for welding and cutting objects with microscopic preciseness;.
- Cylindrical: Arms of this type are employed for the construction of details. They are based on the cylindrical coordinates system.
- Polar: These devices based on the polar coordinates system are mostly used for welding.
- SCARA: These feature two hinge joints that enable rotational movements. They are most efficient in the building of complex constructions.
- Articulated: These devices have at least three joints set into motion by rotating hinge joints. They have quite a wide range of use, but mostly concern manufacture.
- Parallel: Parallel robot arms can do both rotational movements and linear movements. Currently, it is one of the most advanced automated construction device types.
- Anthropomorphic: The last but most exciting type of automated robotic arms – it is almost identical in construction and action to a real human arm.
Preparing Hardware and Software
Let’s find out which components you’ll need to personally construct and automate a robot’s arm. In particular, we suggest using the following components:
- 4 Tower Pro 9g servo-motors;
- 3D printed arm details (the blueprint is in the picture above);
- Screws and bolts;
- Arduino Uno microcontroller;
- Sensor Shield V5 (for attaching servos to details).
Now, a couple of words about the preparation to the creation of details. You can take ordinary plexiglass – it wouldn’t hurt the end quality of the device a bit. However, 3D printing isn’t that expensive nowadays and, frankly speaking, we’d recommend saving your hands from the damage from cutting details manually. Details in our sample were modeled via SketchUp.

Then, the file was exported to. Still with the help of an extension and sent into print. Notice that during the modeling process, it’s very important to define exact dimensions and locations of apertures for bolts that would hold the mechanism together. Otherwise, you will have to make additional apertures and even reprint some details anew. As to software for controlling servo drives – you can use the standard Servo library. We’d like to notice that default Servo library features set motions that are too ‘sharp’ and sudden. Moreover, each motor moves by default, only when the rest of the three motors are still. This discovery has been a pretty significant downside for many engineers. That’s exactly why it’s best to write custom features for each motor – fortunately, it isn’t that difficult to do. The general algorithm of motor movements looks as follows: a location of a servomotor must be read per each one iteration in the basic loop() feature – a Servo.Read () feature allows to do that; if the location doesn’t correspond with the set angle, it must be approximated to the needed angle by one point per iteration. You’ll also have to separately write features that define the controller interaction. Some engineers prefer C# despite Processing being the most frequently recommended developmental environment for providing interaction between Arduino controllers through a COM port.
Set up equipment

Details are easily connected – take a look at this one startup prototype – project uArm, in the construction of which u-servo us-d150 servo drives were used.
Tech trends in the world

A few words about robotics trends. Did you know, for instance, that the most promising professional fields for robotics employment are medicine and space technologies manufacture? NASA is actively working on the creation of robots able to fully imitate human-like manipulations remotely to make space exploration more accessible and efficient. On the other side of the deal, many inventors and scientists of this decade have been focusing on making the robotics manufacture cheaper. Thus, the construction of a robotic arm by yourself (e.g. based on Arduino controllers) can cost you no more than $100. An amazing progress as opposed to what we had only some ten years ago.
Why Progressive Automations?
Obviously, in order to implement all robot arm automation processes, you’ll require special equipment (servo drives, Arduino microcontrollers, etc.). We offer only well-tried and tested parts and devices in our range of products, which can be additionally configured by our expert employees according to your requirements. Moreover, all the products available in our online store have an 18-month warranty with repair and full replacement options.
Conclusion
As you can see, it isn’t that difficult to build a robot arm with minimum means. We hope that the products available on our website will also help you with that.