


Colonnes de levage modulaires LG-03 avec sélection de télécommandes
Colonnes de levage modulaires LG-03 avec sélection de télécommandes
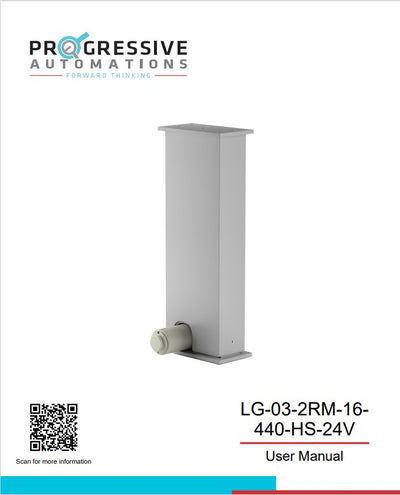
Modèle: LG-03-2RM-16-440-HS-24V


Impossible de charger les disponibilités de retrait


Quantité d’ensemble de colonnes
Créez et personnalisez votre ensemble de colonnes de levage en choisissant jusqu’à 4 colonnes. Optez pour une configuration compacte à une colonne, une configuration à deux colonnes comme pour un bureau assis-debout standard, une combinaison à trois colonnes pour une grande capacité de charge et une large surface, ou un système à quatre colonnes offrant une capacité de charge et des dimensions maximales pour s’adapter à tout poste de travail. Le choix du nombre de colonnes souhaité pour un système permettra de déterminer les boîtiers de commande les plus adaptés à la synchronisation et aux positions mémoire, et vous pourrez finaliser la configuration en ajoutant la télécommande de votre choix.| Boîtier de commande | Image du produit | Tension d’entrée | Nombre de colonnes |
|---|---|---|---|
| FLTCON-1 |  |
110 VAC | 1 |
| FLTCON-2 |  |
110 VAC | 2 |
| FLTCON-2-24VDC |  |
24VDC | 2 |
| FLTCON-3 |  |
110 VAC | 3 |
| FLTCON-4 |  |
110 VAC | 4 |
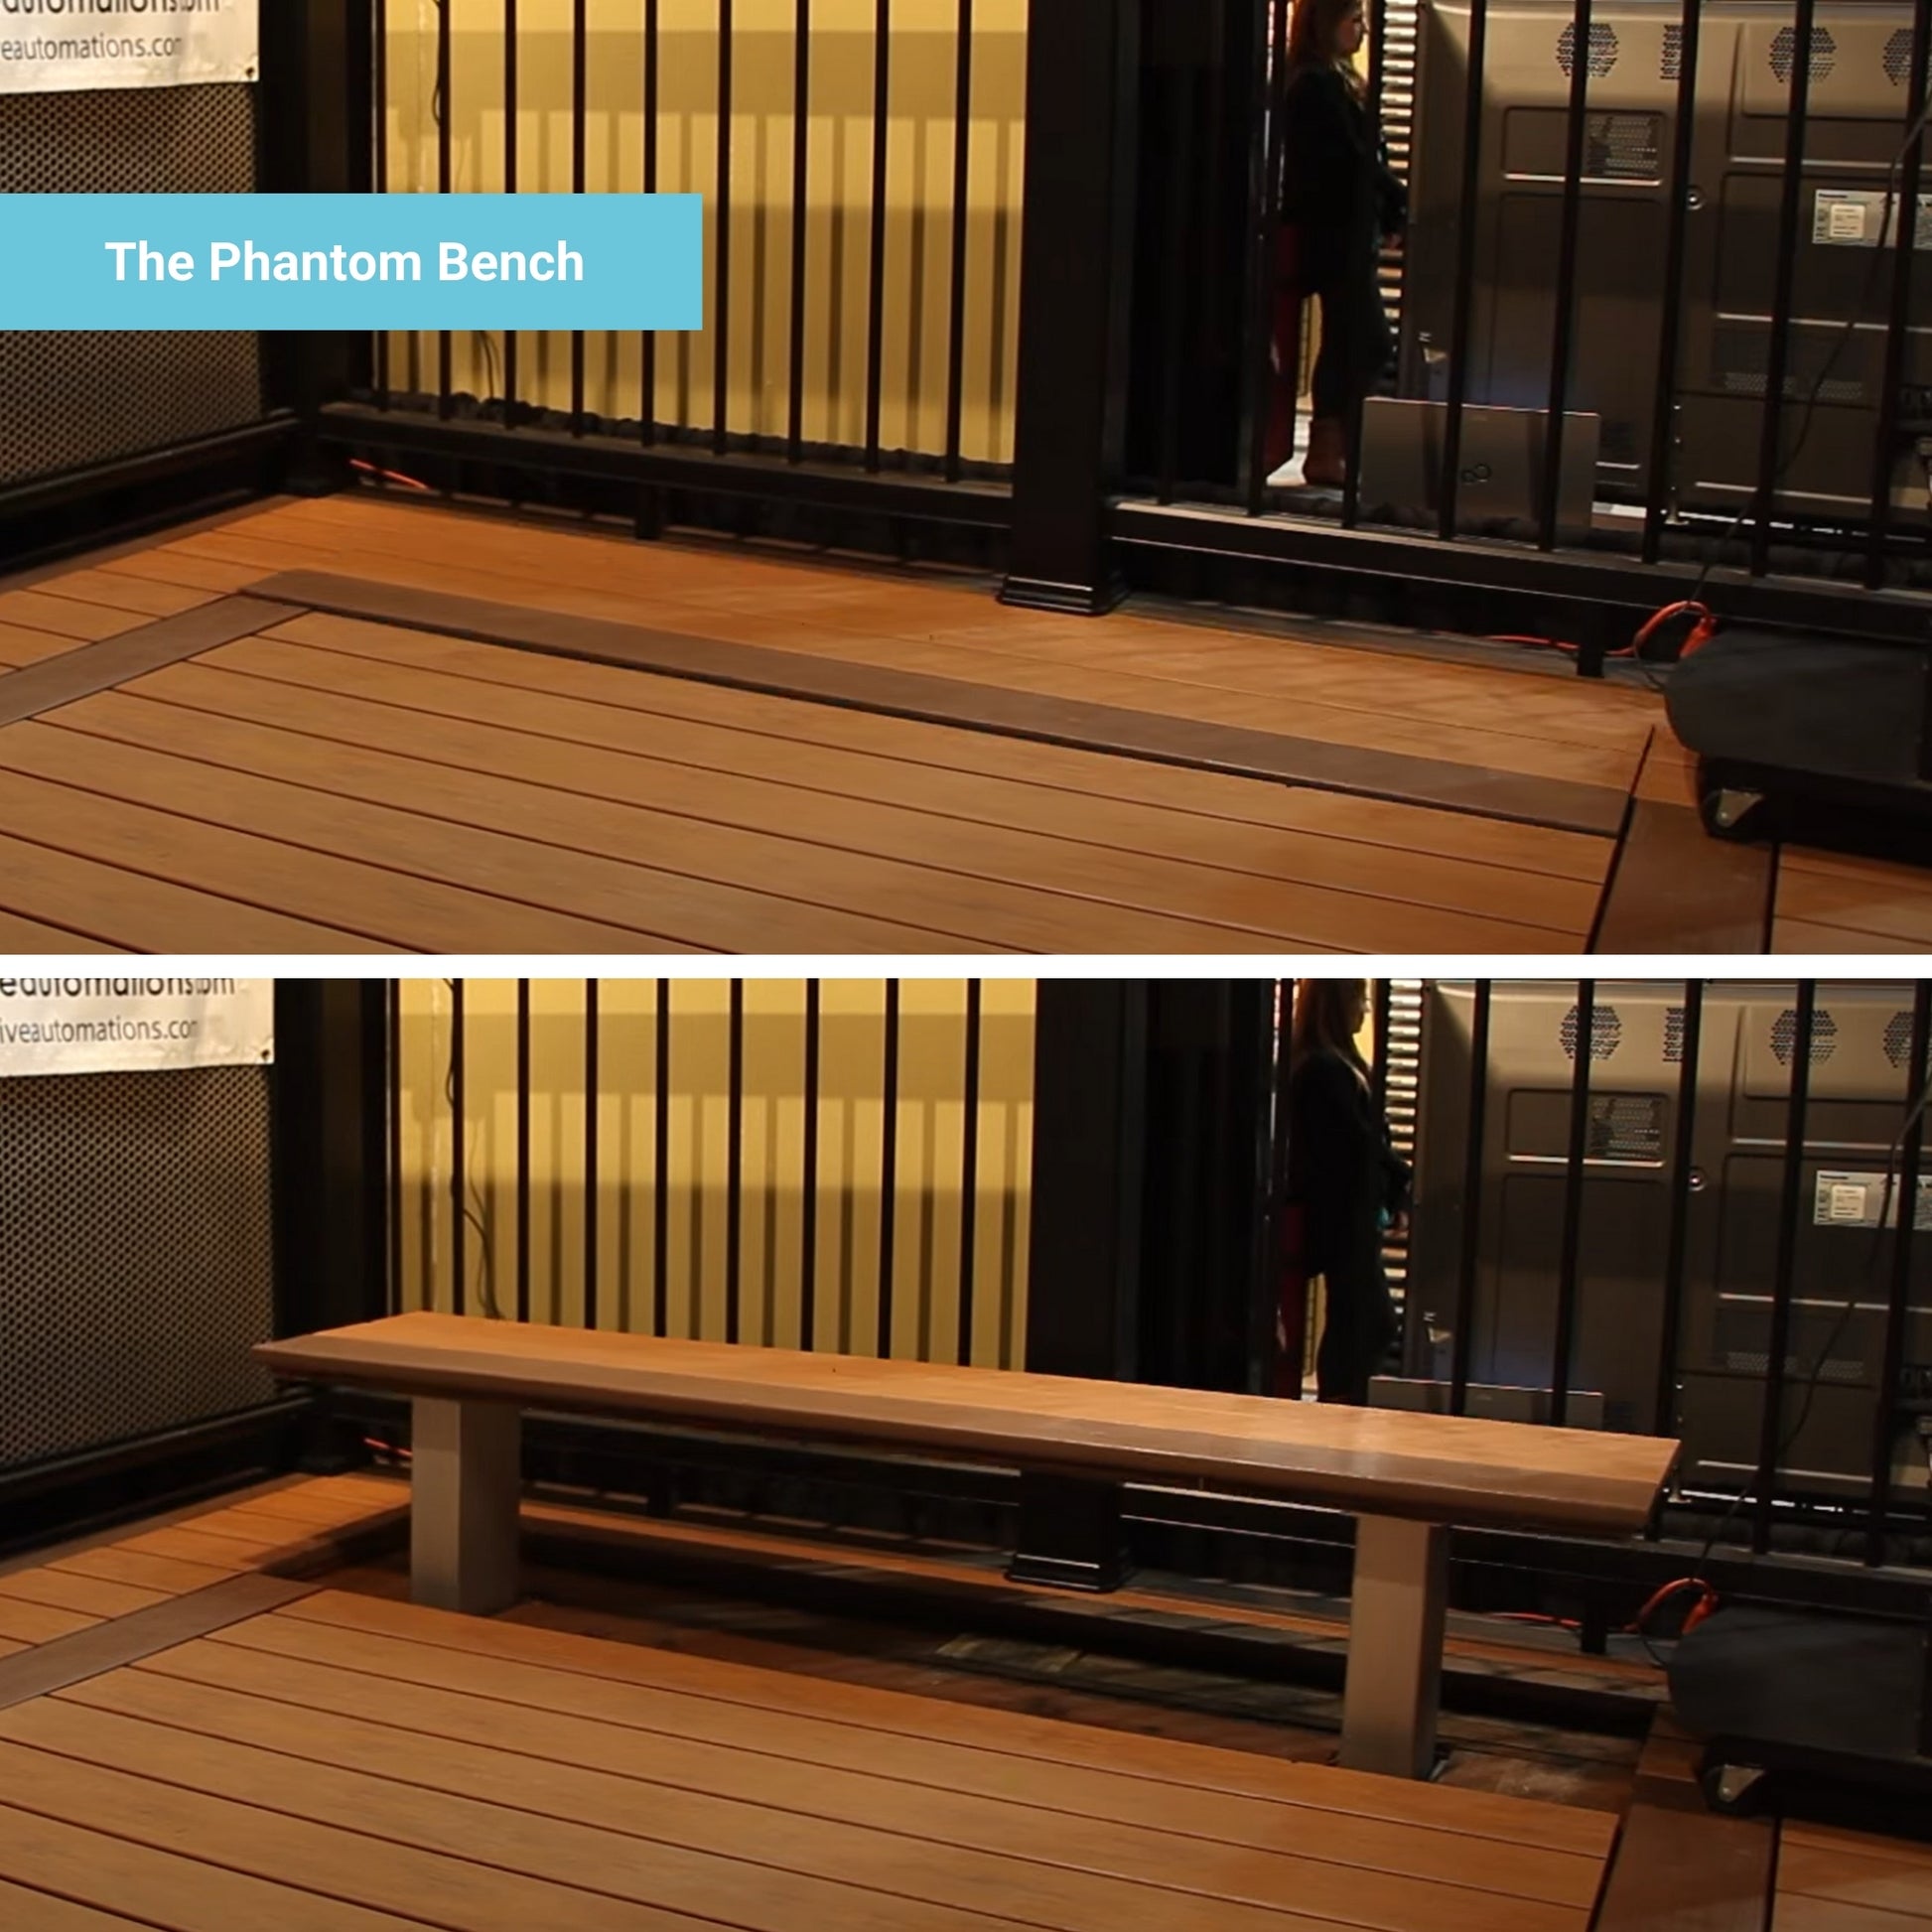
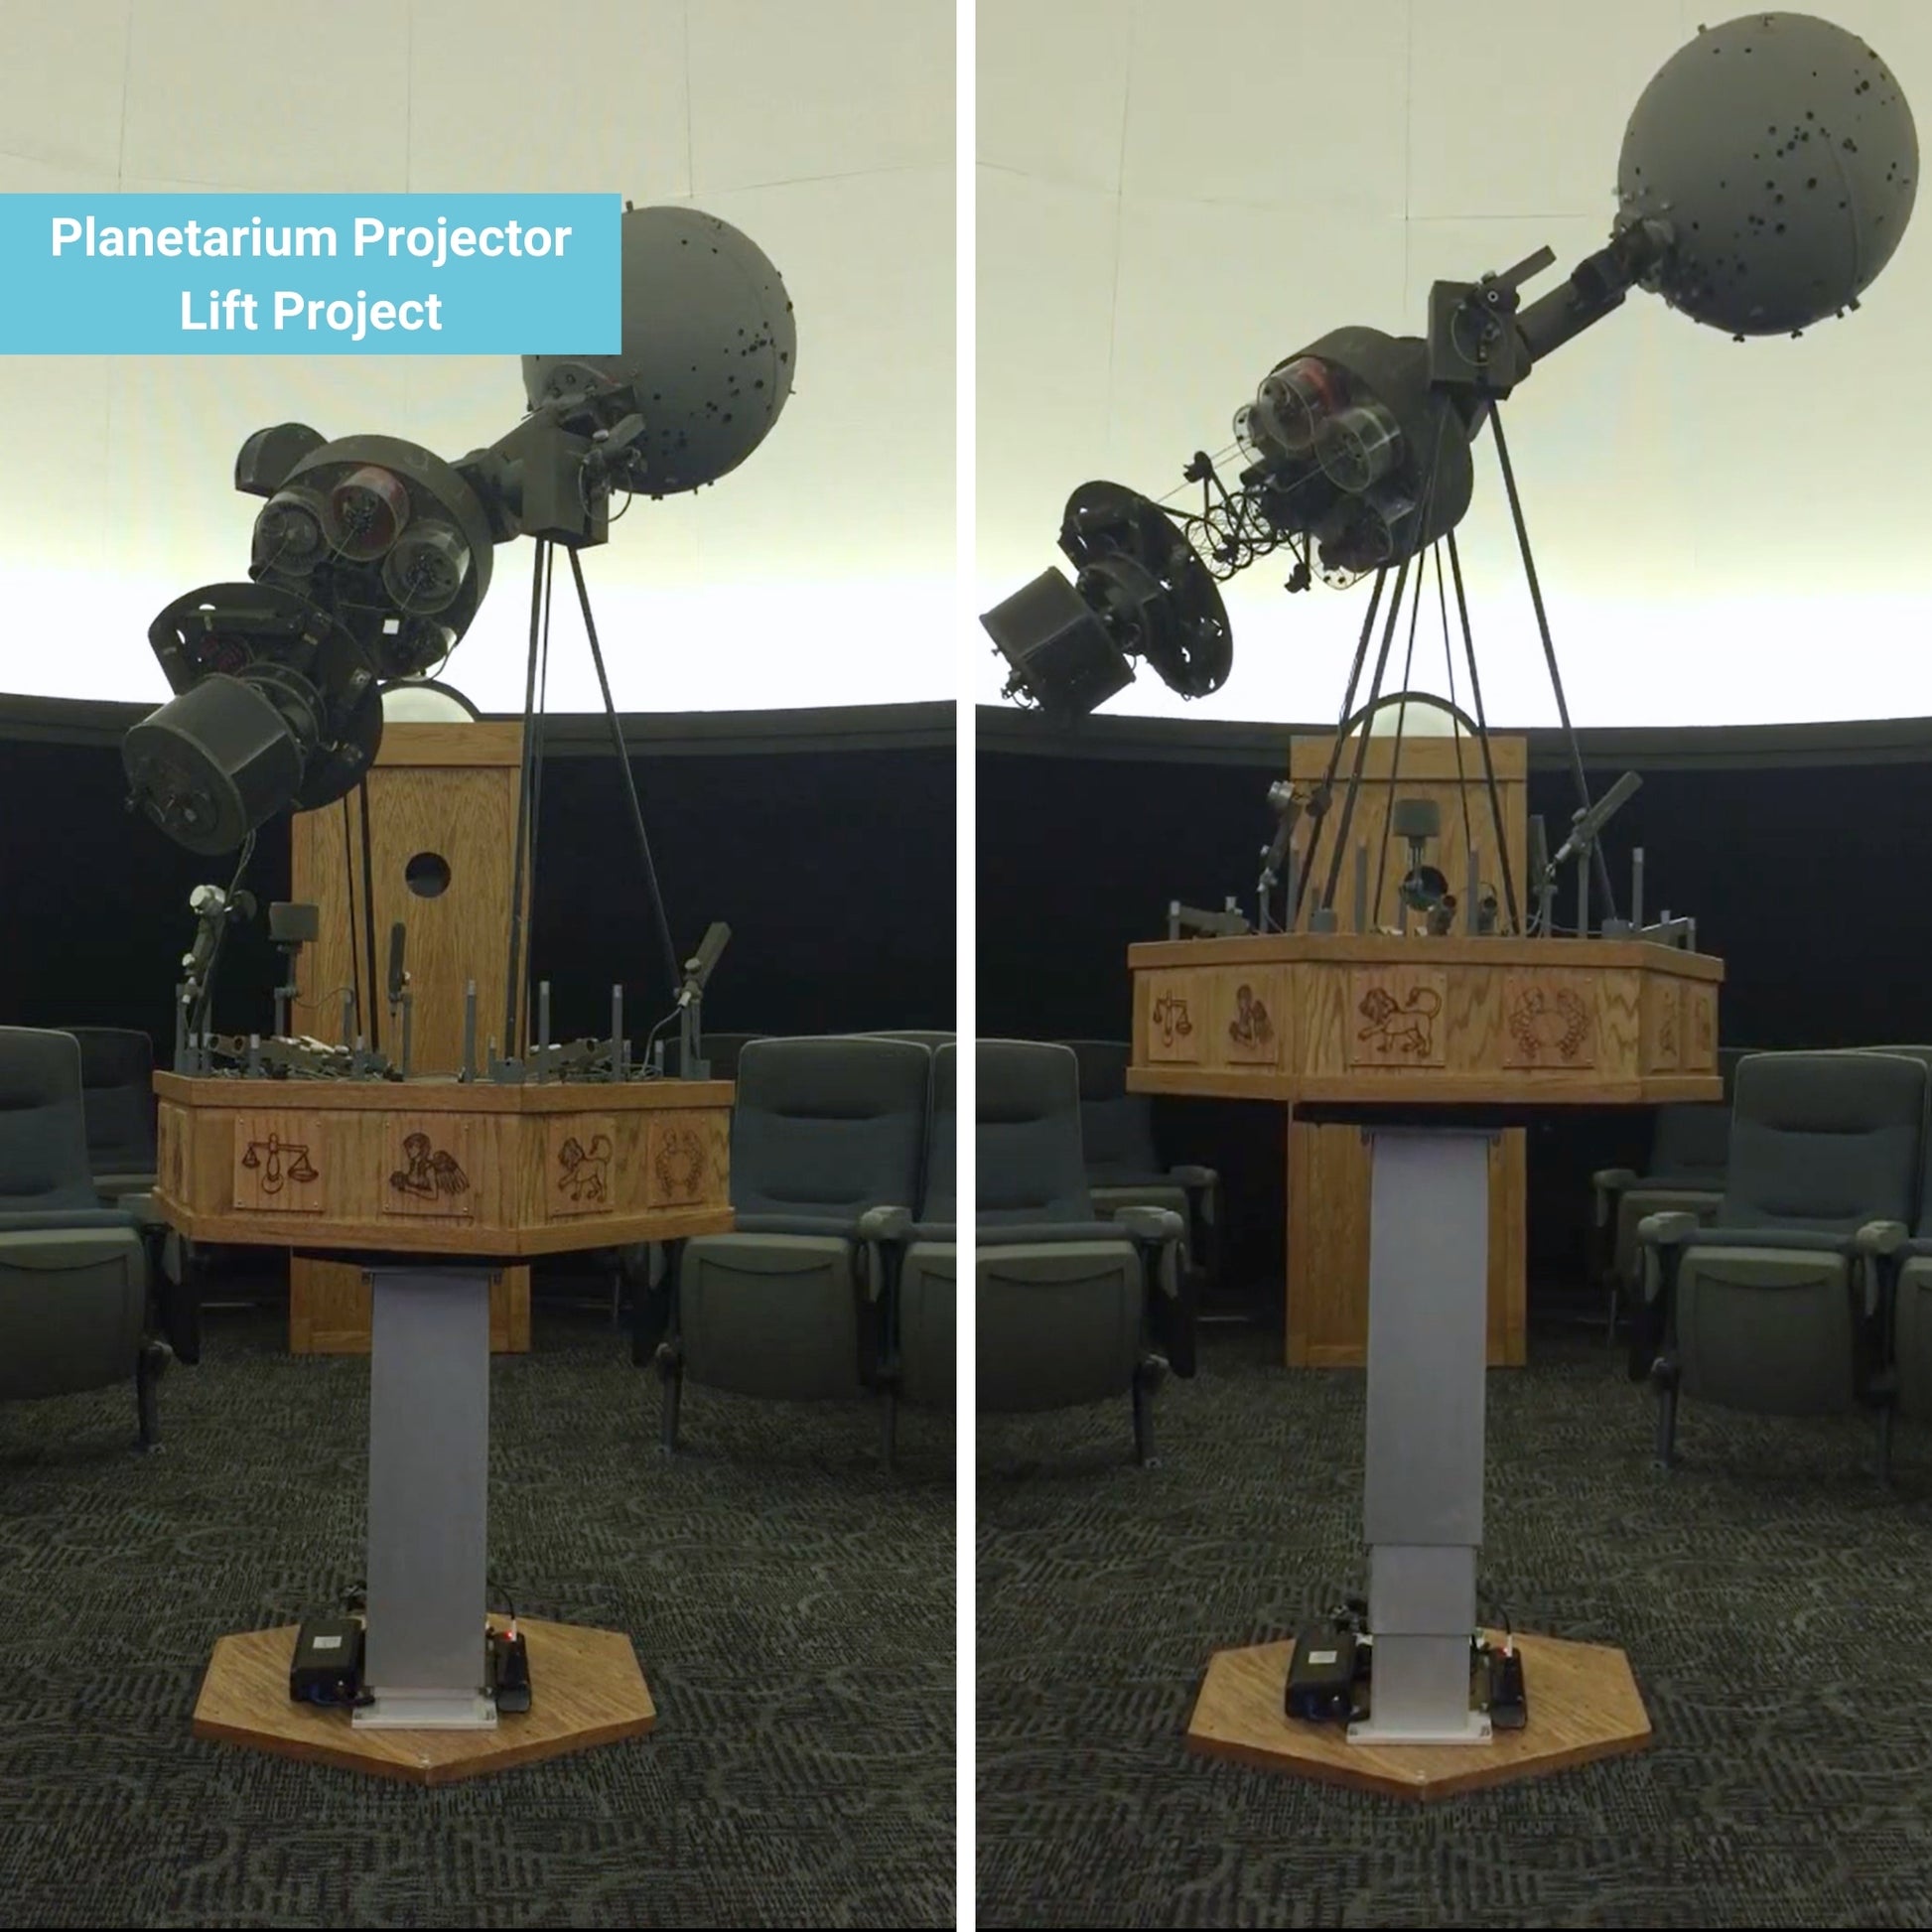
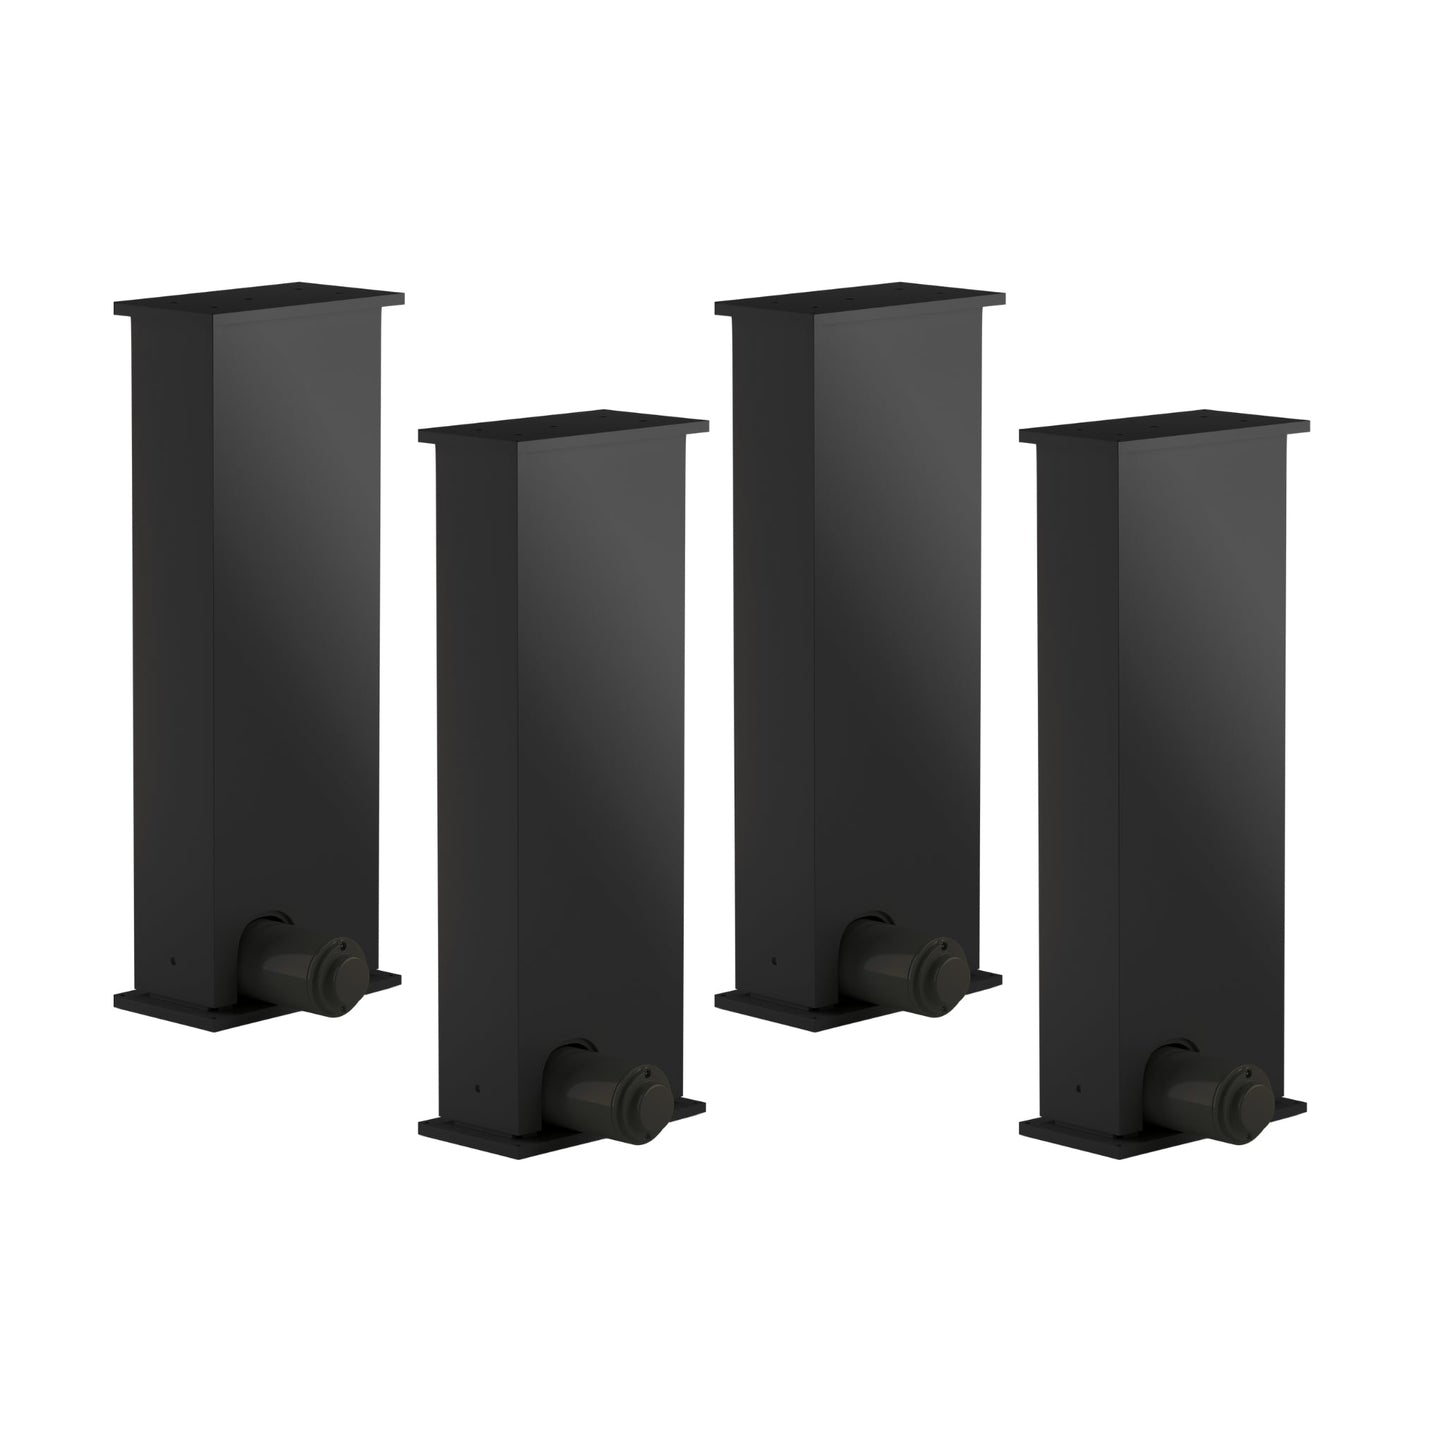
Les LG-03-2RM-16-440-HS-24V sont des colonnes de levage modulaires autonomes pouvant être associées à nos télécommandes et aux boîtiers de commande de la série FLTCON, capables de gérer jusqu’à 4 pieds dans un même système de contrôle. Cette colonne peut fournir jusqu’à 440 lbs de force, permettant des configurations personnalisables adaptées à une grande variété d’agencements personnalisés.
De forme rectangulaire, ce modèle à 2 sections offre également une plage de hauteur de 22.8" à 37.8". Choisissez parmi notre large gamme d’options de télécommandes et profitez de toutes les fonctionnalités uniques de nos différentes télécommandes filaires programmables, utilisables conjointement avec des télécommandes sans fil pour plus de commodité. L’installation est simple grâce à notre manuel PDF d’instructions que vous pouvez trouver ici. Il inclut des informations techniques importantes comme la procédure de réinitialisation, les instructions d’utilisation ainsi qu’un schéma de câblage.
Options personnalisées
Vous cherchez un actionneur mais les spécifications ne correspondent pas exactement à vos besoins ? Nous disposons d’une vaste liste de possibilités de personnalisation pour vous garantir d’obtenir exactement ce qu’il vous faut pour votre projet. Téléchargez la fiche technique de ce produit et découvrez toutes vos options de personnalisation !
| Tension d'entrée | 24 Vcc |
| Distance parcourue | 16 po |
| Plage de hauteur | 22,8 po à 37,8 po |
| Capacité de levage | 440 lb |
| Vitesse | 0.50 "/s |
| Mécanisme de levage | Moteur électrique |
| Étapes | 2 |
| Forme | Rectangulaire |
| Nombre d'options de télécommande | Divers (avec boîtier de commande Progressive Automations) |
| Nivellement | Aucun |
| Matériel | Alliage d'aluminium |
| Cycle de service | 10 % (2 minutes de marche, 18 minutes de pause) |
| Niveau sonore | <65 dB à 1,5 m |
| Niveau de protection | IP43 |
| Poids unitaire | 23,1 lb |
| Mode d'économie d'énergie | Plus d'infos |
| Préréglages de mémoire programmables | Plus d'infos |
| Port de chargement | Plus d'infos |
Suivre un ensemble de normes est crucial pour permettre aux entreprises de garantir que leurs produits et services atteignent un niveau de qualité favorisant la satisfaction client. Chez Progressive Automations, nous visons l’excellence pour nos clients et nous nous efforçons d’apporter des améliorations continues. C’est pourquoi nous sommes ravis d’annoncer que Progressive Automations est désormais certifié ISO 9001:2015 !
Une qualité digne de confiance – En savoir plusFiches techniques
LG-03 Fiche technique
Modèles 2D/3D