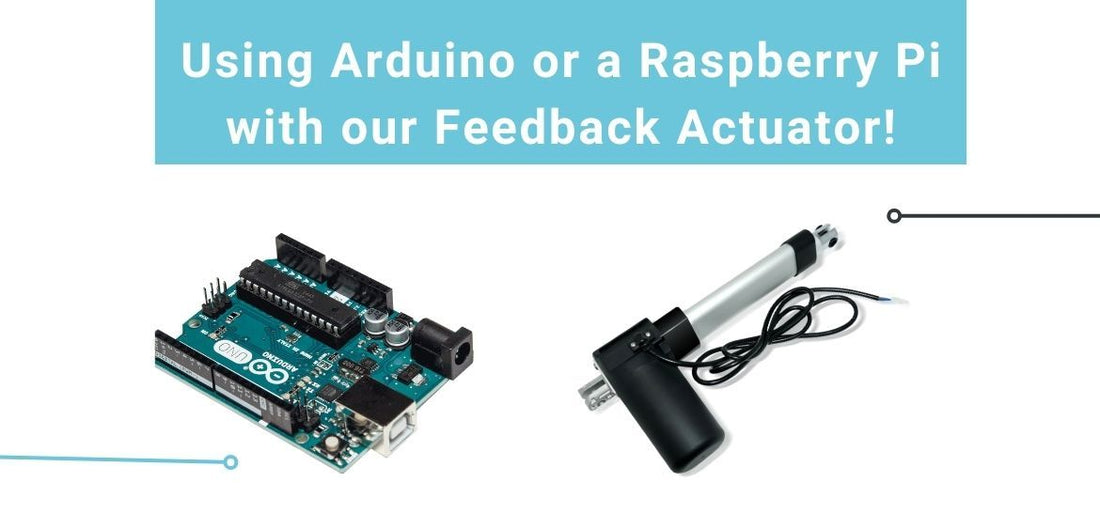
Welcome to another Progressive Automations’ technical blog! Today, we will be outlining how an Arduino can communicate with our PA-04-HS.
A hall effect sensor is an electronic component that allows for precise control of a linear actuator. It is usually positioned within the gearbox alongside a magnetic disc. As the linear actuator moves, the magnetic disc rotates, which creates a magnetic field that passes through the hall effect sensor. This creates a voltage pulse, which can be counted to determine the position, velocity, or direction of the linear actuator. However, to utilise these signals, a microcontroller needs to be used such as an Arduino or Raspberry Pi. In this article, we will dive into using an actuator for a Raspberry Pi and how to control a linear actuator with Arduino. As mentioned, both these microcontrollers will be demonstrated with a Progressive Automations PA-04-HS Hall Effect Linear Actuator.
Position, Velocity, and Direction Calculations
Before we dive into any specifics, the first thing to understand is how the signals that come from the hall effect sensor are used to calculate the position, velocity, and direction of the linear actuator. In the PA-04-HS, the hall effect sensor is designed to produce two signals in either of two binary states: on, or off. These two signals will rise and fall as the electric motor rotates with a 90-degree phase difference between them. Don’t worry if you don’t know how to implement any of this within code that can be read by a microcontroller, we will give that to you later in this article.
Position
The position of the linear actuator requires some calculations using the hall effect signals and some measurements of the actuator itself. The equation for the position of the actuator rod requires the stroke length of the actuator, and the total number of edges detected from fully retracted to extended. Using these measurements, the following equation can be used:

The edges detected since fully retracted in the above equation will start at zero and increase by one when an edge is detected in the forward direction and decrease by one when an edge is detected in the backward direction.
Velocity
The velocity of an actuator can be measured using the hall effect signals by implementing a timer in the program. This timer will be used to measure the time between edges detected. Additionally, the calculated value of the change in stroke per edge detected is required. Using these values, the following equation can be used:

Direction
The direction of the movement of an actuator can be determined by looking at the current state of the two signals (signal A and B) and comparing it to the last state of the two signals. This is because the two signals will change which is leading and which is lagging depending on the direction of the movement of the actuator.


Which Is Better, an Arduino or a Raspberry Pi Microcontroller?
It isn’t a case of which is better in general, but more so which is better for your intended application. It would be better to choose an Arduino if the main task of your application is to read the data from the hall effect sensor and return a particular set of instructions.
On the other hand, the Raspberry Pi would be more practical when solving tasks that would be performed on a personal computer. Additionally, the Raspberry Pi simplifies workflow management in various scenarios such as connecting to the internet or controlling a linear actuator via a mobile device.
It may be convenient to use both microcontrollers to solve different tasks. The Raspberry Pi could gain access to code and adjust various parameters that can then be sent to an Arduino to control the linear actuator based on the information it collects.
Let’s dive into the specifics and show you how to control a linear actuator with Arduino.
Arduino with Linear Actuators

Again, depending on your application, you can choose between using a polling method or an interrupt with a microcontroller when dealing with digital signals. Polling is a programmed method in which a microcontroller periodically checks the state of an input to see if there has been a change. Interrupts are a hardware mechanism that immediately shifts the focus of the microcontroller’s program when the state changes on an input.
For demonstration purposes, we will opt for the interrupt method to know the exact moment when a signal changes state. On an Arduino microcontroller, an interrupt is used by creating an Interrupt Servicing Routine (ISP).
Here is what you will need:
Wiring Arduino and Shield Components
The hall effect sensors have 4 wires: 5V, GND, and 2 signal wires. Each signal wire gives out pulses as the motor spins. There are also two actuator wires to connect to the MegaMoto. We will only use one of the hall effect signals.
Connect the linear actuator to the Arduino and MegaMoto as follows:
- Red sensor wire to Arduino 5V pin.
- Black sensor wire to Arduino GND pin.
- Yellow/Orange wire to Arduino pin 2 or 3 (if you are using a different Arduino, ensure the pins are interrupts).
- Red actuator wire to MOTA of the MegaMoto.
- Black actuator wire to MOTB of the MegaMoto.
Once the motors are wired correctly to the boards, wire the power supply as follows:
- Connect 12V to BAT+.
- Connect GND to BAT-.
- Connect 12V to Vin on the Arduino.
- Wire two buttons between pins 7 and 8 on the Arduino and connect them to GND.
There are 4 types of triggers for the interrupt: Rising, Falling, High, and Low. By changing the trigger, you can adjust when the interrupt happens. Rising is whenever the pin sees a transition from low to high, falling is when it sees high to low, low is when the pin is low, and high is when the pin is high.
For the full Arduino code, visit our guide here: Hall Effect Linear Actuator Arduino Code
The code will move the actuator forwards or backward by a set amount when you press the buttons on pin 7 or 8 (active LOW). It also includes a homing routine. This is important since if you run the motor for a long time back and forth you may lose a count here and there and slowly lose track of where you are. The homing routine moves the linear actuator back to a position that is known, so the counter can reset.
Raspberry Pi Actuator
So, how does one hook up an actuator to a Raspberry Pi 2, 4, or newer model? Controlling a linear actuator with a Raspberry Pi is simple and can be done over the internet, allowing for wireless control. Follow the steps in the following guide to see exactly how: Raspberry Pi Linear Actuator Control.
The Raspberry Pi 4 is used to run the server software and receive commands for control of the linear actuator. However, this guide does not utilise a hall effect sensor. To do so, an Arduino board can be connected to the linear actuator and the Raspberry Pi to send/receive data wirelessly. Although the Raspberry Pi can also be used directly to read sensor data, much like the Arduino, it may be overkill if you are only controlling a few linear actuators.
Controlling Multiple Linear Actuators

If you need to control multiple linear actuators with a Raspberry Pi or Arduino, then you will need a few additional components and the code will need to be adjusted. Two or more linear actuators can be synchronized by tracking the hall effector sensor counts, and if the counts of the linear actuators get too far apart, each linear actuator will slow down to equalize positions.
View the full set of instruction here: Control Multiple Linear Actuators with a Microcontroller
Alternatively, if synchronization is not part of your intended application, then simply use an Arduino for one or two actuators, depending on the number of available interrupt pins. To control more actuators, you can either use more Arduino boards or obtain an Arduino shield with more interrupt pins.
Conclusion
If you’re up for the challenge, there are additional methods you can try using an Arduino with linear actuators to control the motion, such as using some nifty PID code, which you can view here: Linear Actuator PID Control. A hall effect sensor inside a linear actuator, such as the PA-04-HS, provides an additional level of control that can easily be set up with the help of an Arduino or Raspberry Pi. Whether your application only requires reading sensor data or you would like to take your linear actuator to the next level by putting it online, a hall effect sensor, combined with a microcontroller of choice, is the way to go.
If you have any queries about the content of this article, or simply wish to discuss possible product solutions, please contact us and we would be glad to help!