

LG-03 Modulare Hubsäulen mit Auswahl an Fernbedienungen
LG-03 Modulare Hubsäulen mit Auswahl an Fernbedienungen
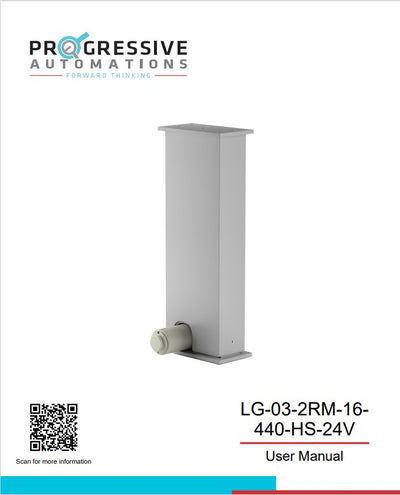
Modell: LG-03-2RM-16-440-HS-24V

Verfügbarkeit für Abholung konnte nicht geladen werden


Anzahl der Säulensets
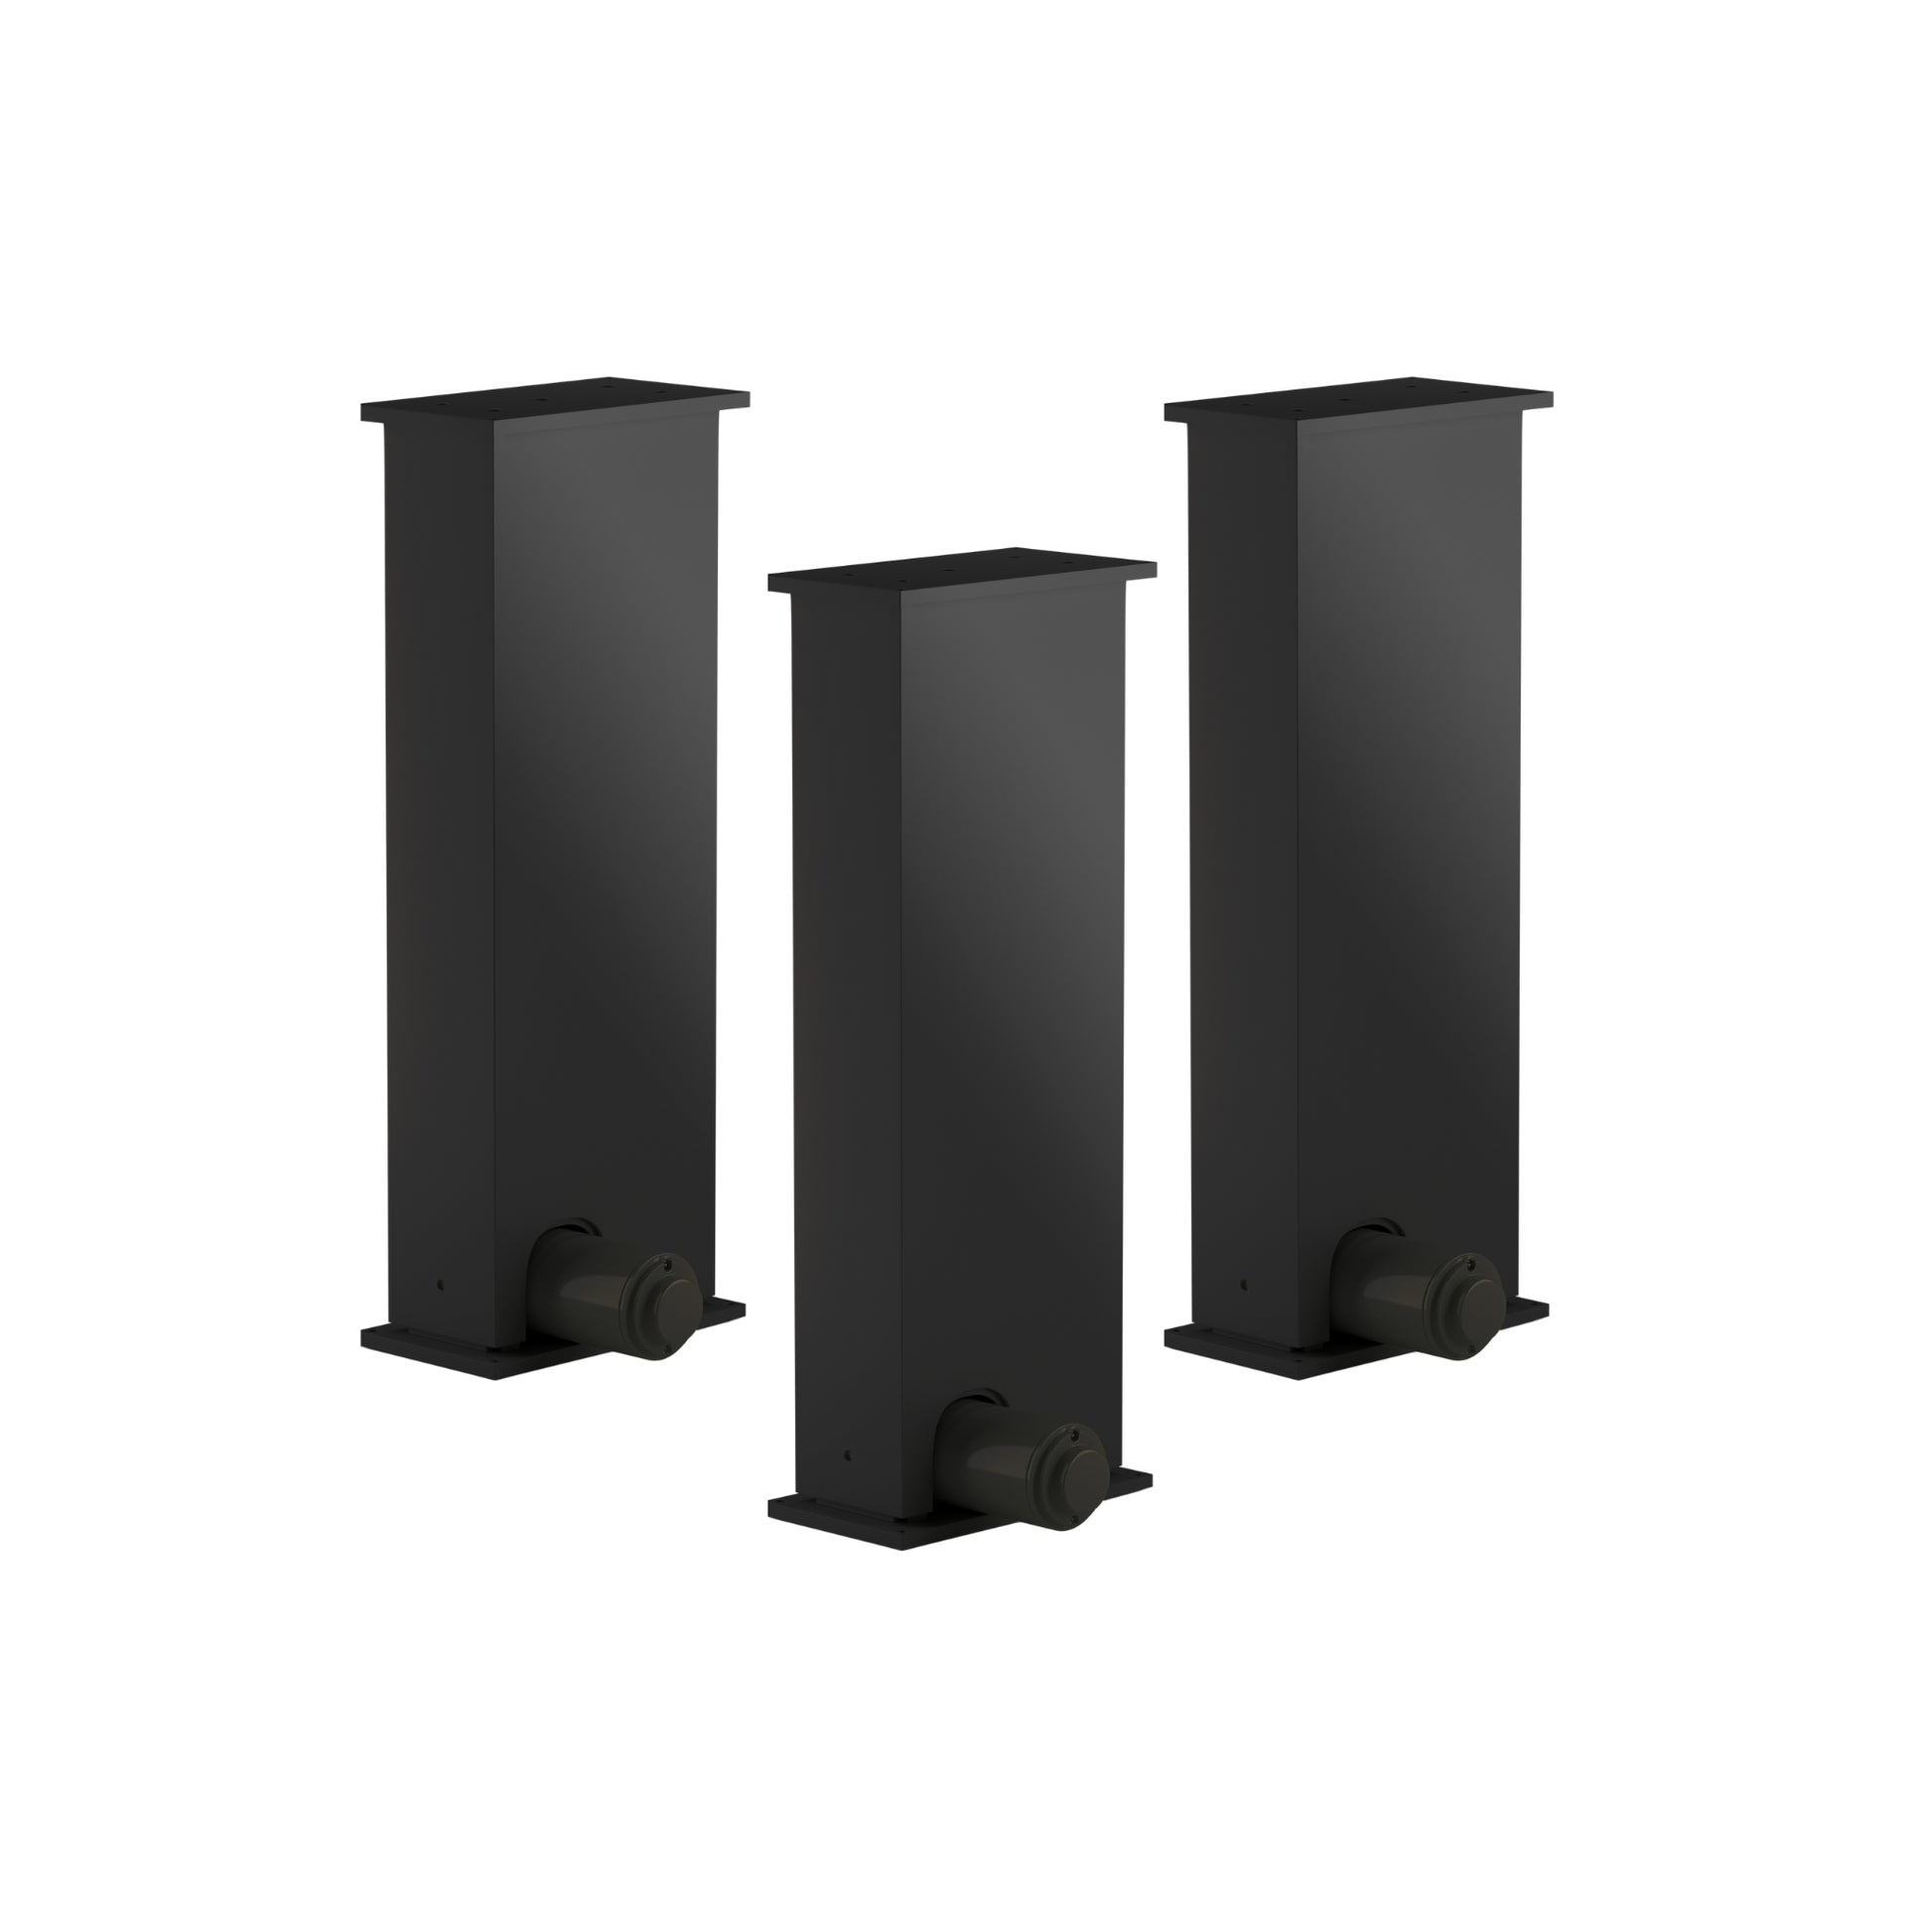
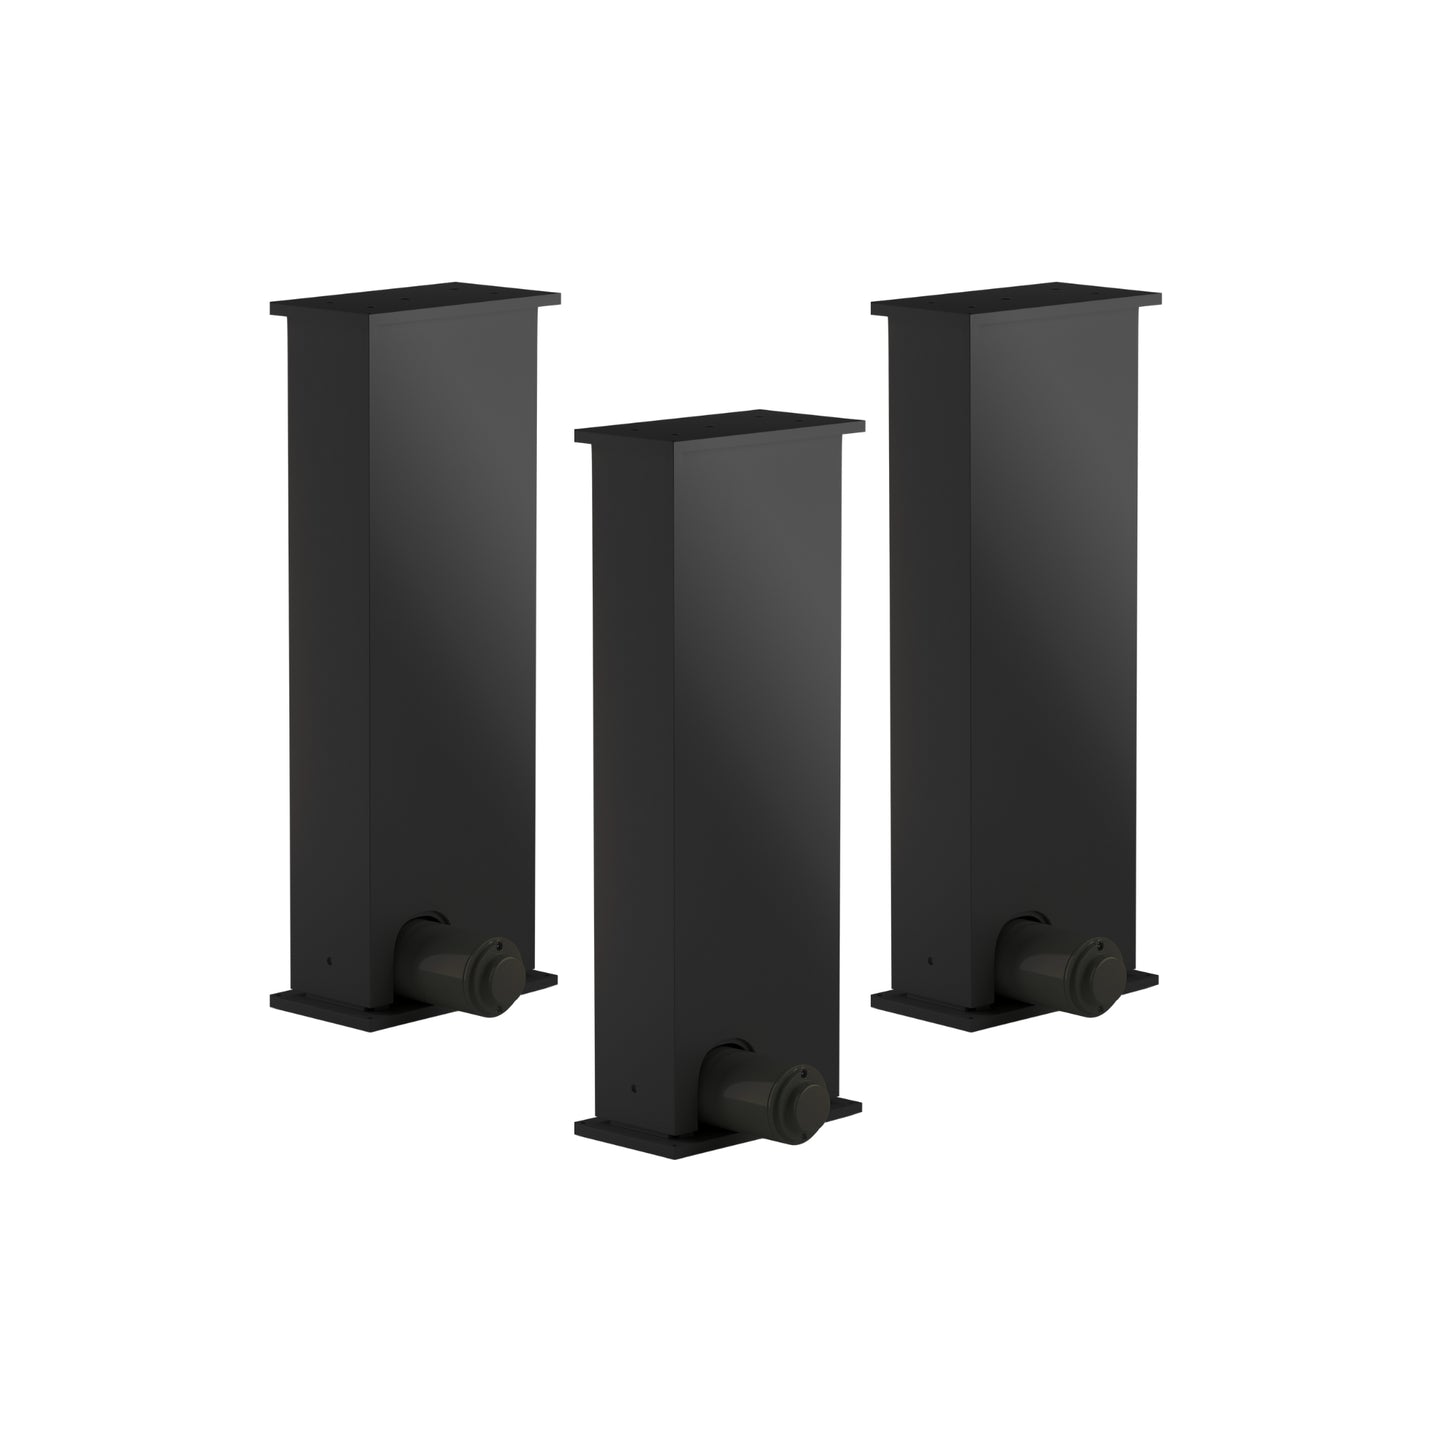
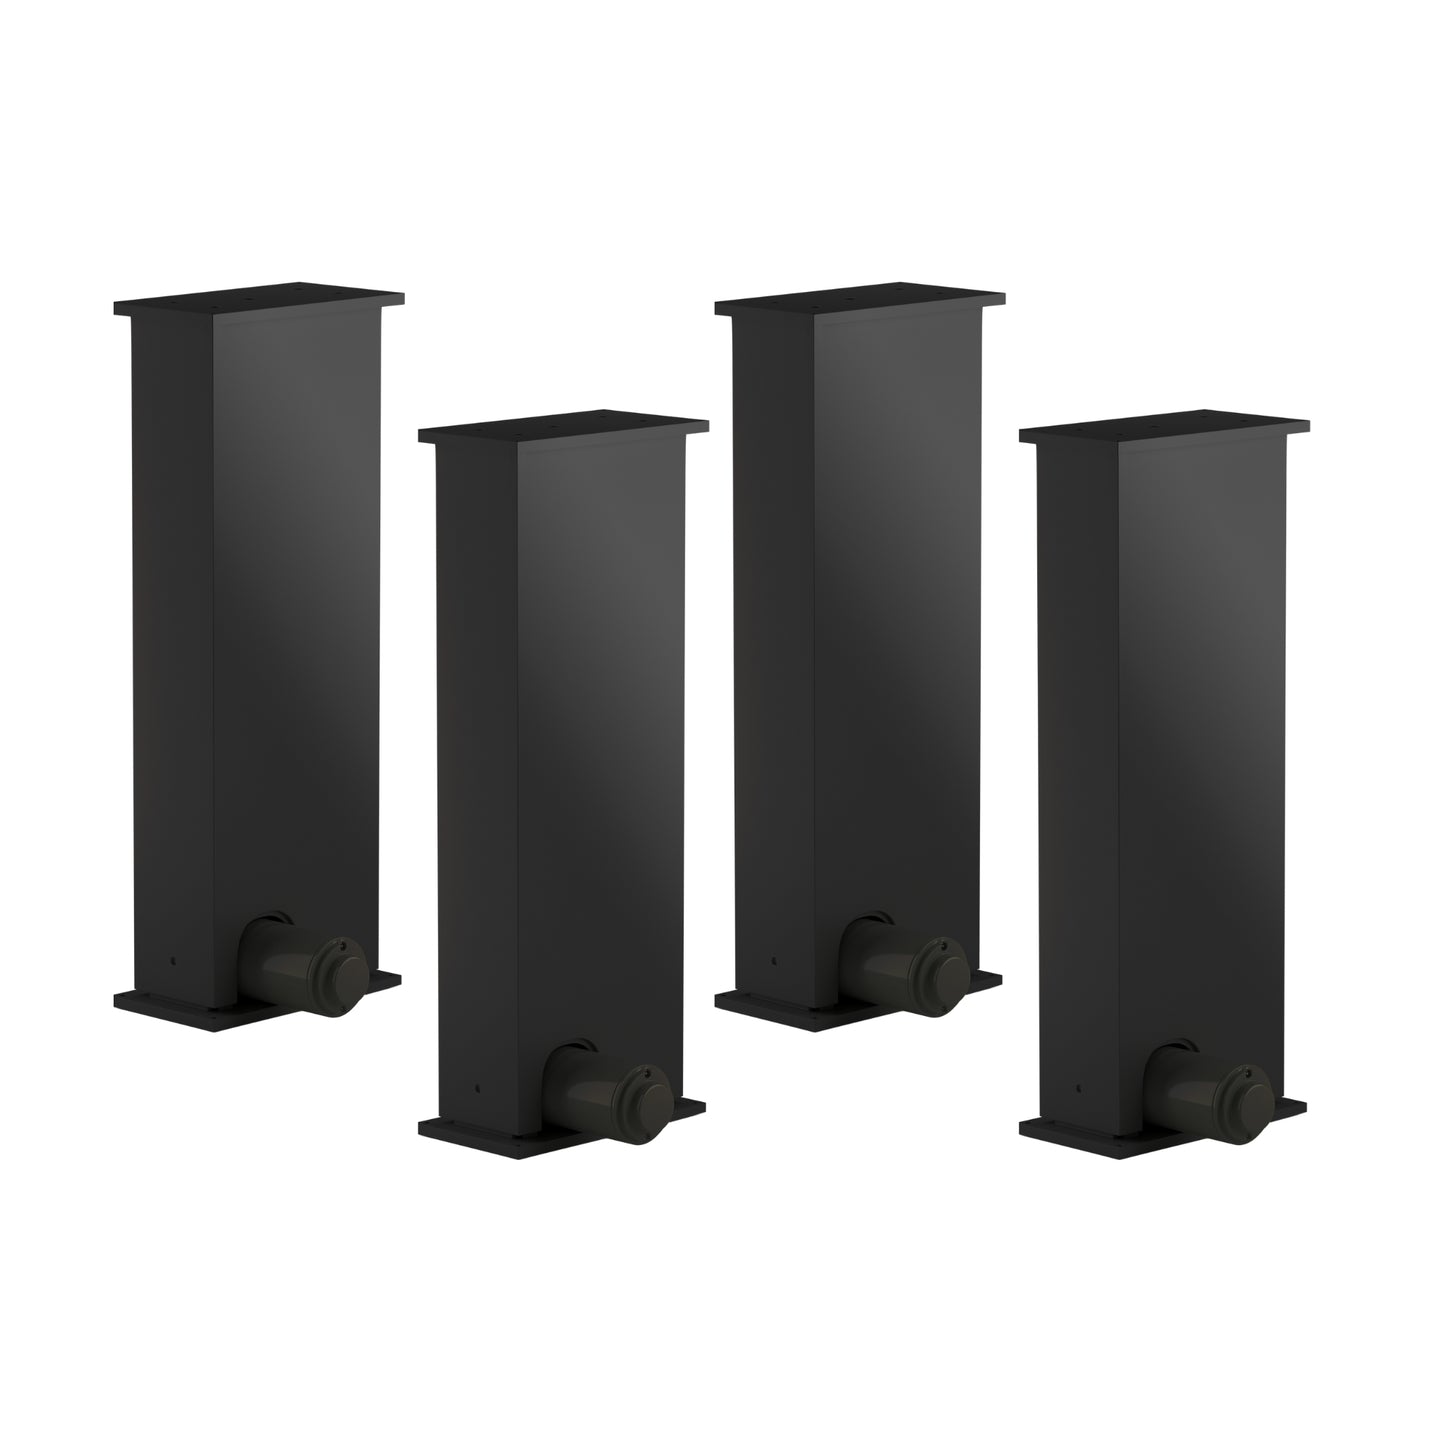
Stellen Sie Ihr Hubsäulen-Set individuell zusammen, indem Sie bis zu 4 Säulen wählen. Entscheiden Sie sich für eine kompakte Konfiguration mit einer Säule, eine zweisäulige Ausführung wie bei einem Standard-Stehschreibtisch, eine dreisäulige Kombination für hohe Tragfähigkeit und große Auflagefläche oder ein viersäuliges System für maximale Tragfähigkeit und Größe, um jeden Arbeitsplatz zu bewältigen. Die Auswahl der gewünschten Säulenanzahl hilft dabei, die passenden Steuerboxen für Synchronisierung und Speicherpositionen zu bestimmen, und Sie können die Konfiguration abschließen, indem Sie die Fernbedienung Ihrer Wahl hinzufügen.| Steuerbox | Produktbild | Eingangsspannung | Anzahl der Säulen |
|---|---|---|---|
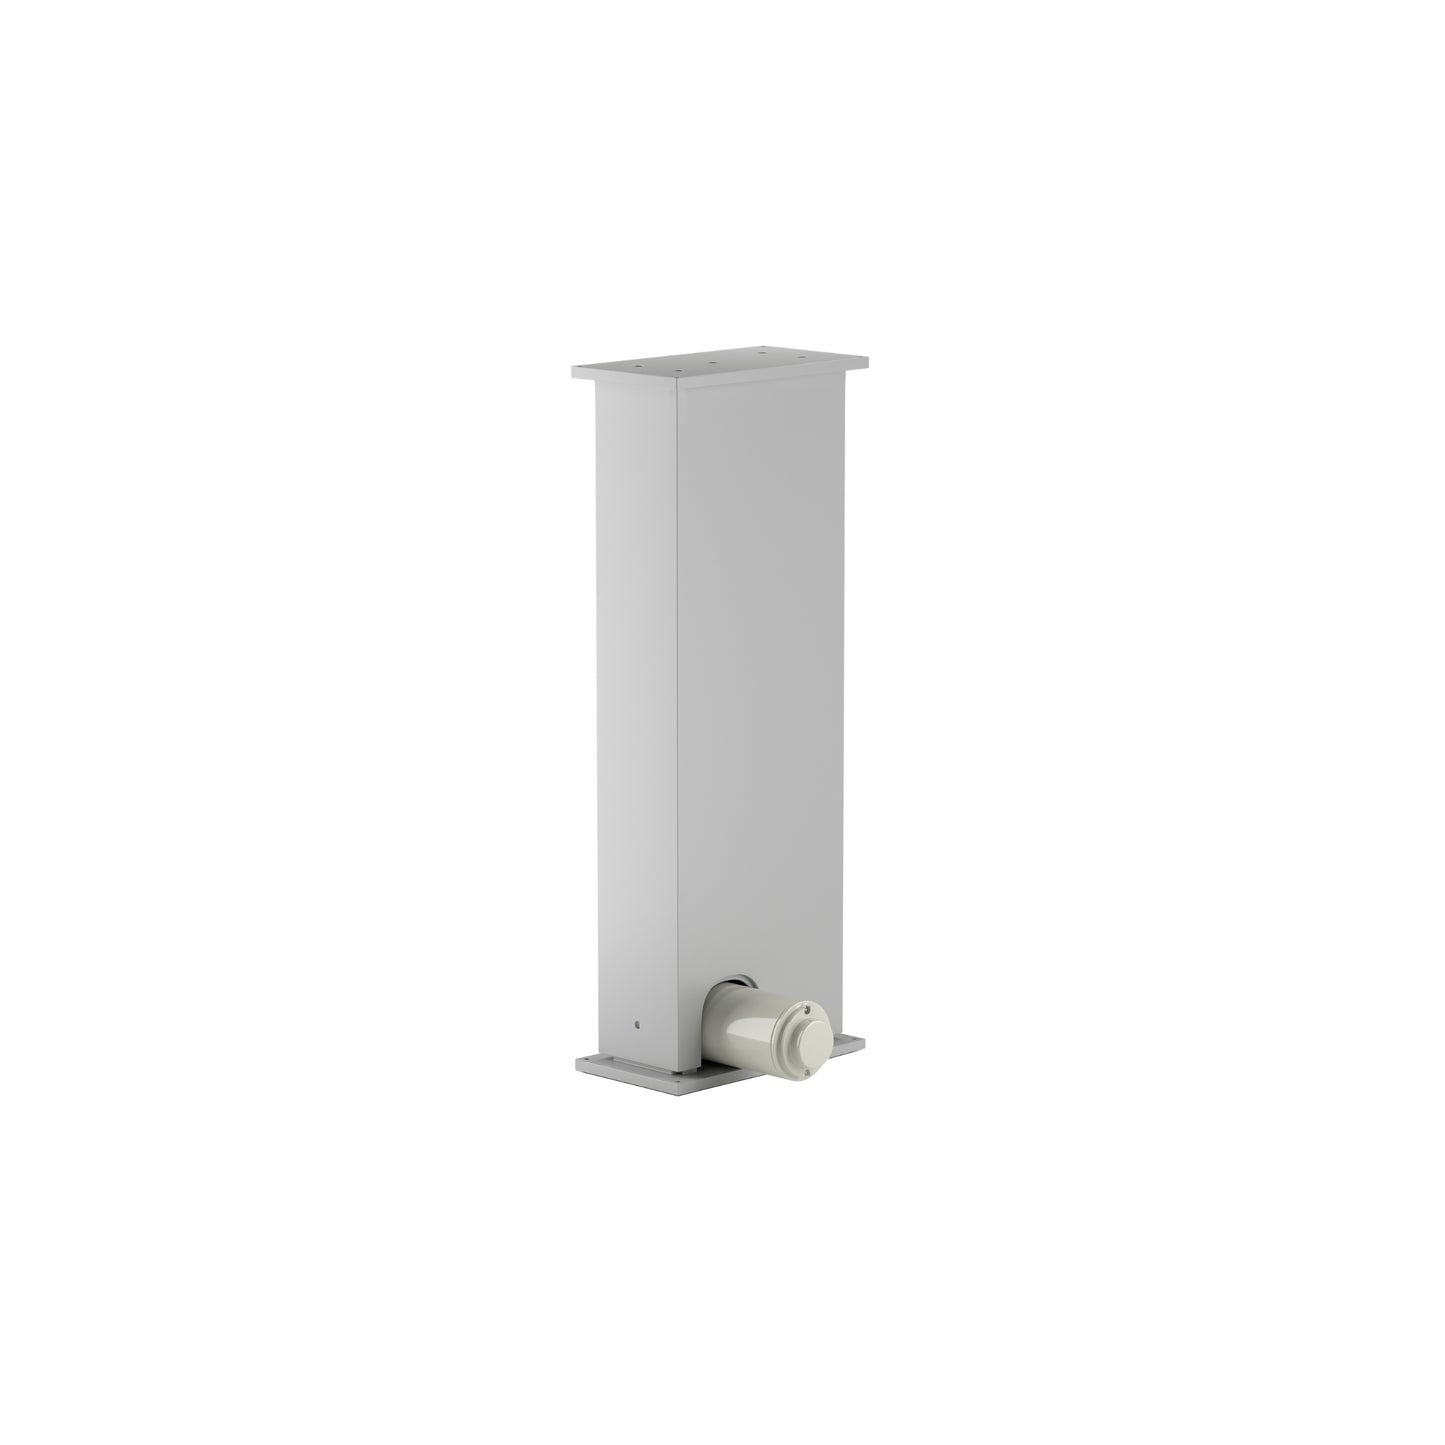
| FLTCON-1 |  | 110 VAC | 1 |
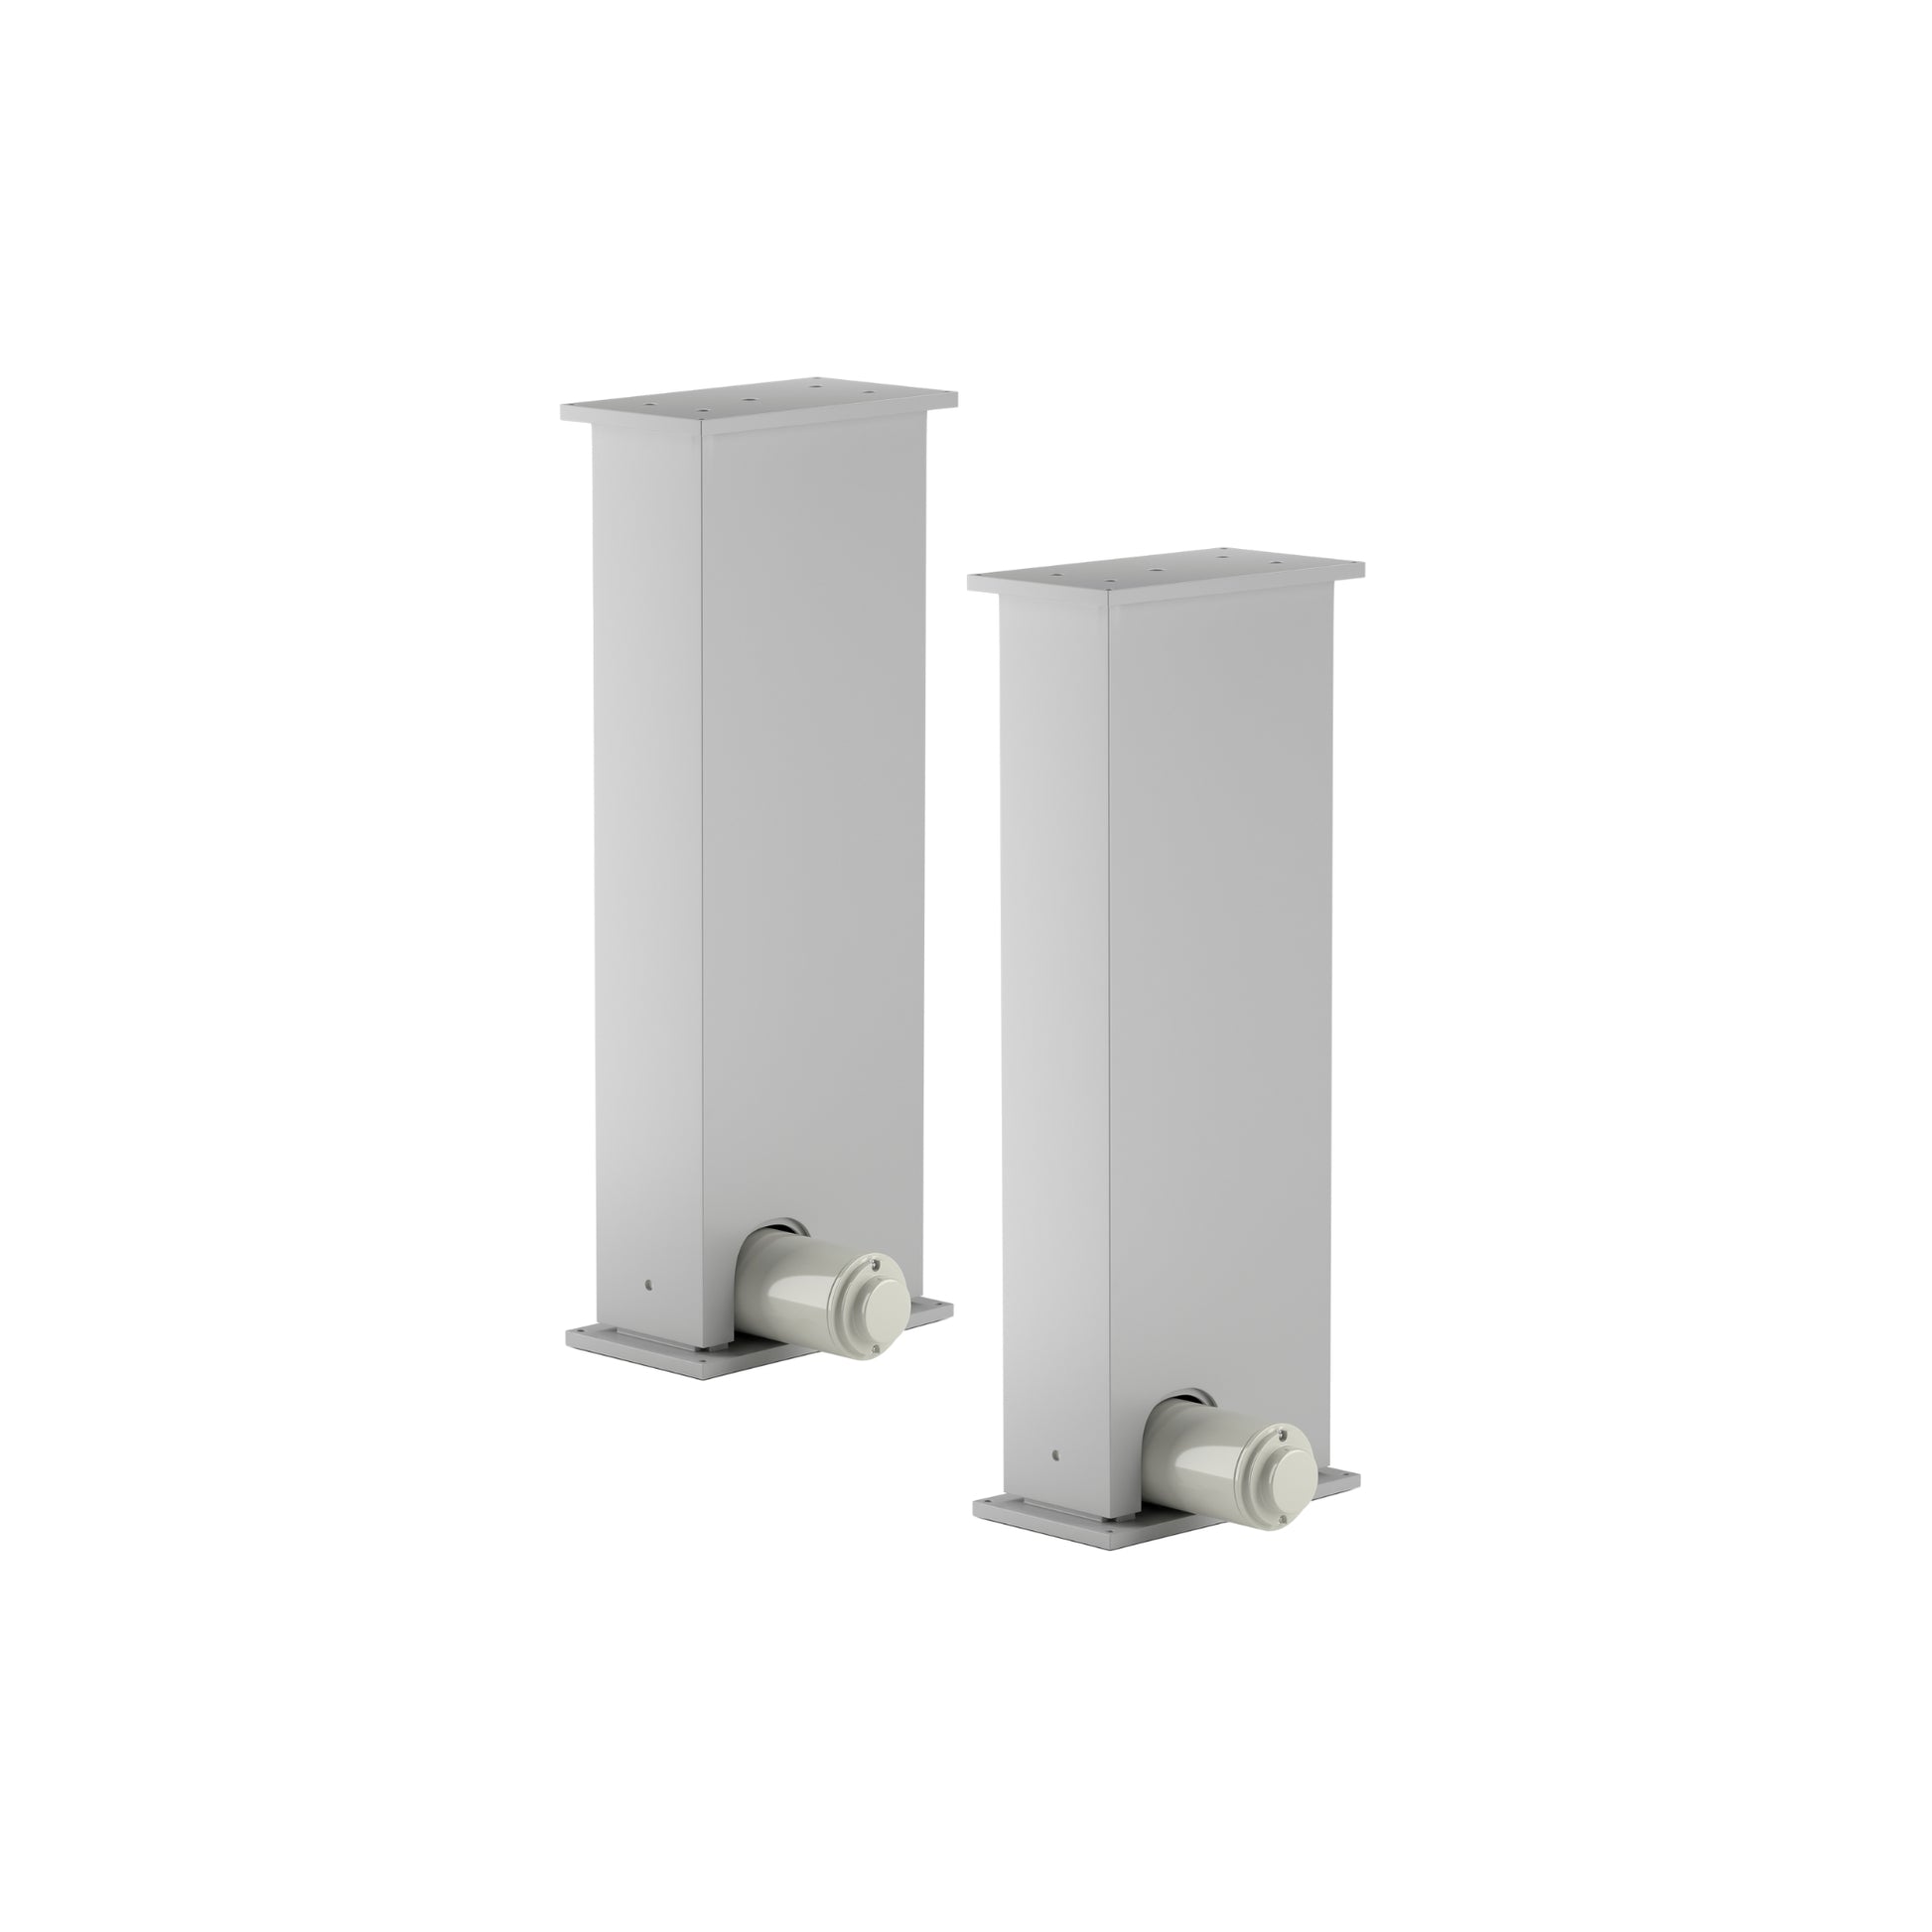
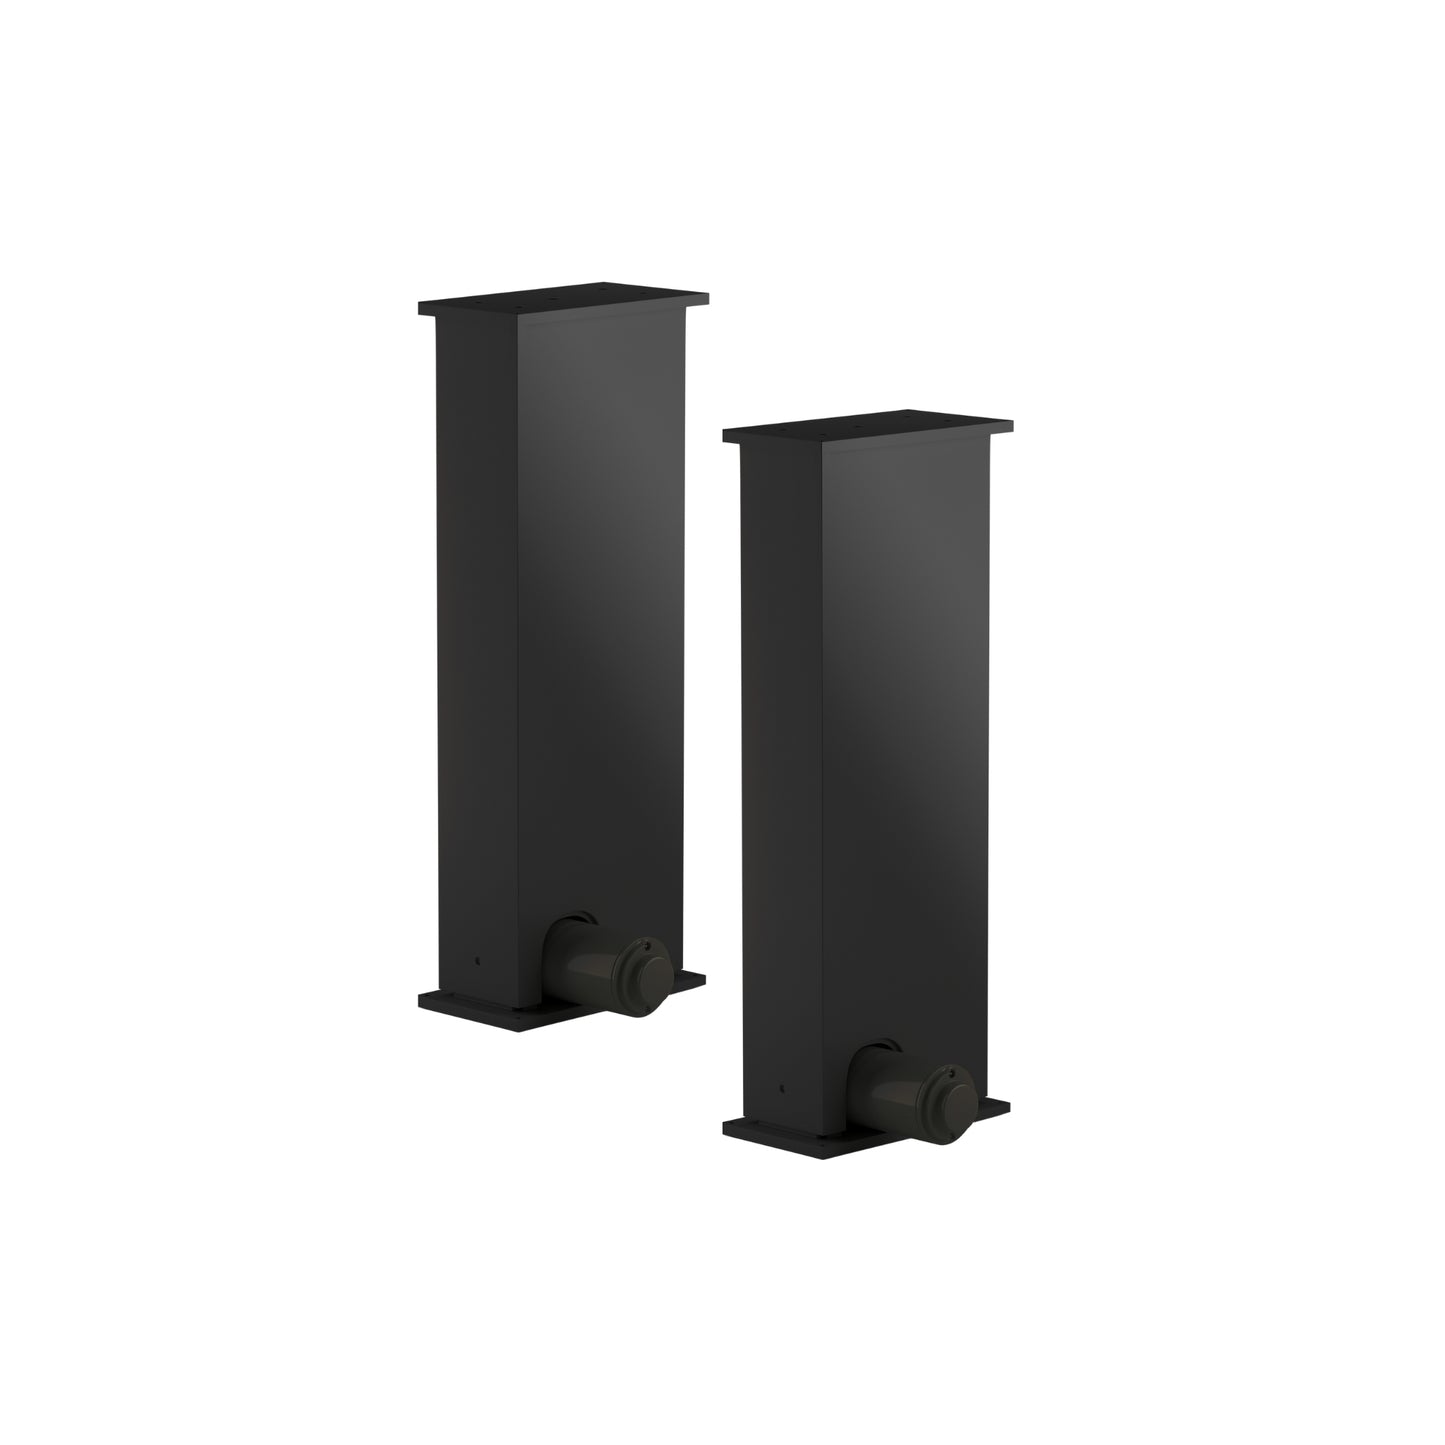
| FLTCON-2 |  | 110 VAC | 2 |
| FLTCON-2-24 V DC |  | 24 V DC | 2 |
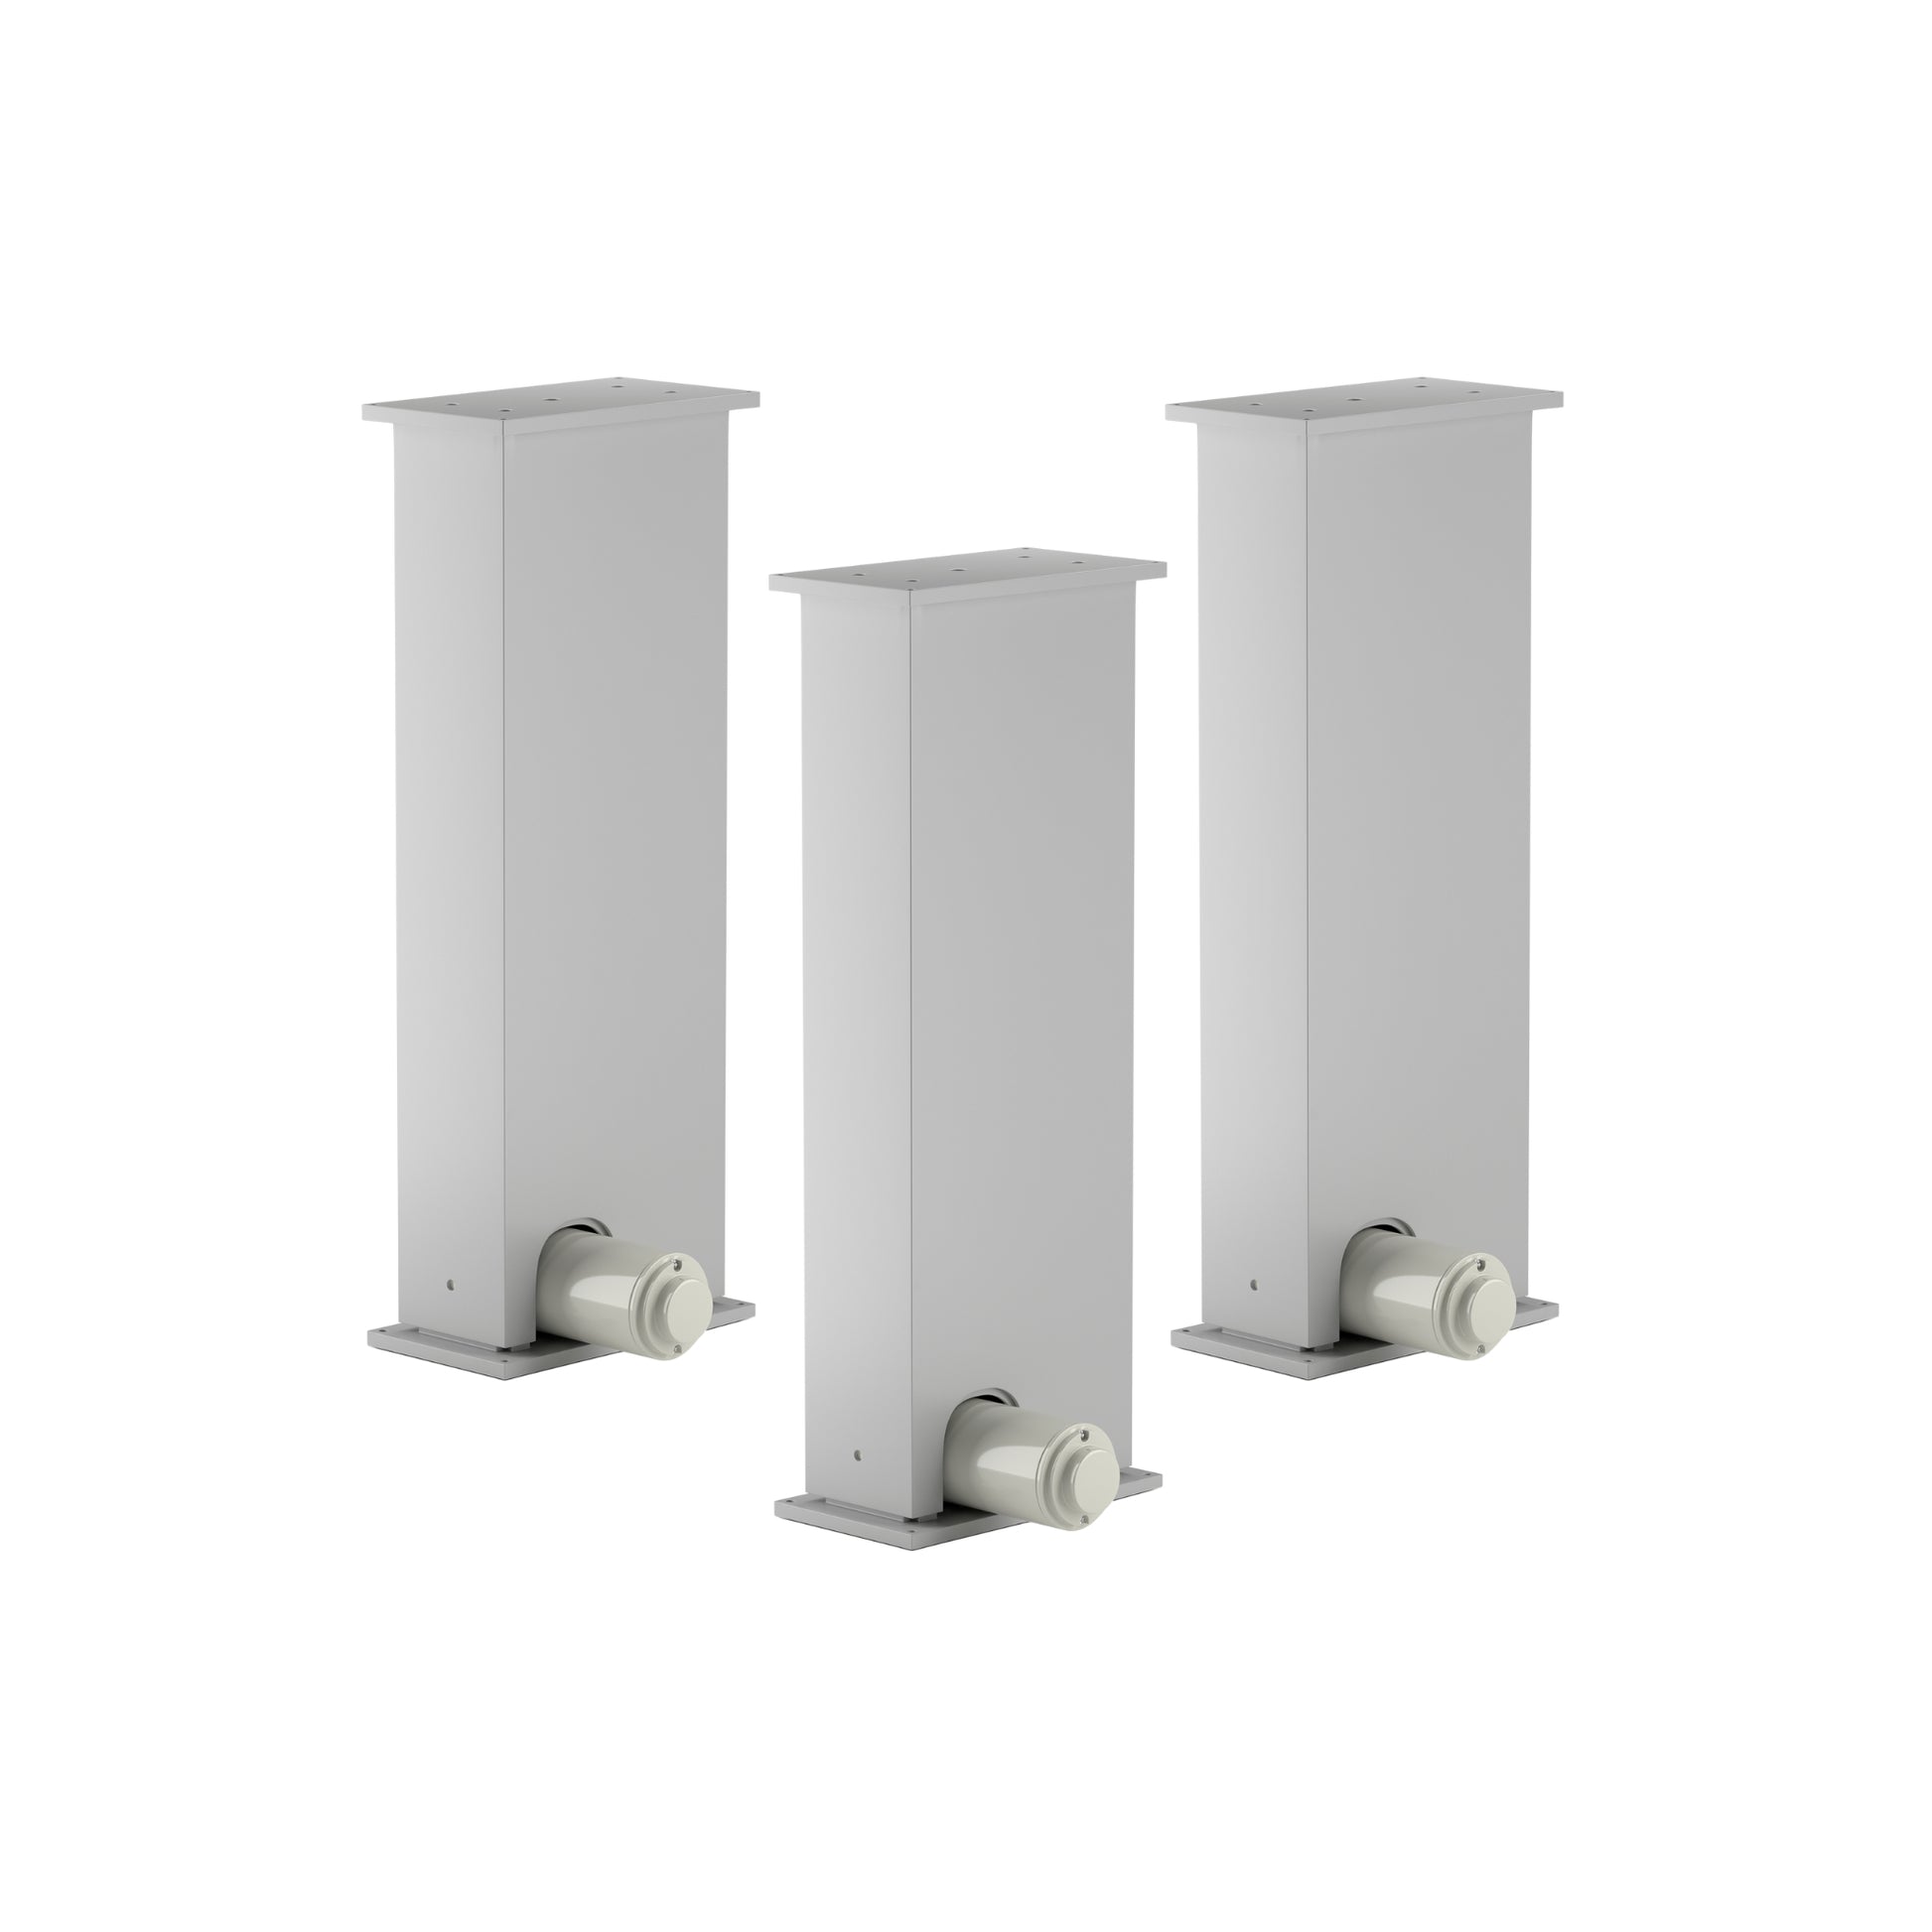
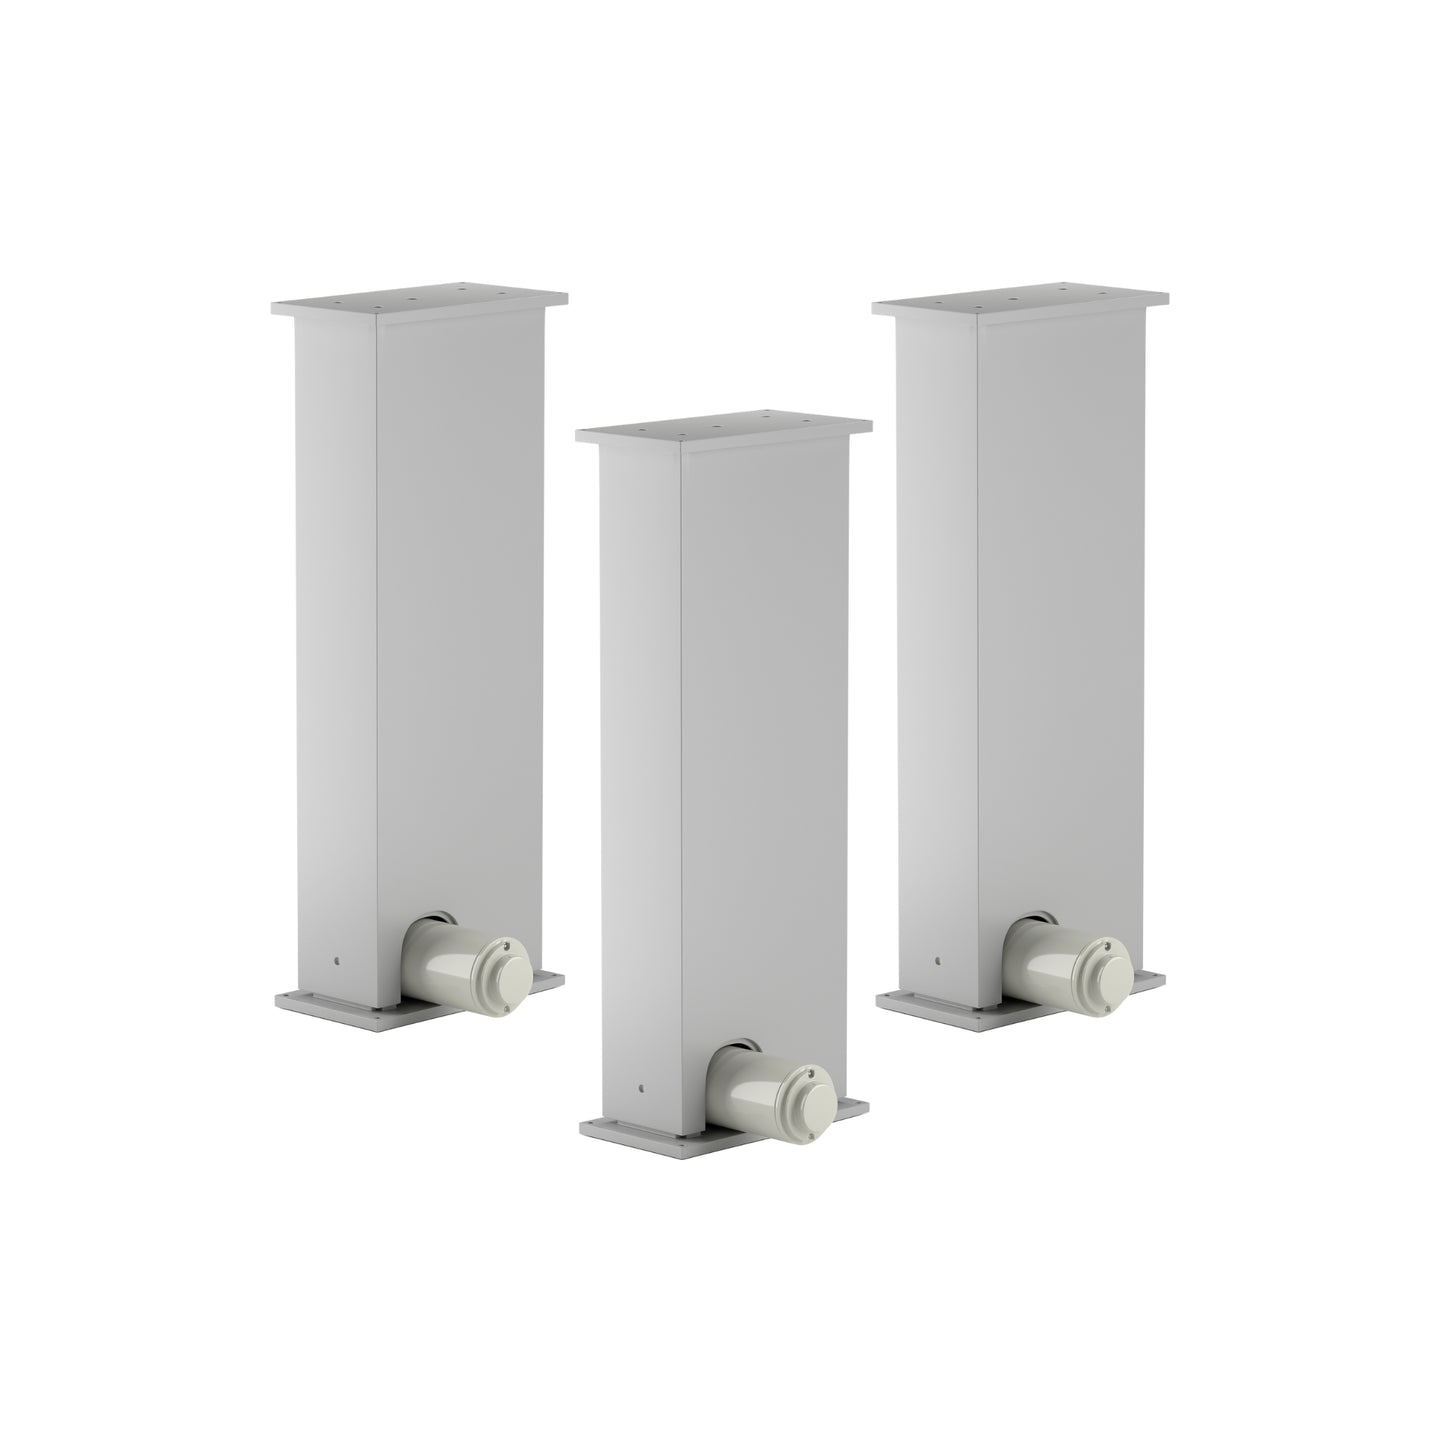
| FLTCON-3 |  | 110 VAC | 3 |
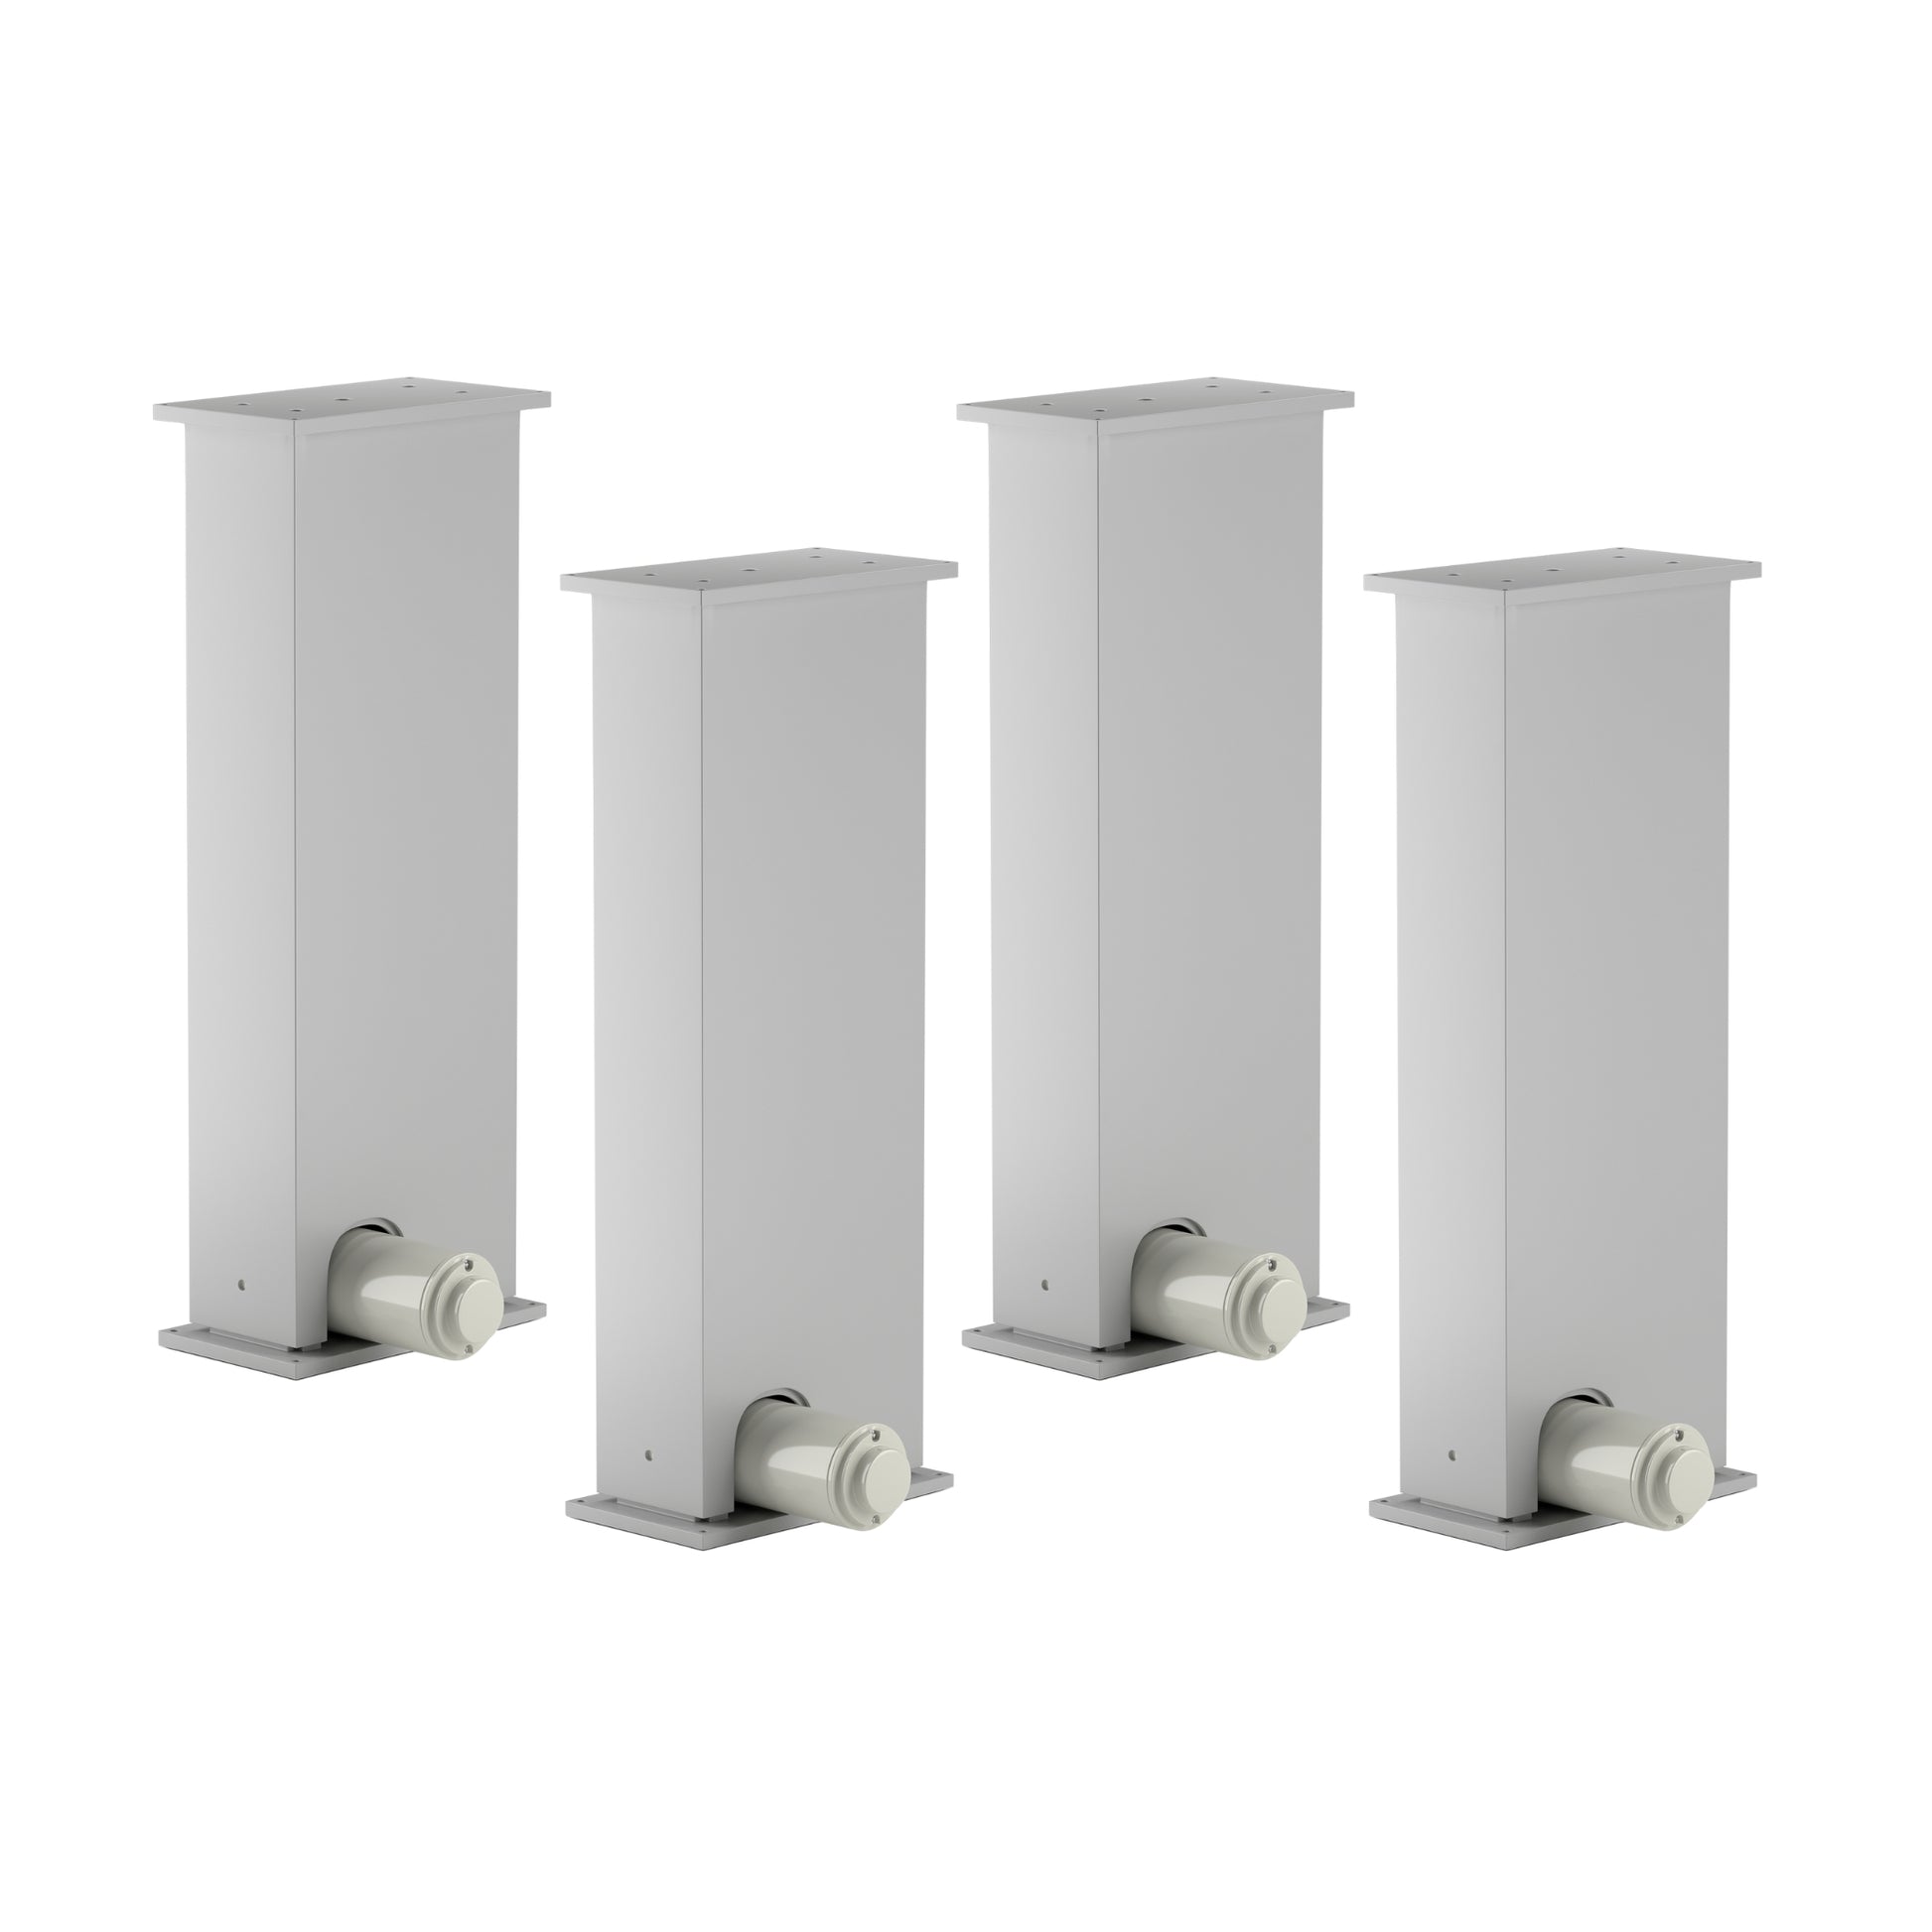
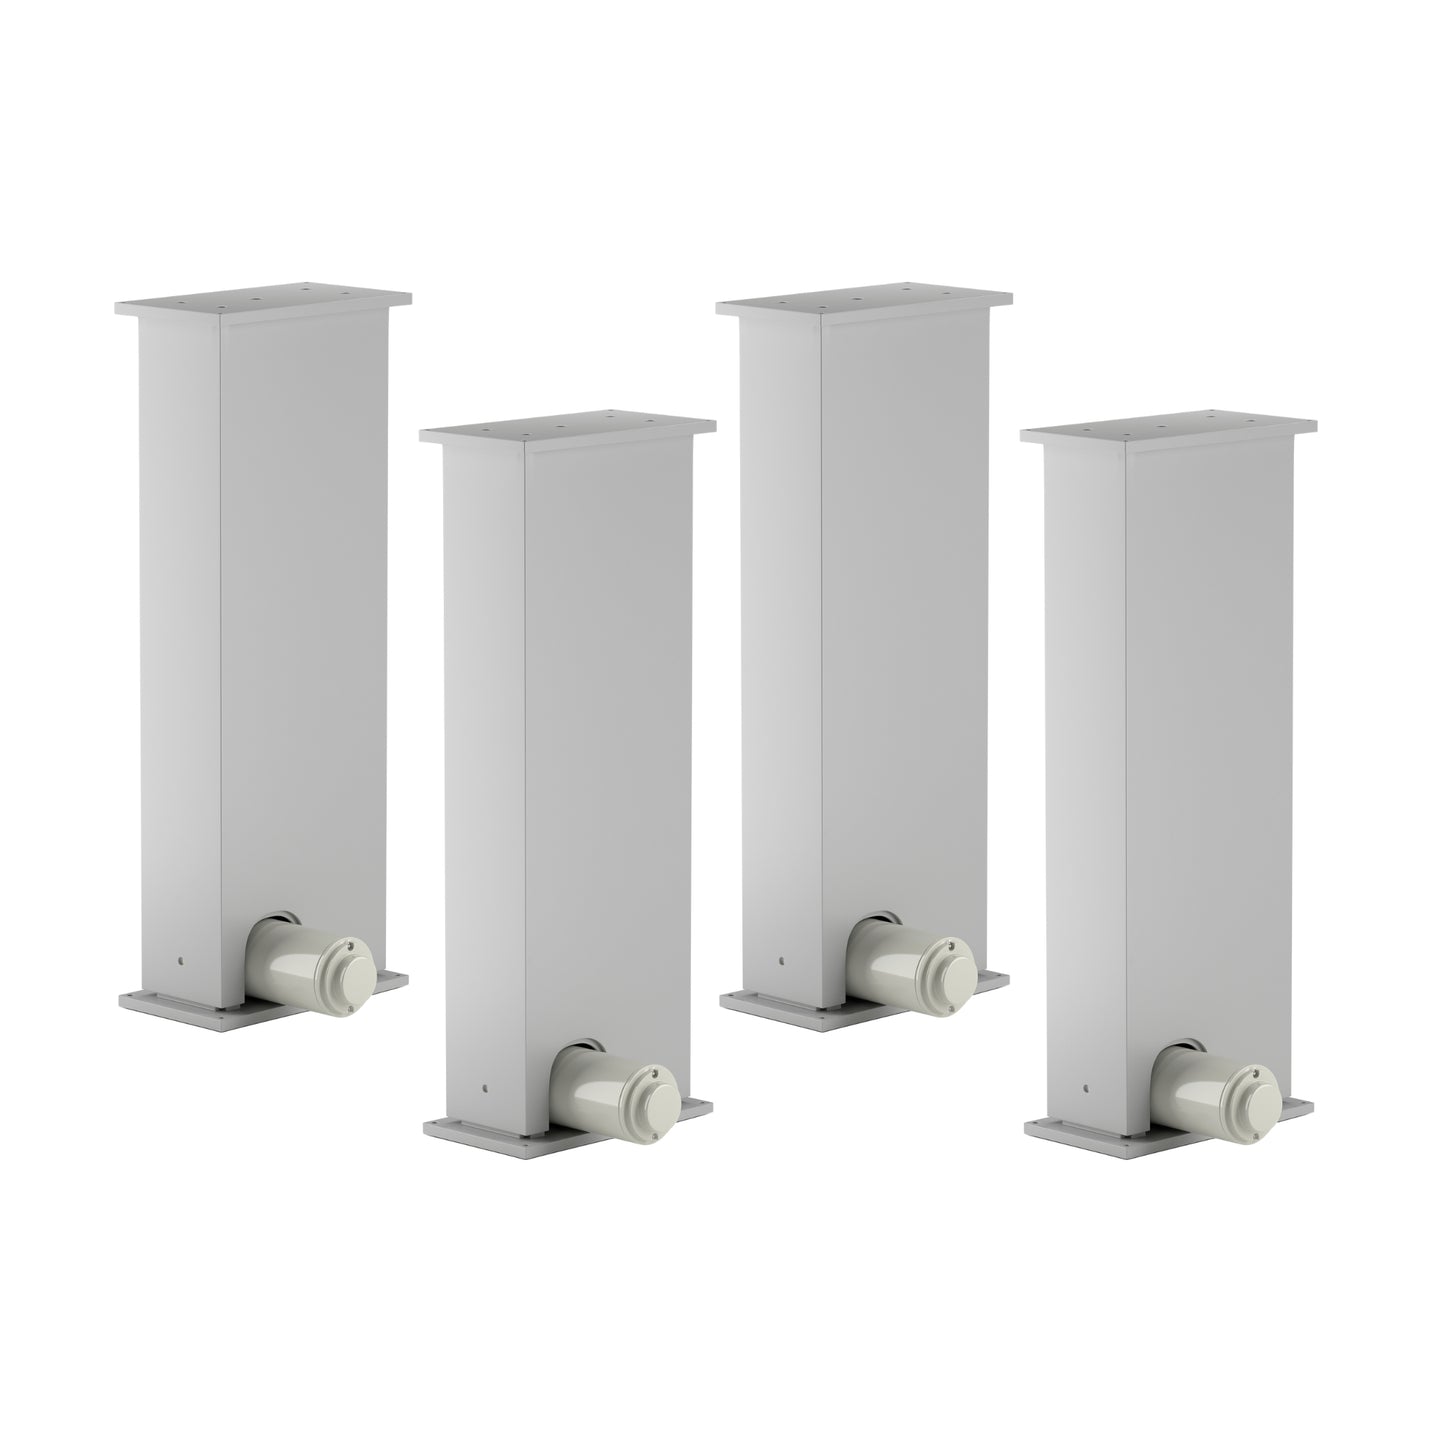
| FLTCON-4 |  | 110 VAC | 4 |
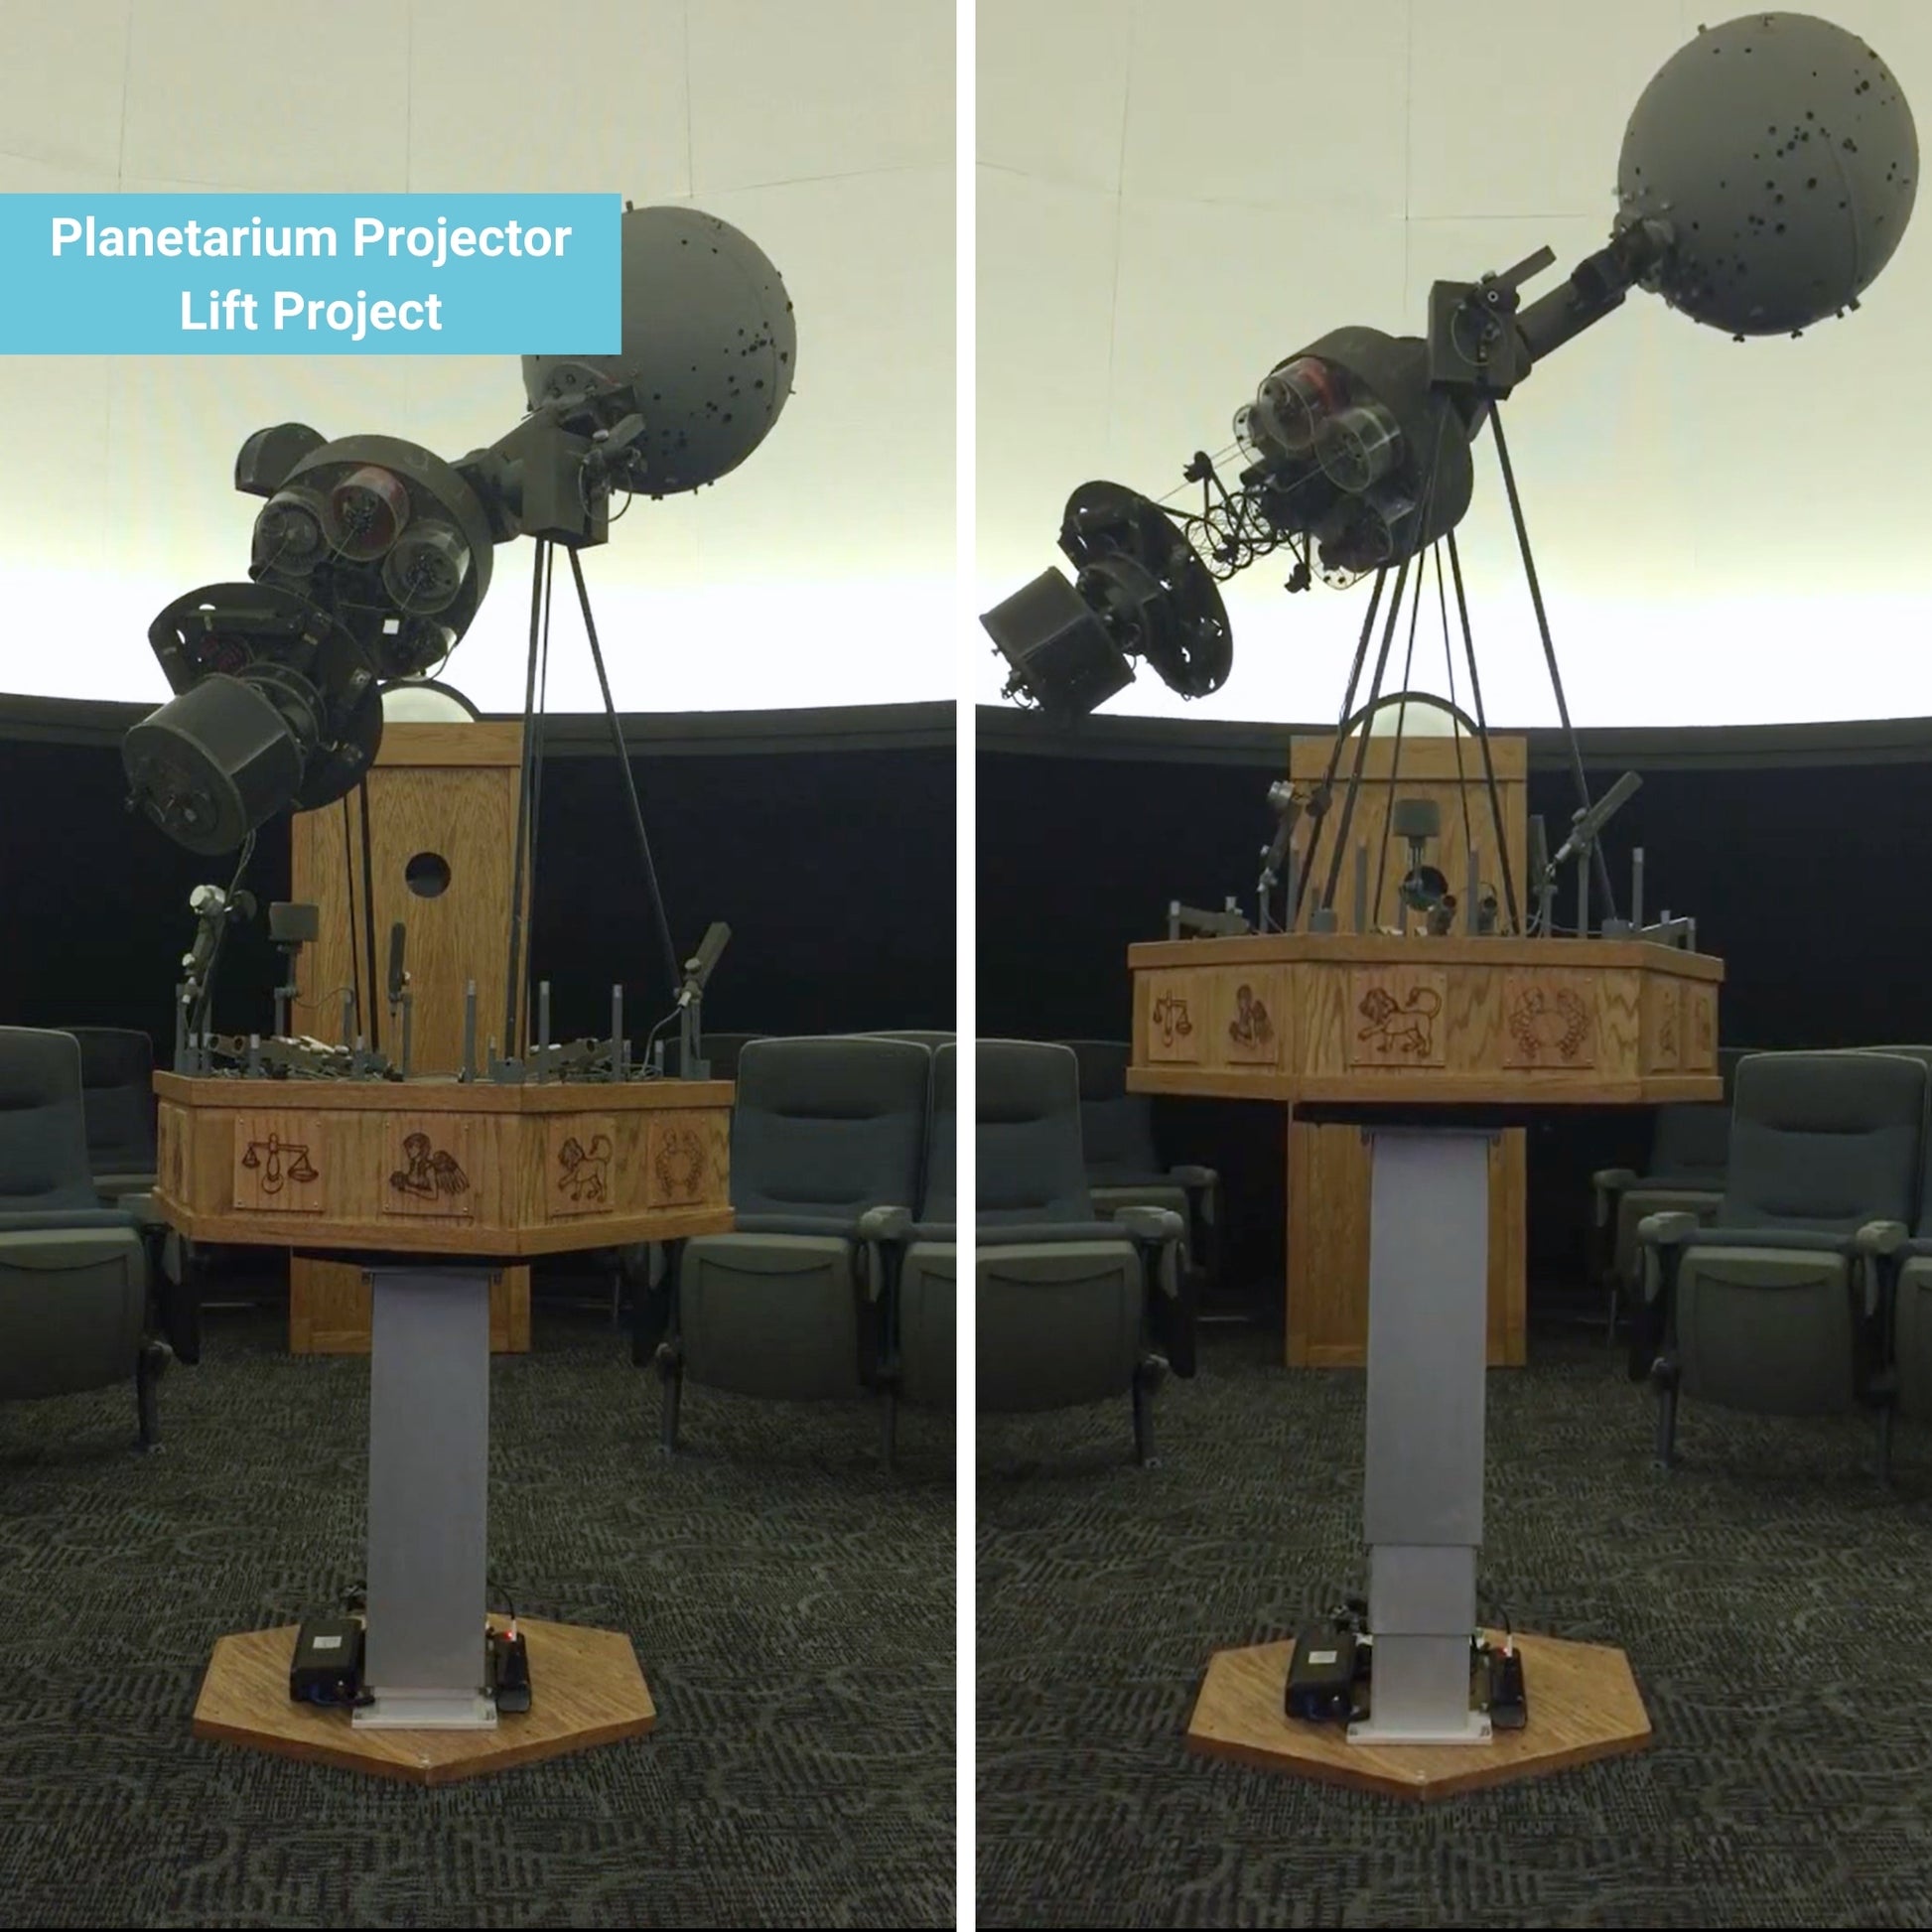
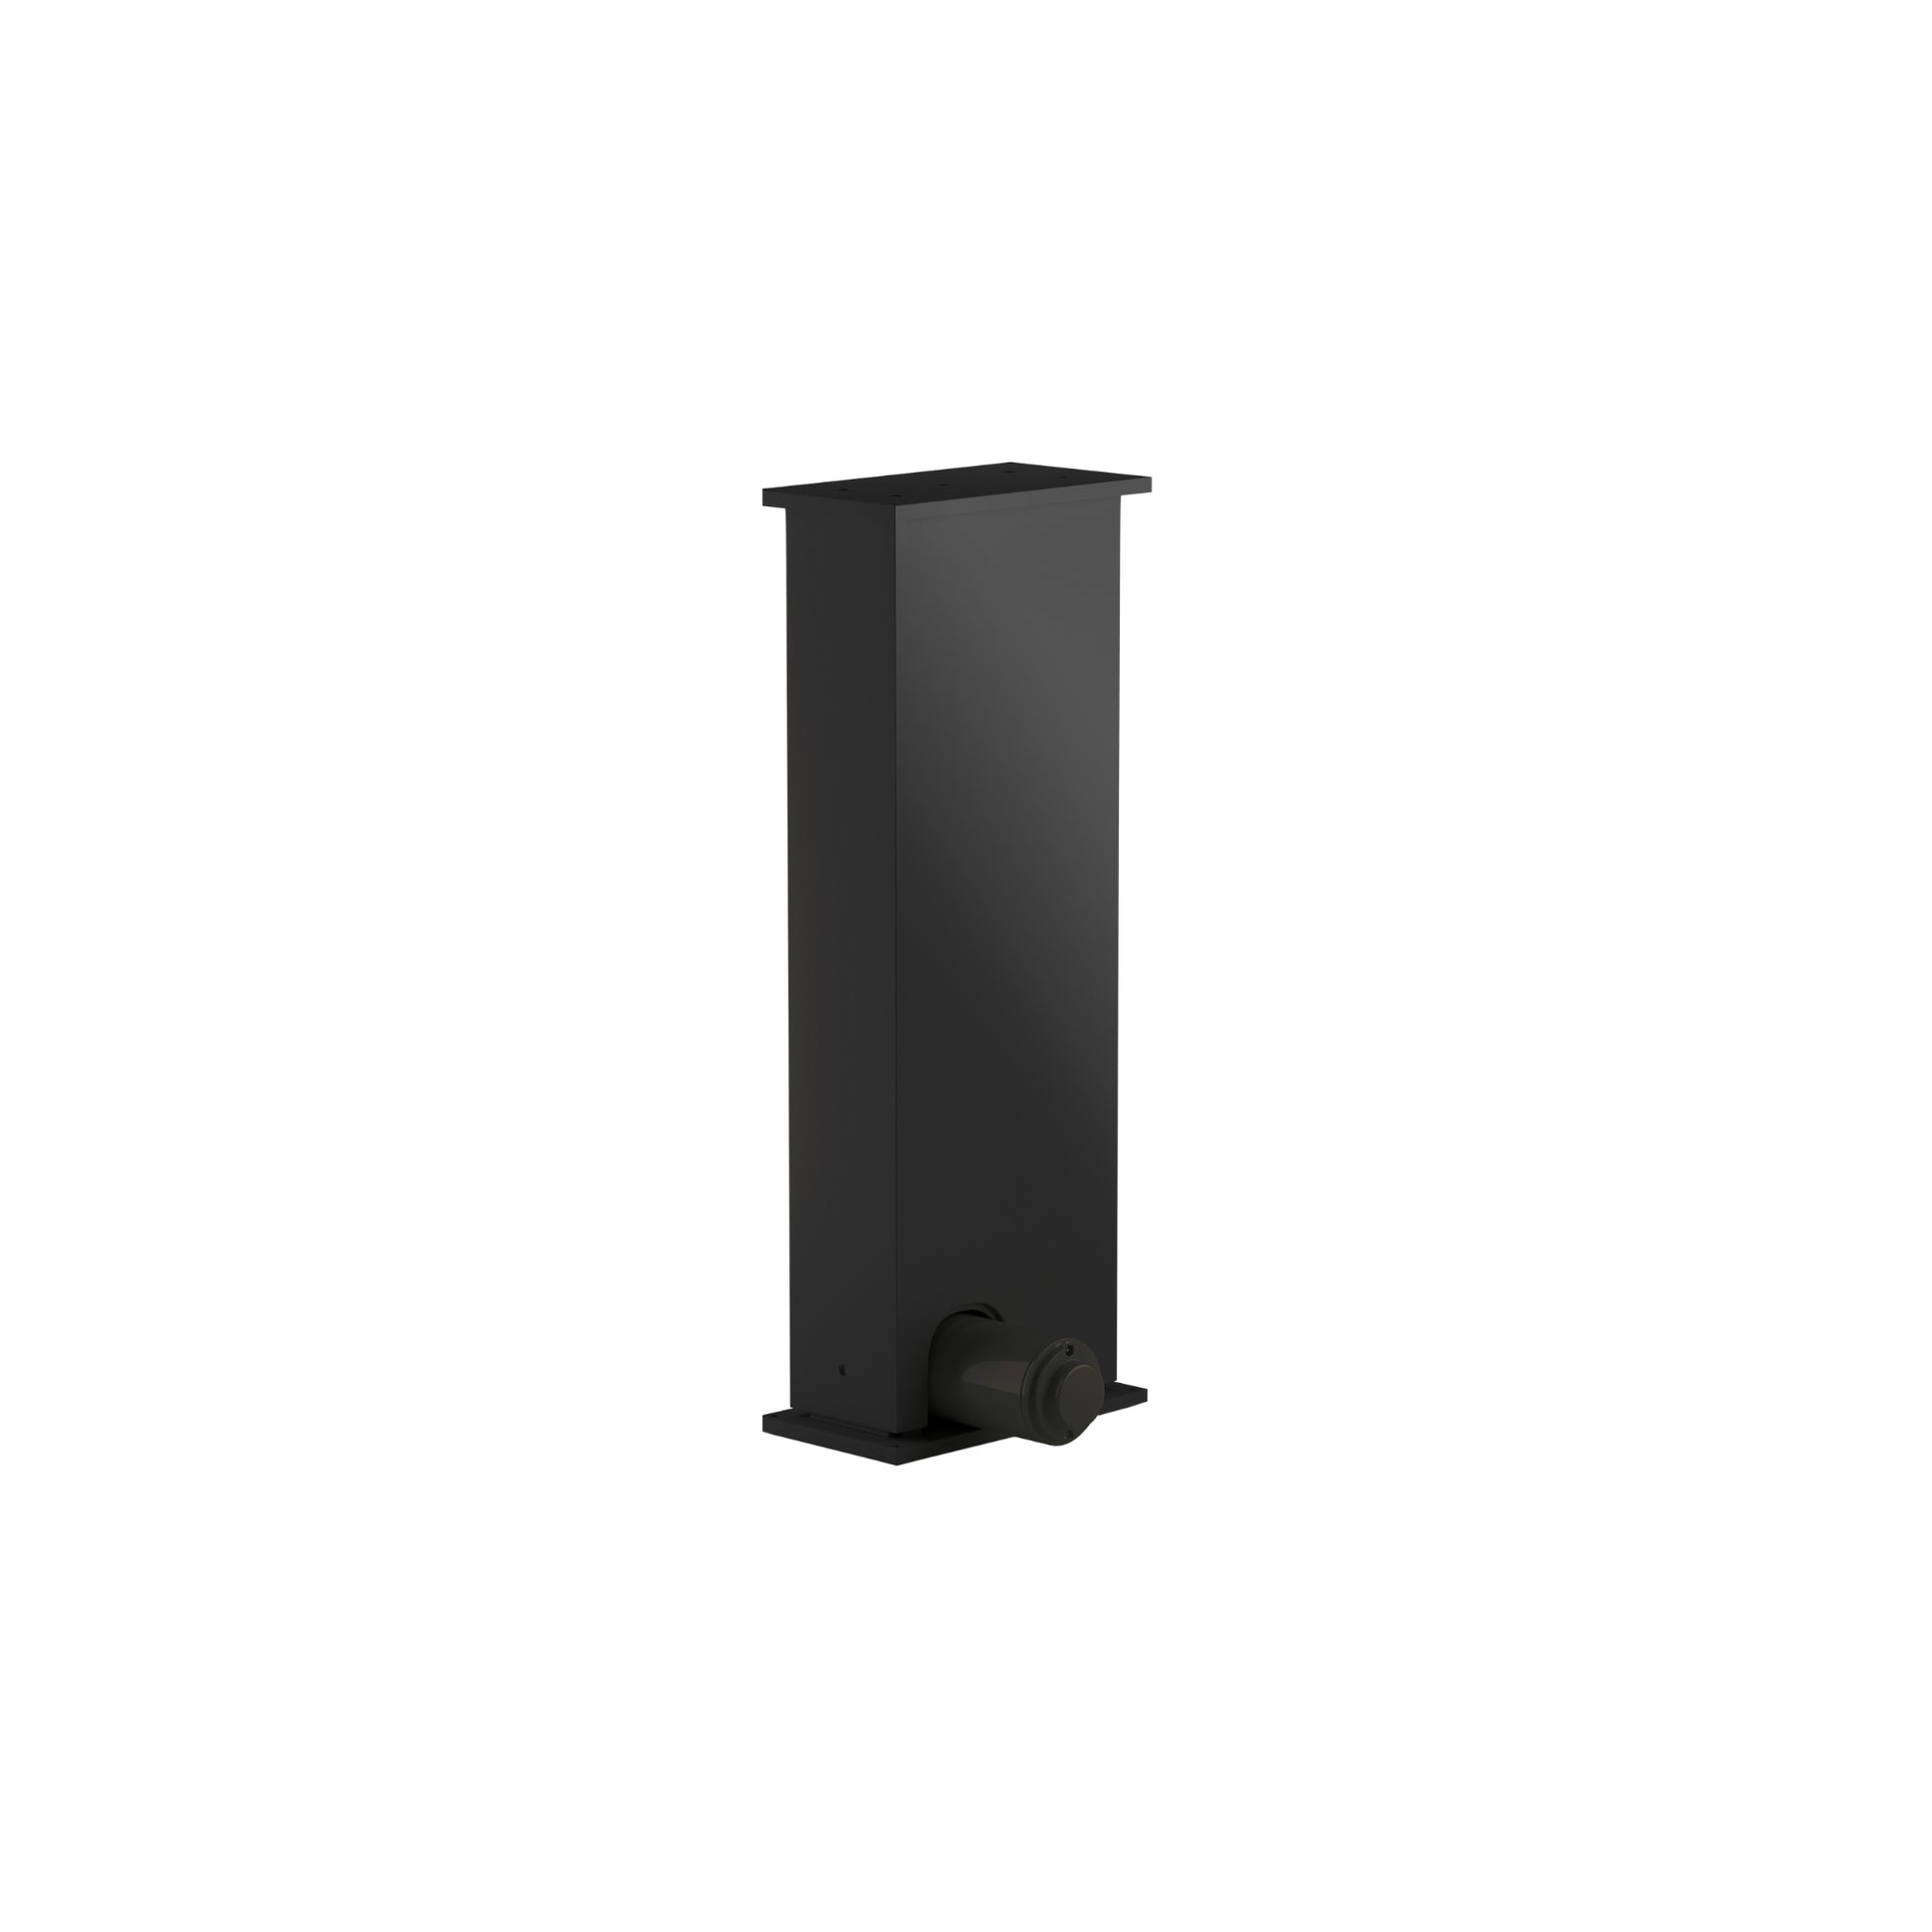
Die LG-03-2RM-16-440-HS-24V sind modulare Hubsäulen mit einer Einheit, die mit unseren Fernbedienungen und den Steuerboxen der FLTCON-Serie kombiniert werden können, die bis zu 4 Beine in einem einzigen Steuerungssystem bedienen können. Diese Säule kann eine Kraft von bis zu 440 Pfund erzeugen, was anpassbare Konfigurationen ermöglicht, die für eine Vielzahl verschiedener personalisierter Konfigurationen geeignet sind.
Designed with a rectangle column shape, this 2 stage model also has a height range from 22,8 Zoll to 37,8 Zoll. Select from our large range of remote options and enjoy all the unique features of our different programmable wired remotes that can be used together with wireless remotes for extra convenience. Installation is a simple procedure with the help of our instructional PDF manual which you can find here. It includes important technical information like the reset procedure and how to operate it as well as a wiring diagram.
Individuelle Optionen
Suchen Sie nach einem Linearantrieb, aber die Spezifikationen entsprechen nicht genau Ihren Anforderungen? Wir bieten eine umfangreiche Liste an Anpassungsmöglichkeiten, damit Sie genau das bekommen, was Sie für Ihr Projekt benötigen. Laden Sie das Datenblatt dieses Produkts herunter und erfahren Sie mehr über Ihre Anpassungsmöglichkeiten!
| Eingangsspannung | 24 V DC |
| Verfahrweg | 16 Zoll |
| Höhenbereich | 22,8 Zoll bis 37,8 Zoll |
| Tragfähigkeit | 440 Pfund |
| Geschwindigkeit | 0.50 "/s |
| Hubmechanismus | Elektromotor |
| Stufen | 2 |
| Form | Rechteckig |
| Anzahl der Fernbedienungsoptionen | Verschiedene (mit Progressive Automations Control Box) |
| Nivellierung | Keine |
| Material | Aluminiumlegierung |
| Einschaltdauer | 10% (2 minutes an, 18 minutes aus) |
| Geräuschpegel | <65dB ab 1.5m |
| Schutzart | IP43 |
| Einzelgewicht | 23,1 Pfund |
| Energiesparmodus | Mehr Informationen |
| Programmierbare Speichervoreinstellungen | Mehr Informationen |
| Ladeanschluss | Mehr Informationen |
Die Einhaltung eines Normenwerks ist für Unternehmen entscheidend, um sicherzustellen, dass ihre Produkte und Dienstleistungen ein Qualitätsniveau erreichen, das die Kundenzufriedenheit fördert. Bei Progressive Automations streben wir für unsere Kunden nur das Beste an und arbeiten kontinuierlich an Verbesserungen. Deshalb freuen wir uns, bekannt zu geben, dass Progressive Automations nun nach ISO 9001:2015 zertifiziert ist!
Qualität, der Sie vertrauen können – Mehr erfahrenDatenblätter
LG-03 Datenblatt
2D/3D-Modelle