Set de columnas de elevación - 225 lbs - Recorrido de 16.5"
Set de columnas de elevación - 225 lbs - Recorrido de 16.5"


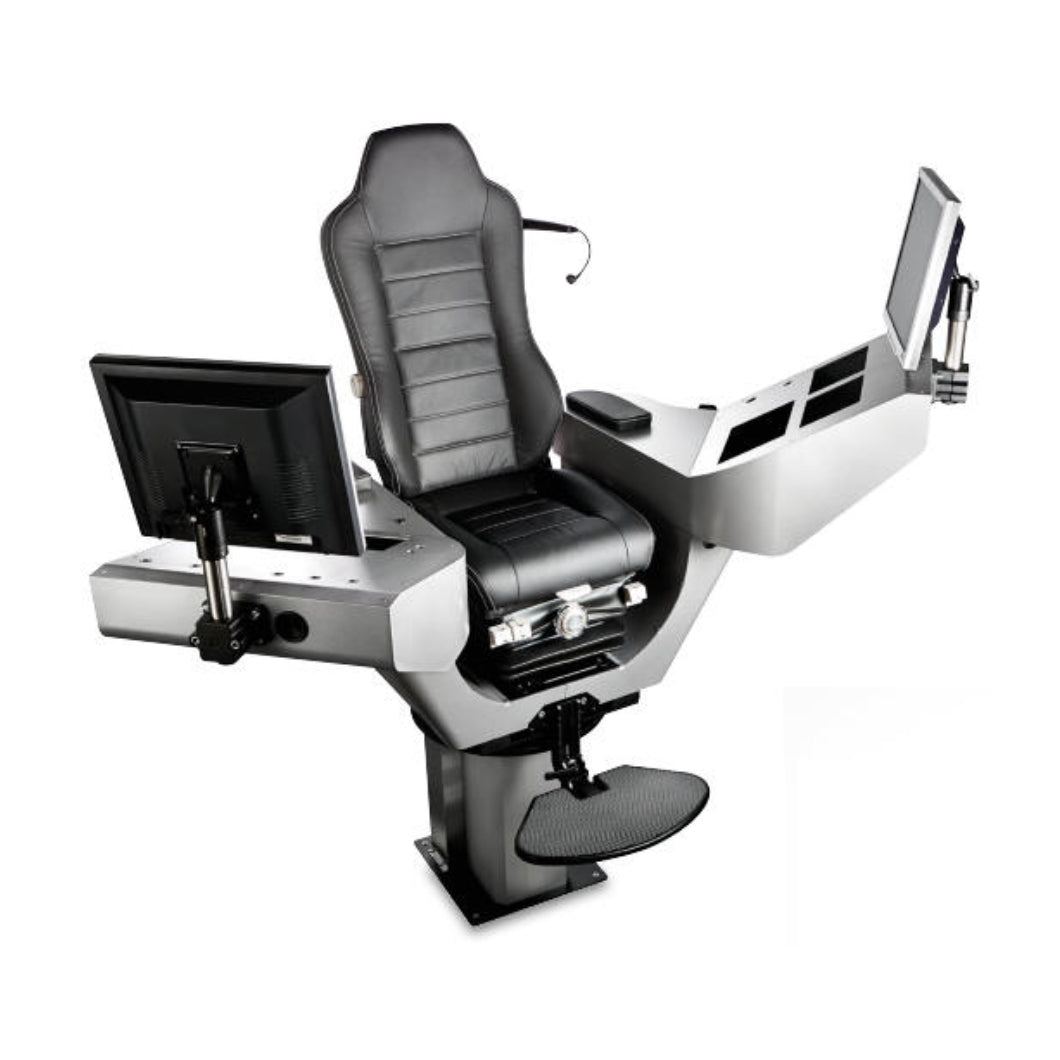
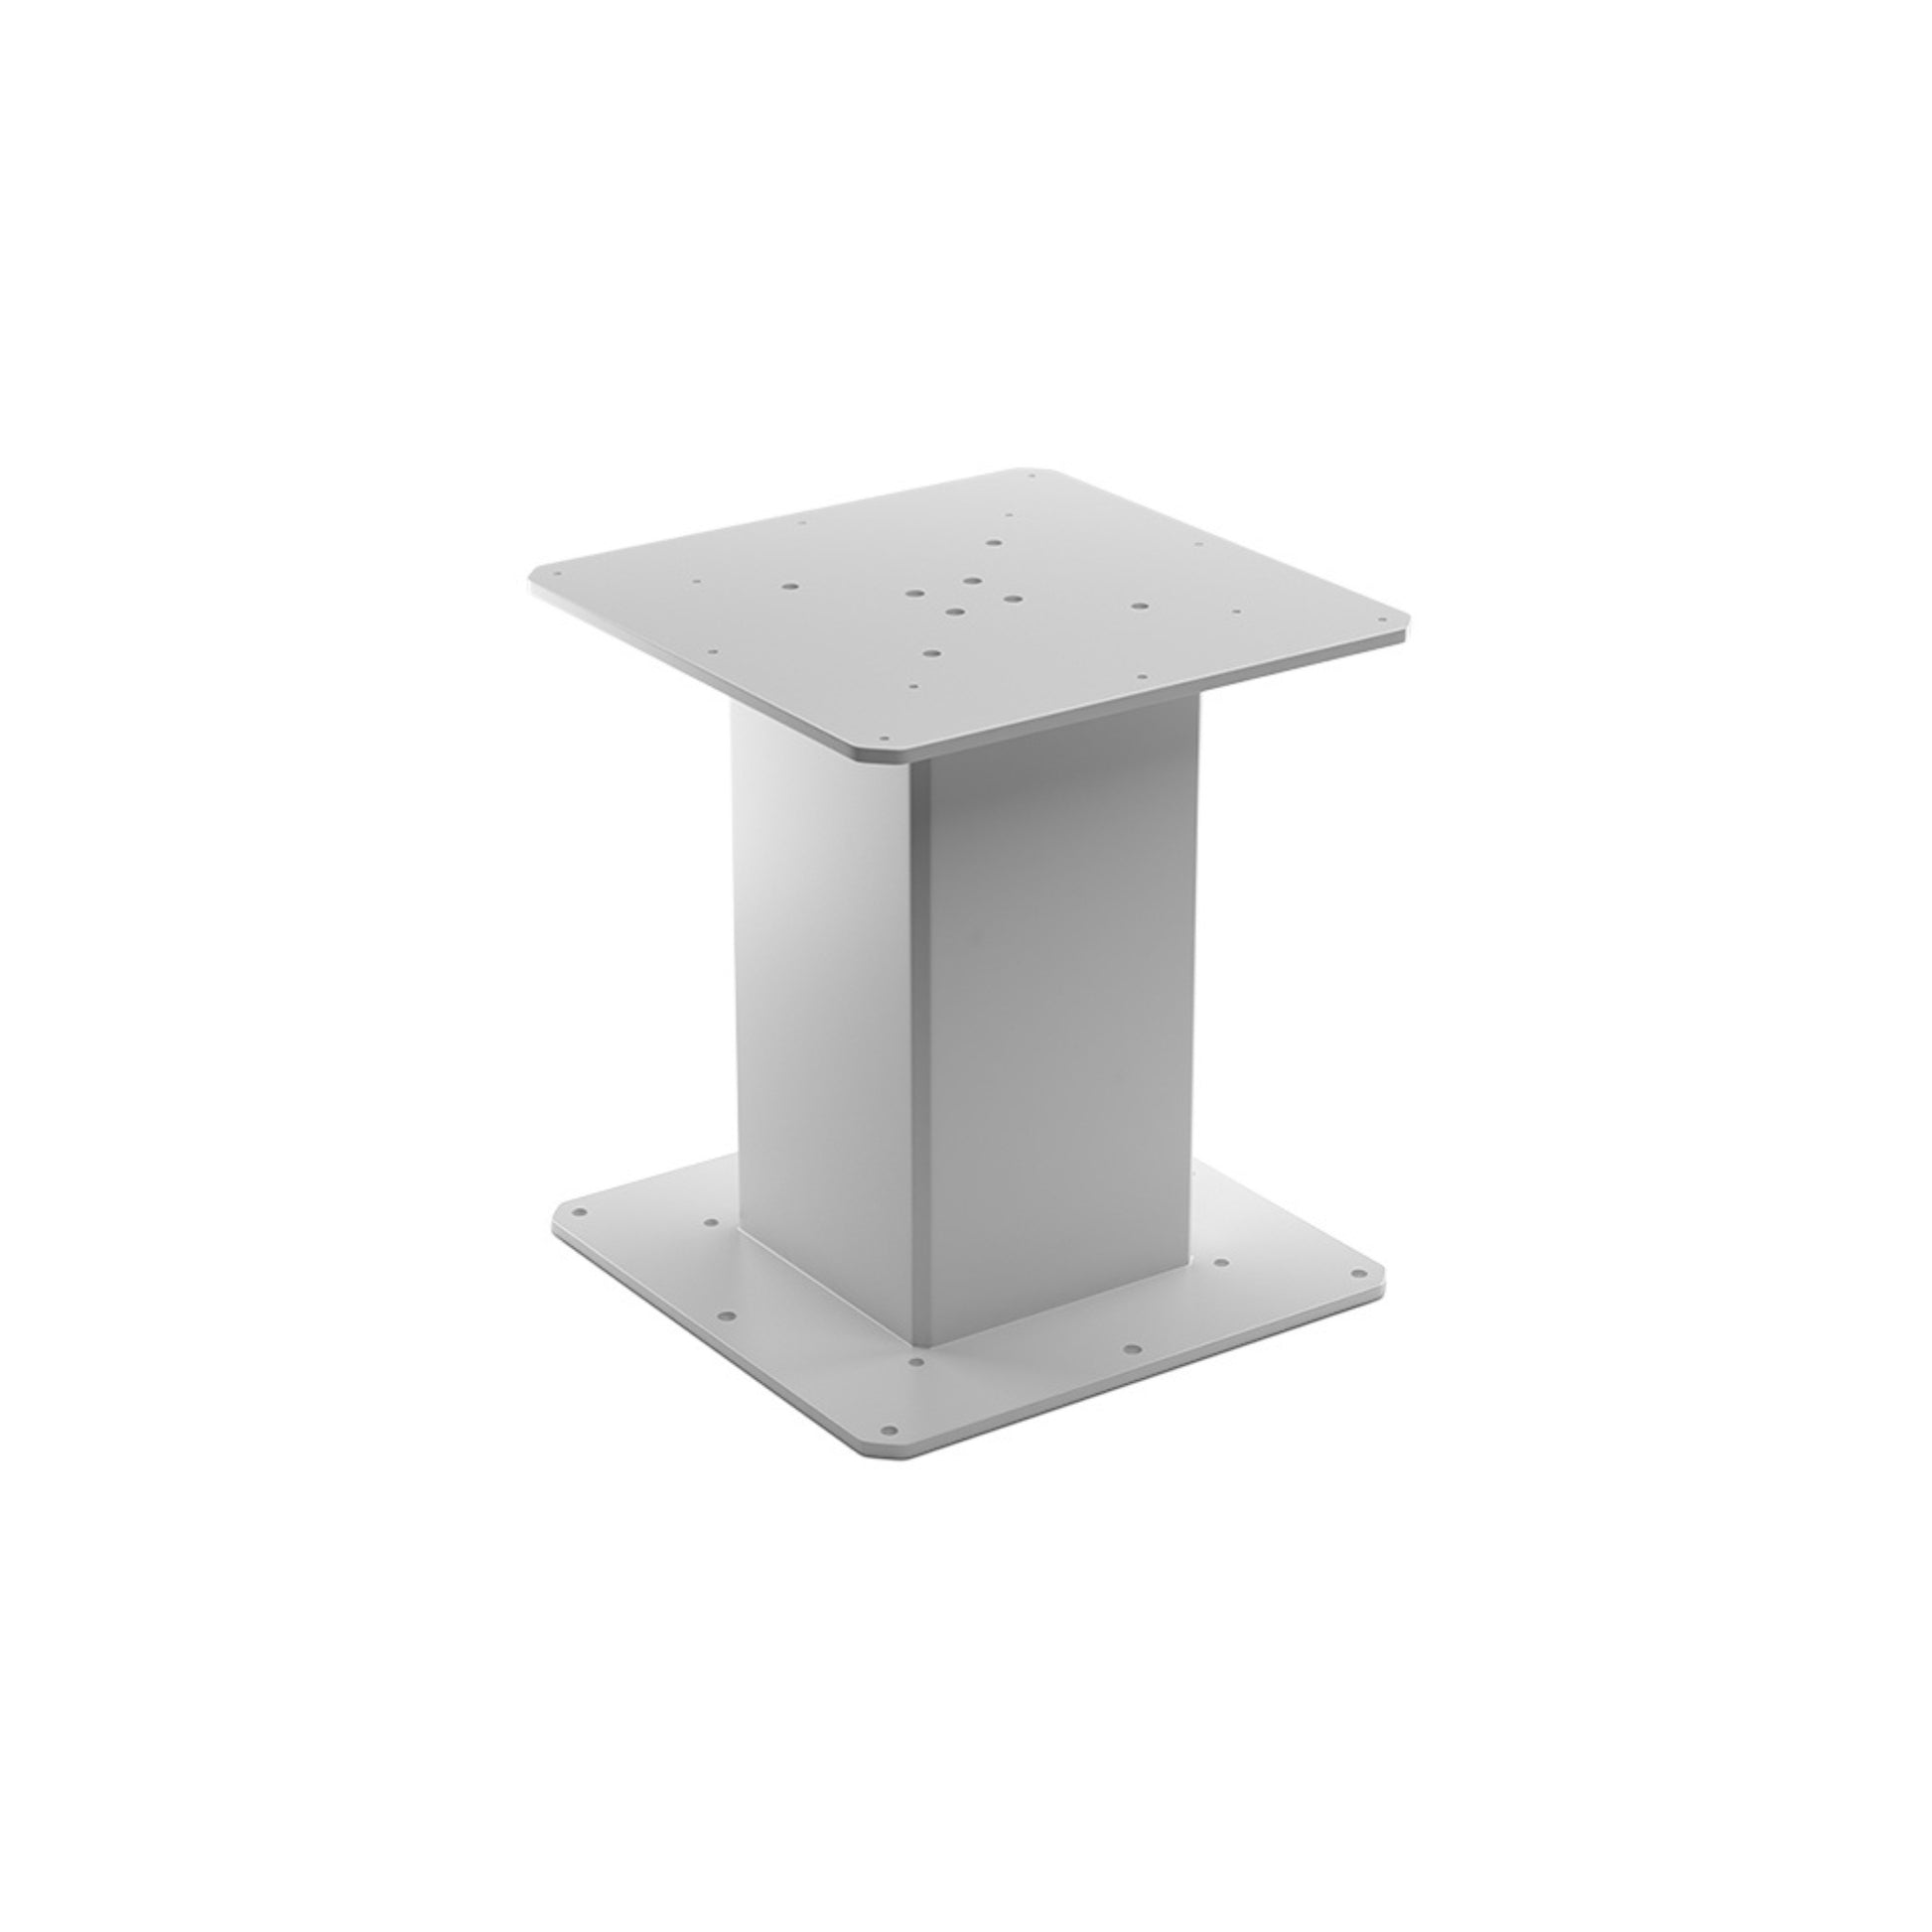
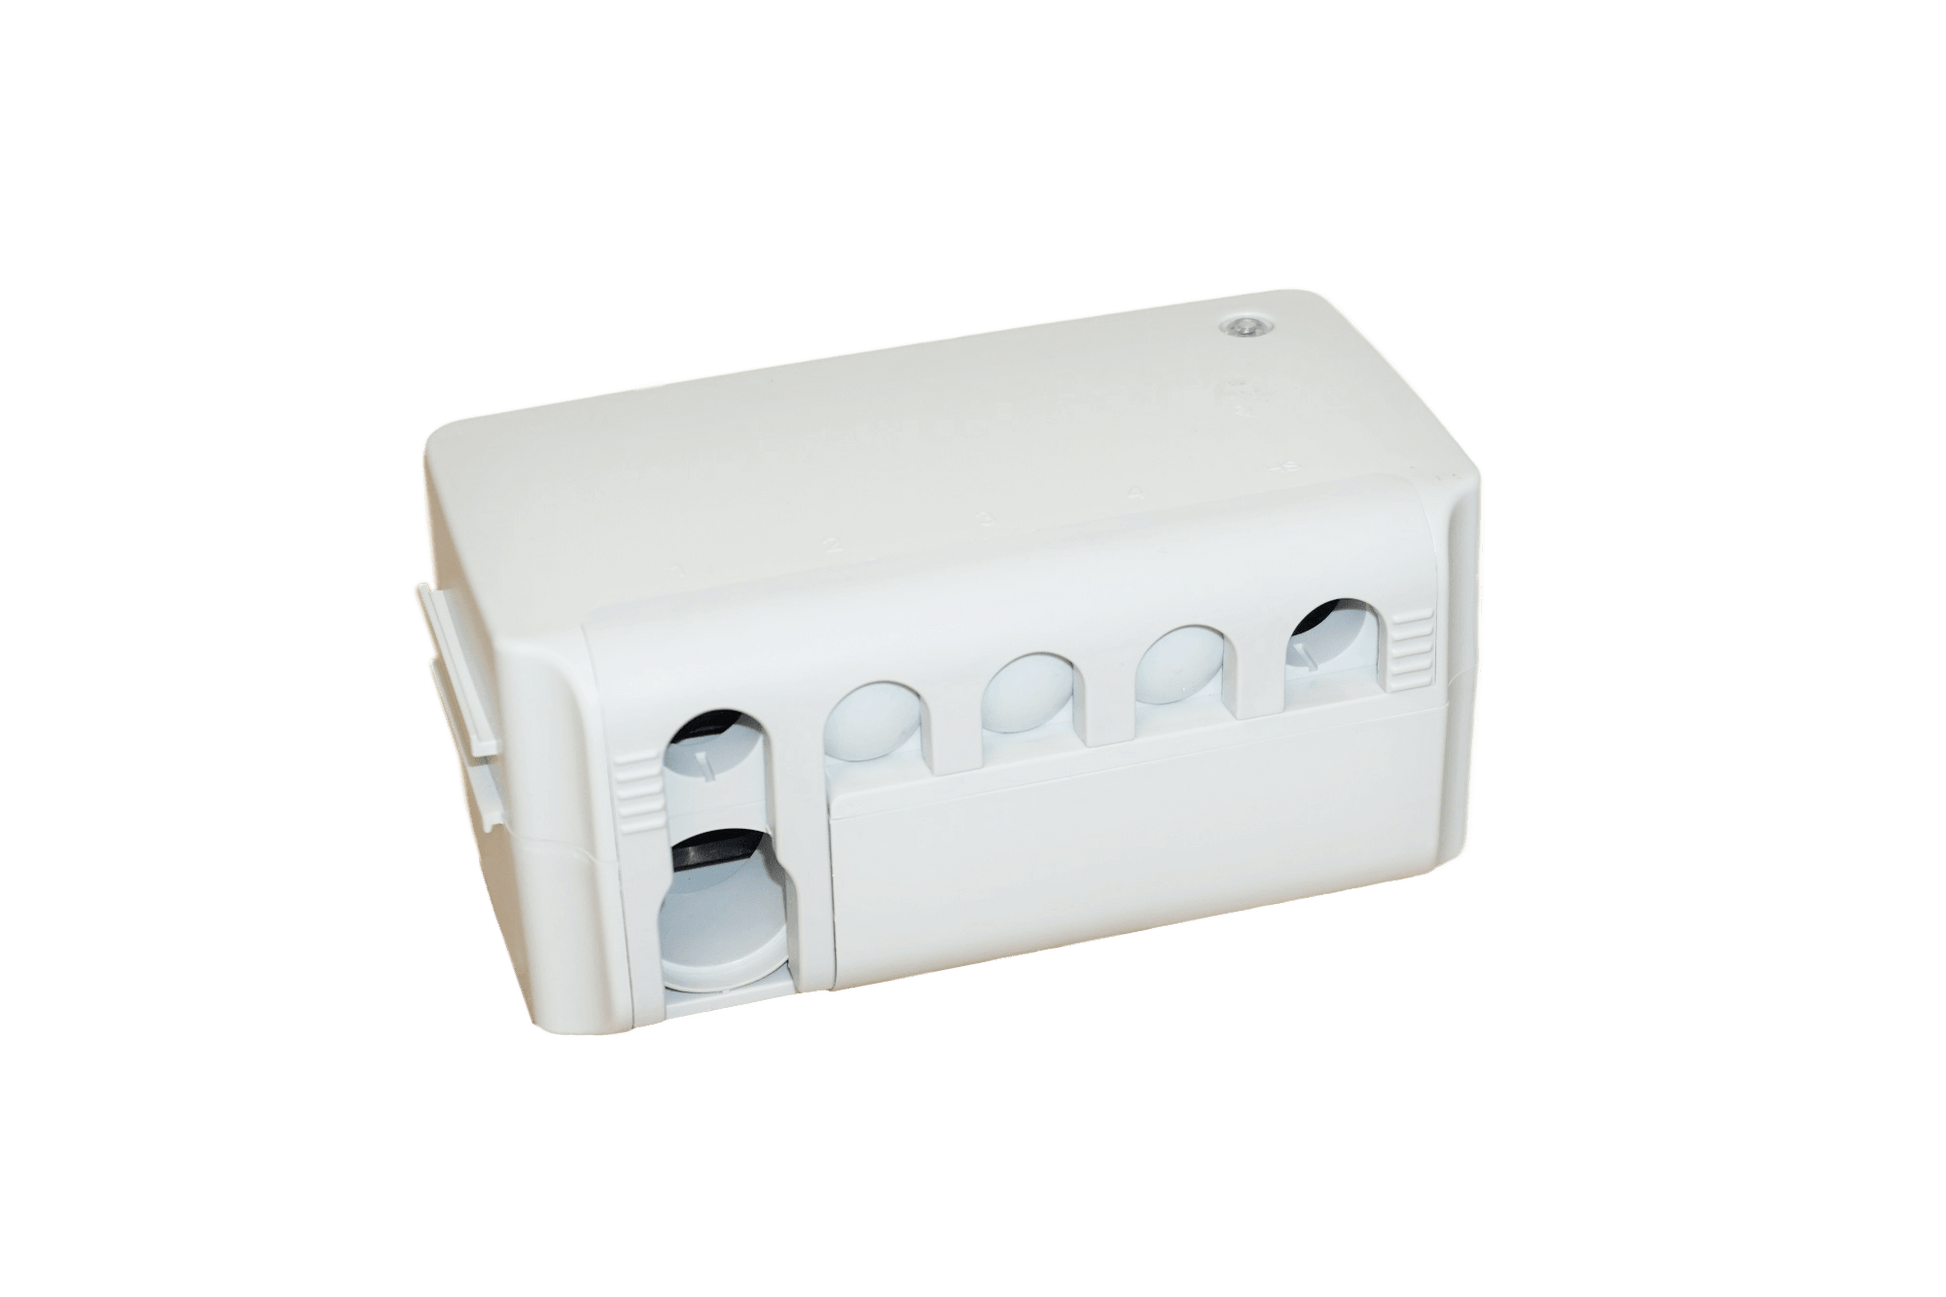
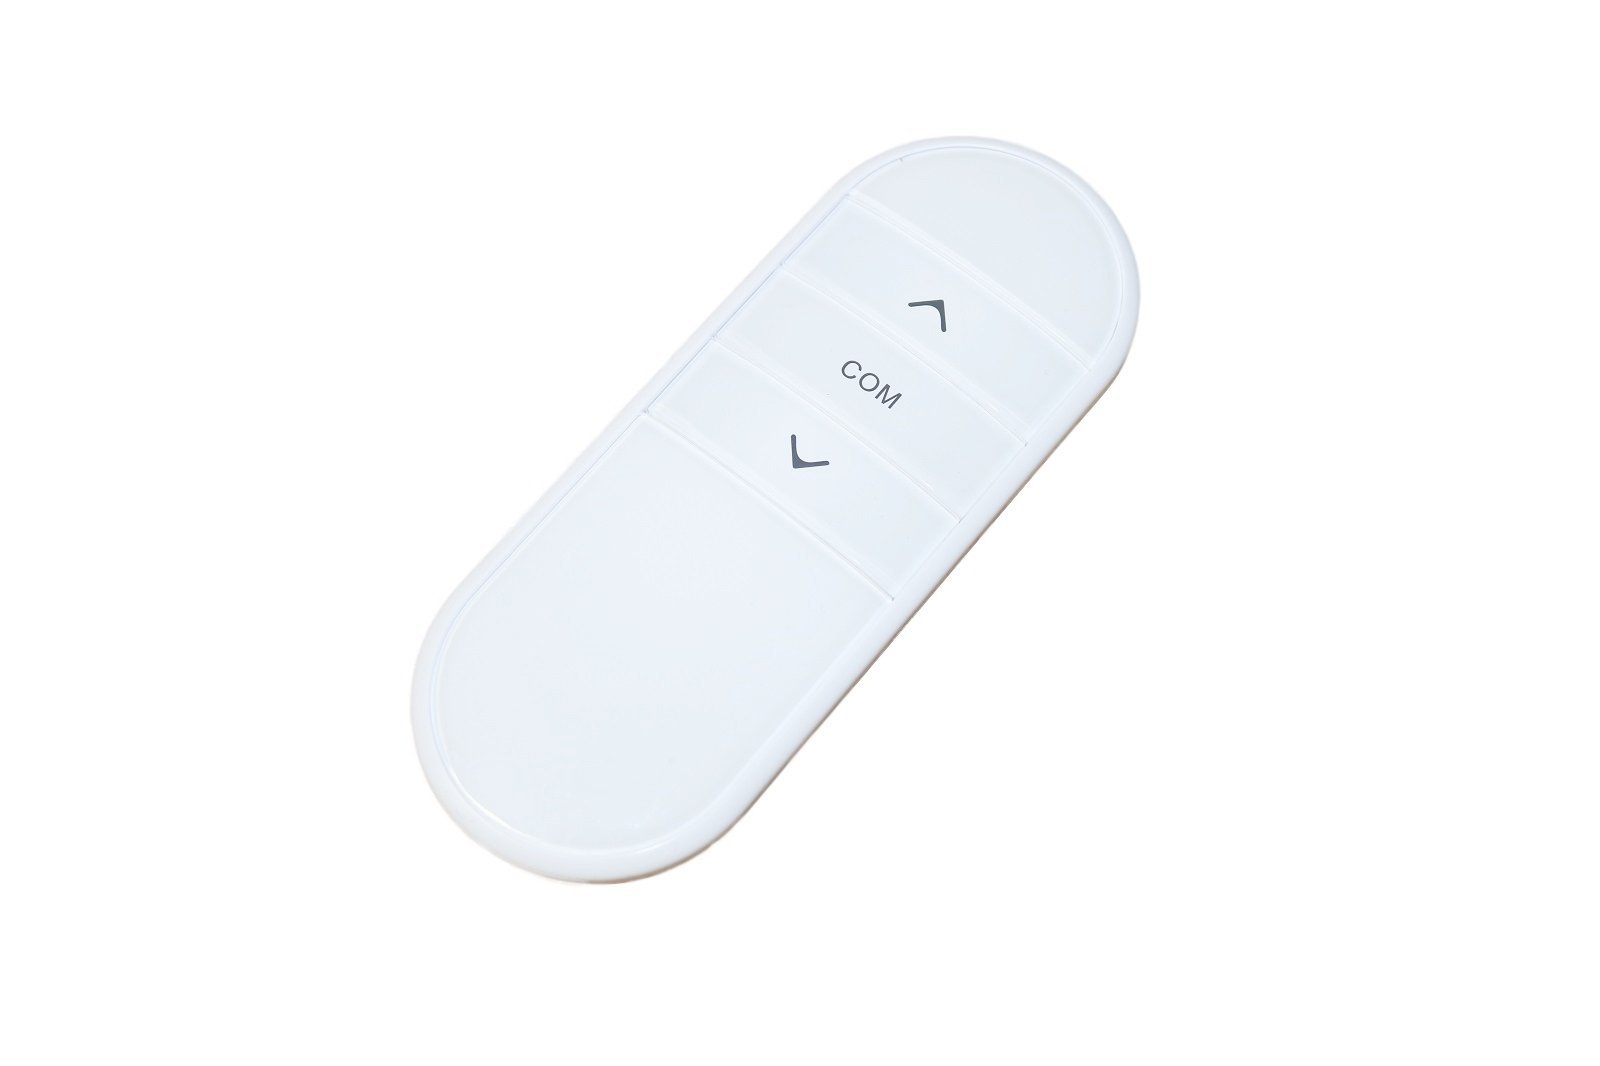
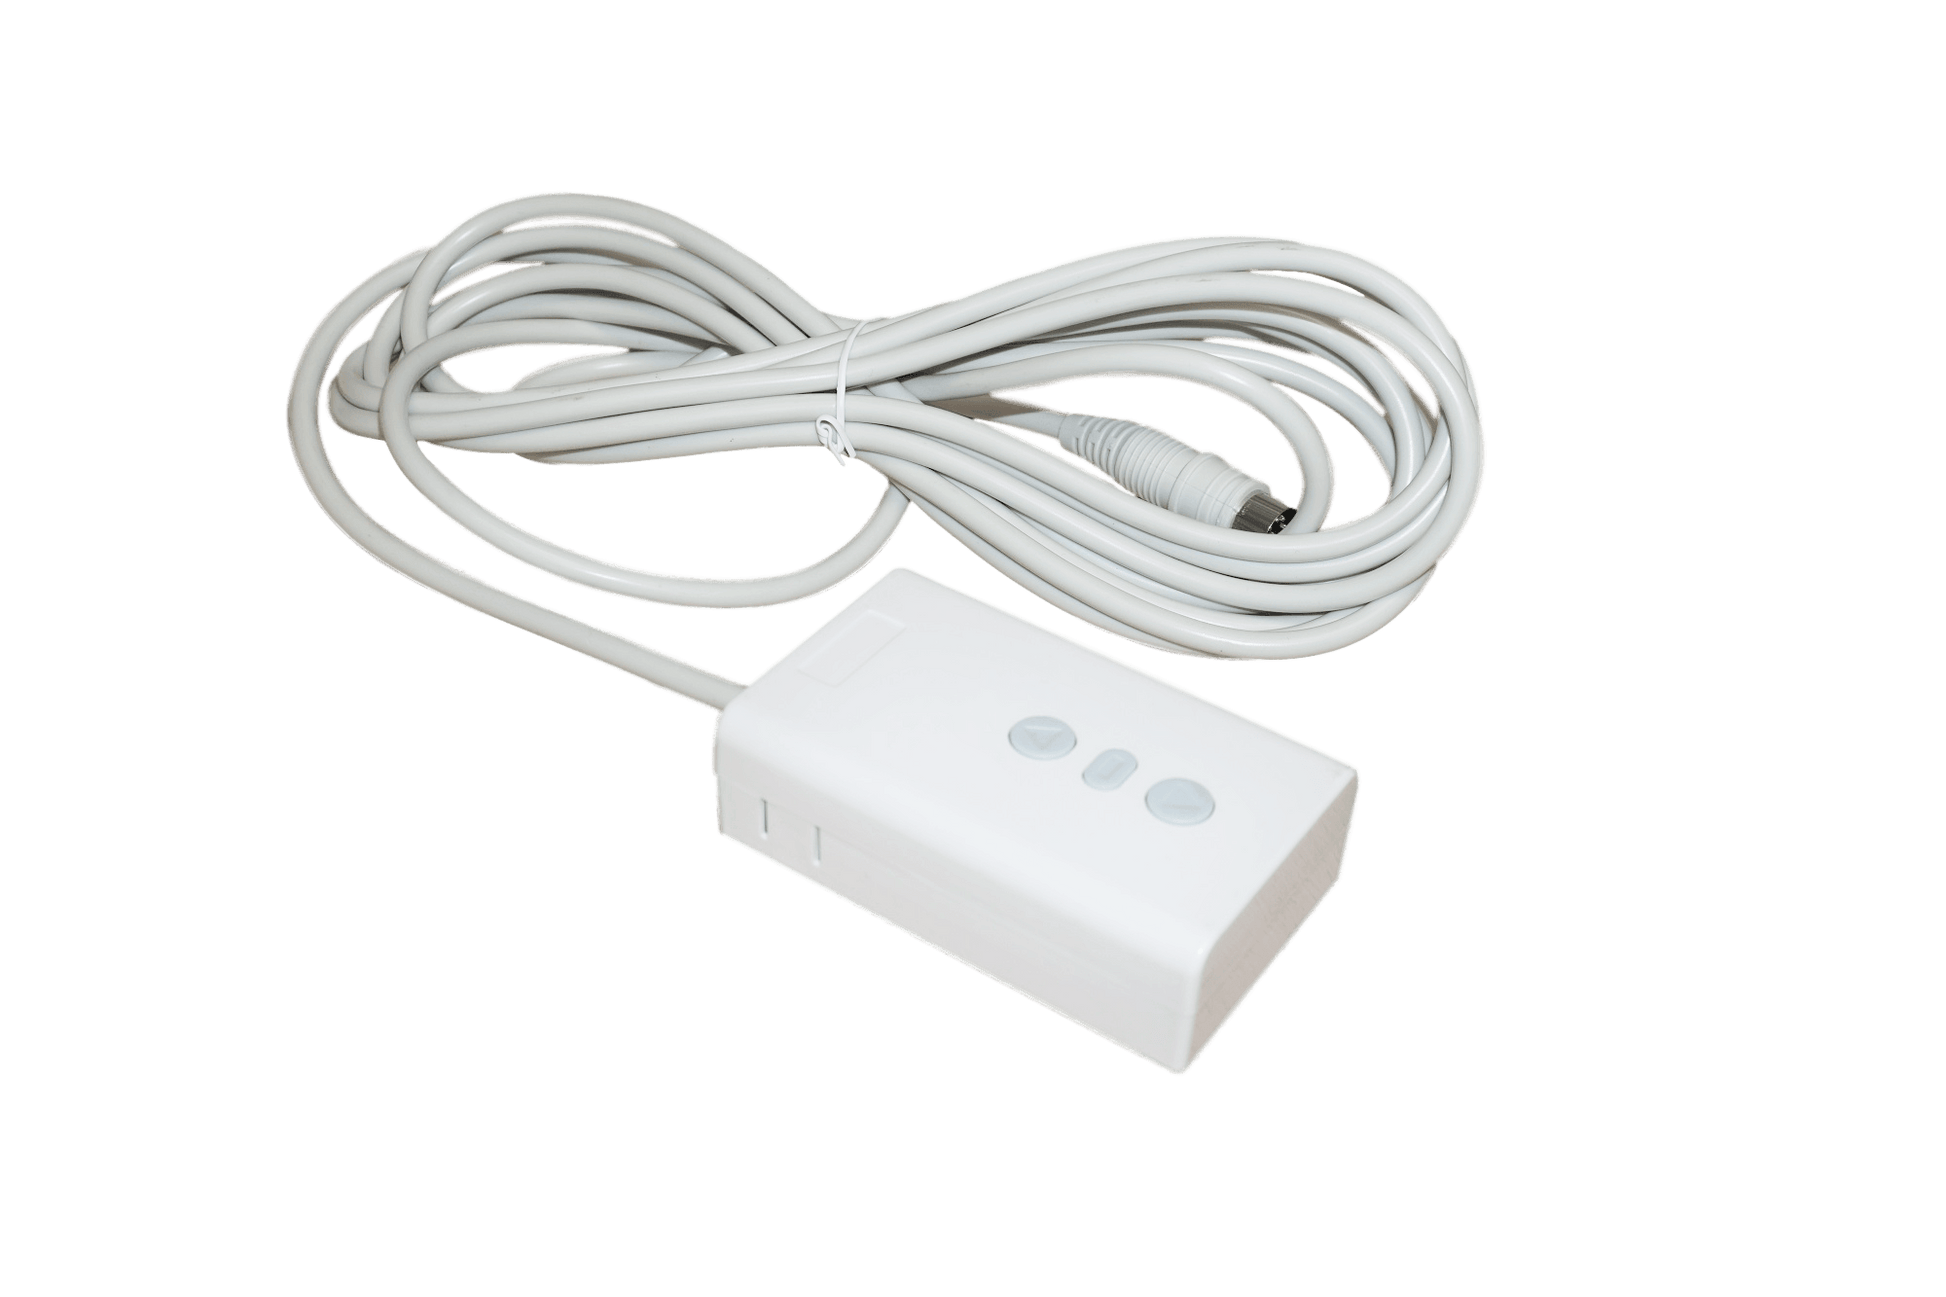
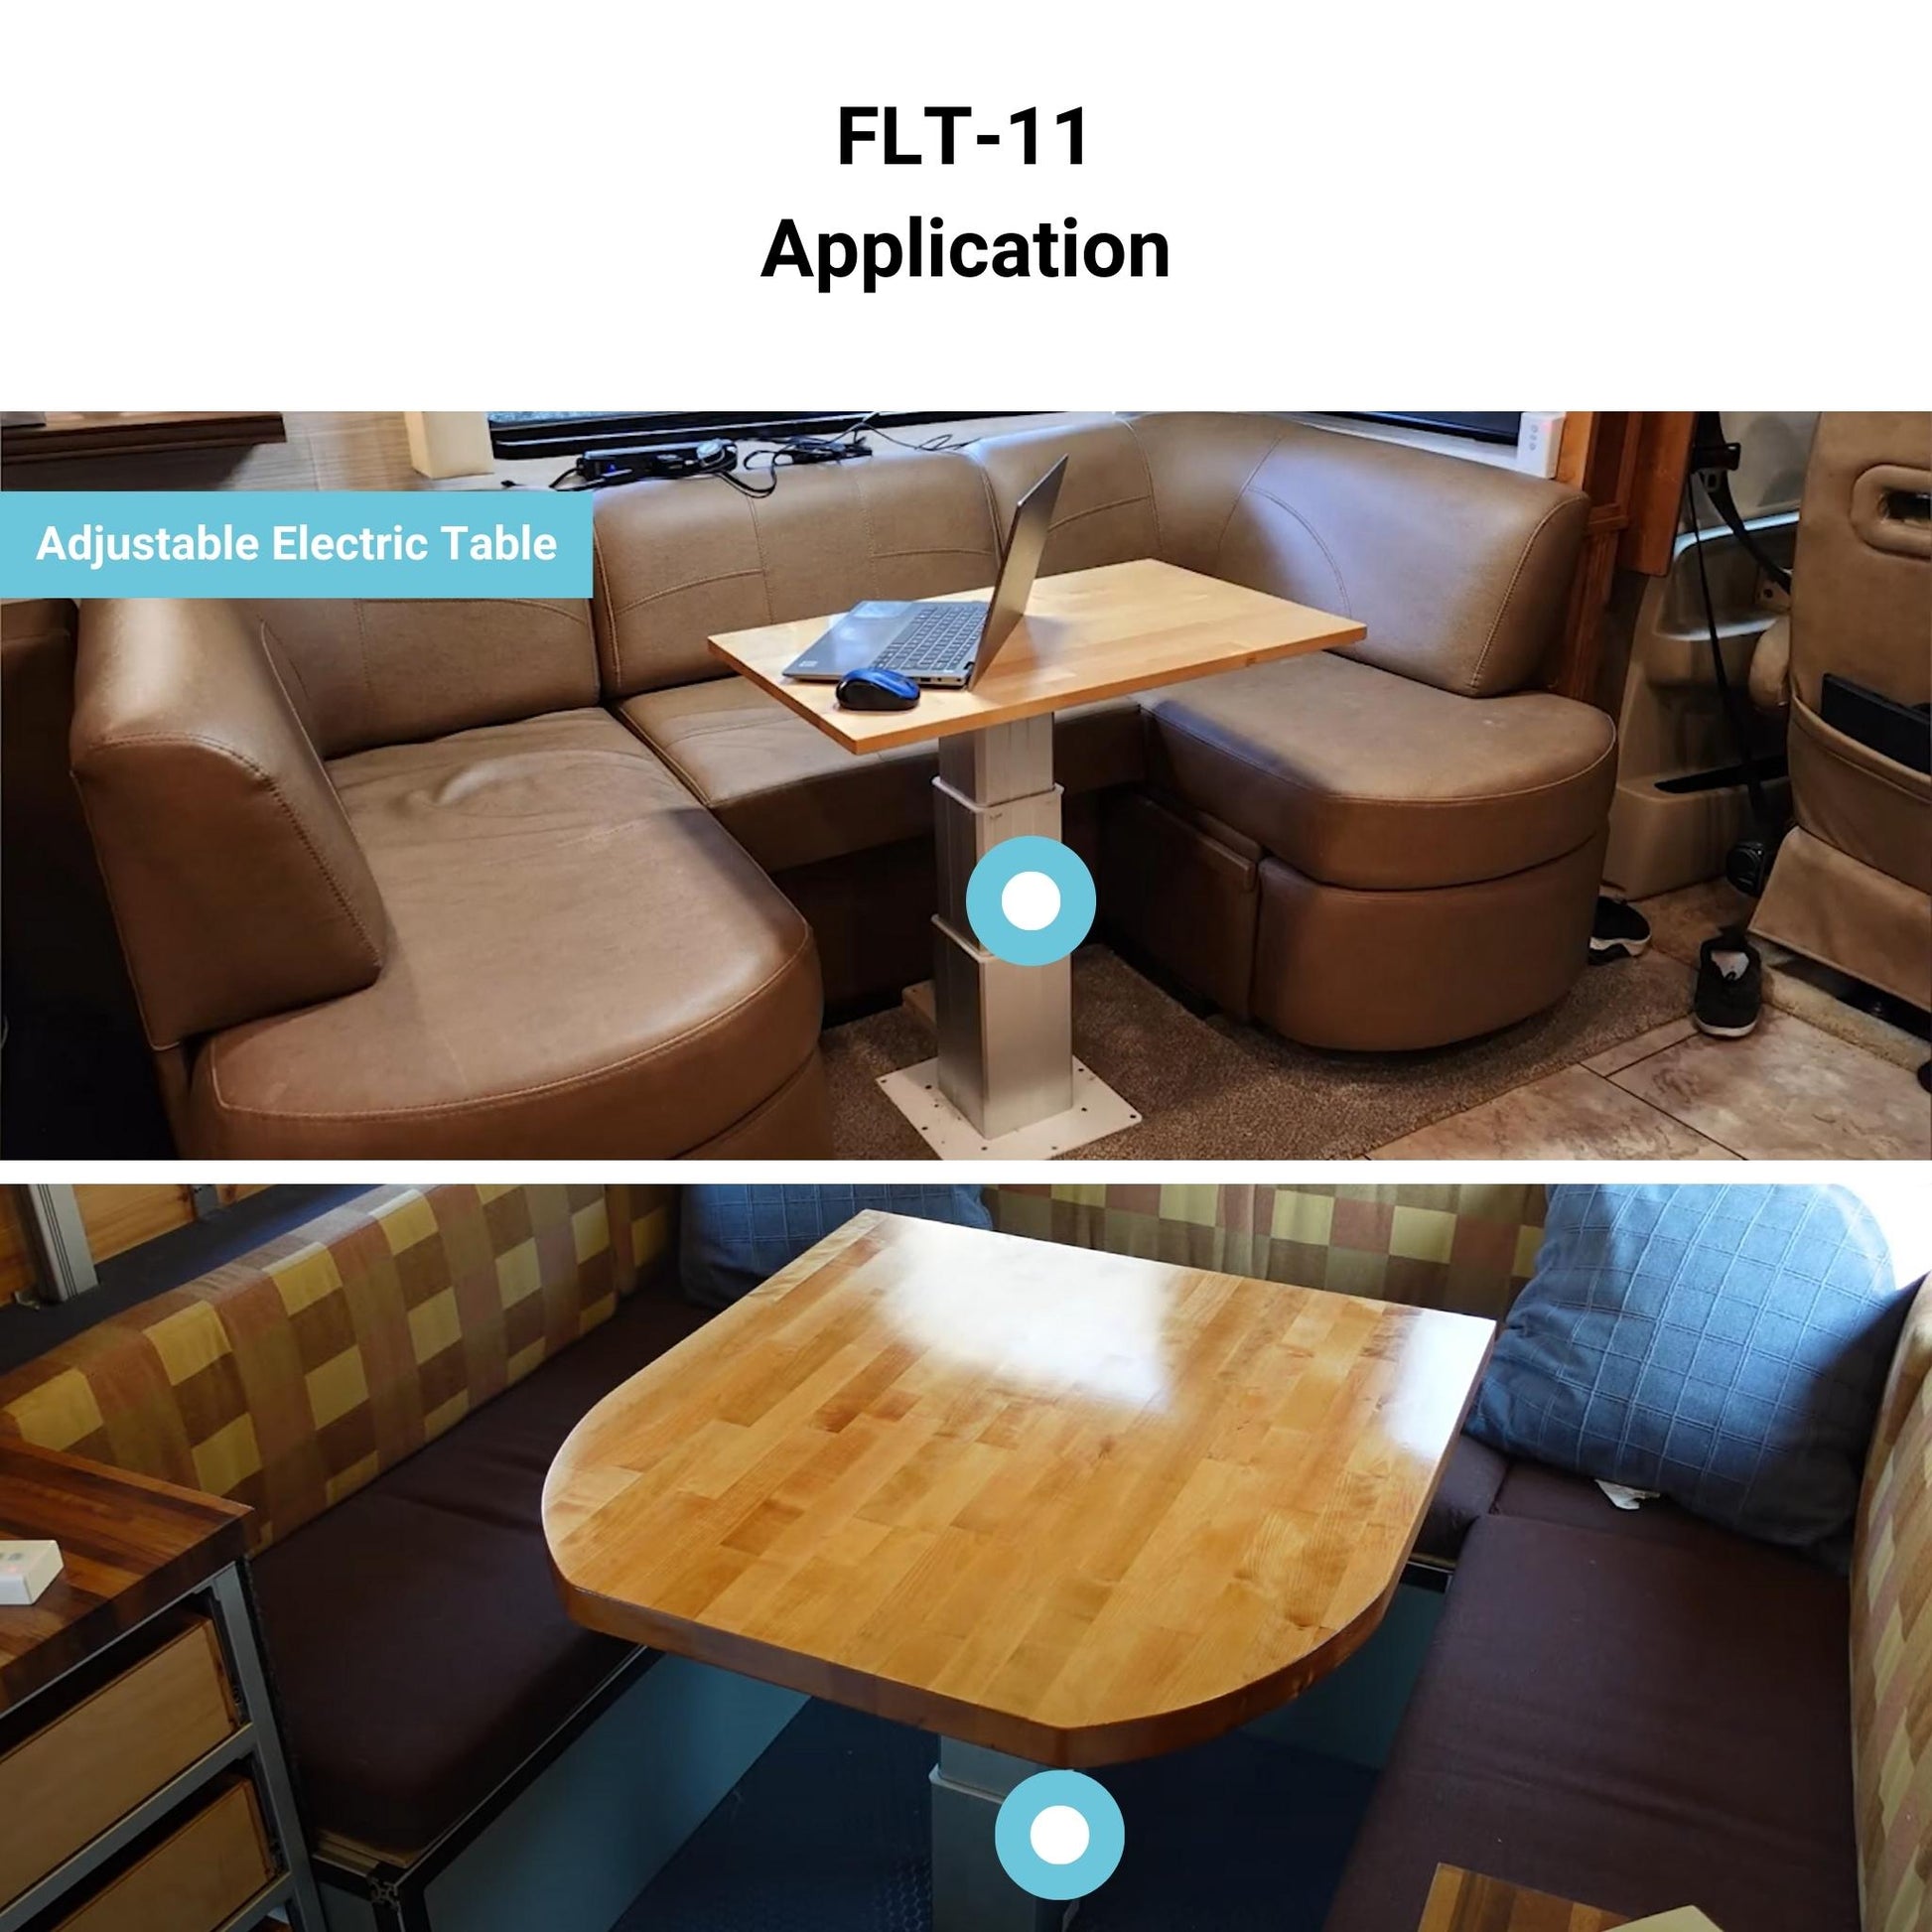
El conjunto de columna elevadora FLT-11 es un sistema de elevación de una sola pata. Incluye una columna elevadora, una fuente de alimentación, así como opciones de control remoto con y sin cable para un sencillo control de movimiento arriba/abajo. Esta columna es capaz de producir hasta 225 lbs de fuerza y presenta un diseño más compacto en comparación con nuestras otras columnas elevadoras.
Consulta nuestra infografía “Columnas elevadoras para la automatización del hogar & la oficina con FLT-11”
| Input Voltage | 120 VAC |
| Output Voltage | 24 VDC |
| Protection Class | IP51 |
| Stroke | 16.5" |
| Weight Capacity | 225lbs |
| Speed | 0.5"/sec |
| Frame Height | 12" - 28.5" |
| Duty Cycle | 10% |
| Collision Detection | Yes |
| Weight | 40.55 lbs |
| Warranty | 7 years |
Following a set of standards is crucial for businesses to ensure their products and services can meet a level of quality that promotes customer satisfaction. At Progressive Automations, we aim for nothing but the best for our customers and strive toward continual improvements. Because of this, we are excited to announce that Progressive Automations is now ISO 9001:2015 certified!
Quality You Can Trust – Learn MoreHojas de datos
Manual FLT-11
Modelos 2D/3D

FLT-11 3D Models

Una mirada más cercana a nuestro juego de columnas elevadoras FLT-11
Fabricantes, innovadores, creadores de bricolaje, ergonomistas y más, confían cada vez más en la ...
We cannot guarantee that our remotes will work with third-party control systems. The pin-outs of the ports may differ from one company to another.
Yes, the L shaped standing desk is orientation-friendly and can be installed by your preference. Here is a step-by-step article that explains how this is possible: FLT-05 User Manual
NOTE: The steps below may vary depending on the remote model that you have. The following instructions were made for the standard RT-11 remote. To set the maximum height for your frame, go to the desired height you would like to set and follow the steps below:
- Press M and see [5 -] indicated on the display
- Press the UP button and notice [5 -] blinks
- Hold the M button until you see [999] on the display
- The maximum height has now been set
To set the minimum height for your frame, go to the desired height you would like to set and follow the steps below:
- Press M and see [5 -] indicated on the display
- Press the DOWN button and notice [5 -] blinks
- Hold the M button until you see [000] on the display
- The minimum height has now been set
To reset the limits, follow the steps below:
- Press M and see [5 -] indicated on the display and release
- Hold the M you see [555]
- Limits have been reset
NOTE: The steps below may vary depending on the remote model you have. The following instructions were made for the standard RT-11 remote.
If you have to hold down the remote’s buttons to get to your pre-set height, this means that your control box is in momentary control. To set your remote to non-momentary mode, follow the steps below
- Make sure that there is nothing underneath your desk, as we have to enter the reset procedure
- Press and hold the DOWN button until the display shows [ASr]
- Once [ASr] is shown, press and hold down [1] and you may see two values:a. 10.1 = Non-momentary Mode b. 10.2 = Momentary Mode
- Complete the reset procedure by holding the DOWN button until your standing desk slightly lowers and rises.
Our standing desks have 3 settings for collision detection, and this can be set depending on your preference. To proceed, follow the steps below:
- Make sure that there is nothing underneath your desk as we have to enter the reset procedure
- Press and hold the DOWN button until the display shows [ASr]
- Once [ASr] is shown, press and hold the UP [ ^ ] button and you may see three values:a. 10.5 = 11 lbsb. 10.6 = 22 lbsc. 10.7 = 33 lbs
- Complete the reset procedure by holding the DOWN button until your standing desk slightly lowers and rises.
We have some troubleshooting steps for you to take if you see any of the following error codes on the frames with FLTCON series control boxes:
Сheck the error code here.
If the issue you are experiencing persists after following these steps, please feel free to contact our technical product engineers at 1-800-676-6123, or send us an email at sales@progressiveautomations.com.
Depending on your application, there are different specification requirements you should consider when determining the linear actuator you need. These requirements include force, stroke, speed and mounting dimensions. For detailed actuator information, you can refer to either the datasheet or the specification table located on the selected actuator's product page. You can also contact us to speak with one of our expert engineers.
Duty cycle is the fraction of the working period in which a linear actuator can remain active. You can calculate the duty cycle of a linear actuator by using the following equation: Duty cycle (%) = (Time the linear actuator is active) / (Time for one working period)
For example: With a 25% duty cycle, an actuator can run for 5 minutes continuously before needing to rest for 15 minutes before operating.
Stroke is the travel distance of the extending rod. To find the stroke length you require, measure your application from the fully retracted position to the fully extended position. The difference will equal the stroke length you require.
We always recommend purchasing an actuator with a higher force rating than what the application requires. If unsure of your force requirements, this article may help you calculate this: How to Calculate Force to Find the Right Linear Actuator
Yes, this is possible. However, it does depend on the units you are currently using. To synchronize actuators, they require a form of feedback such as a potentiometer or hall effect sensors. For more information, see below some of our key content regarding linear actuator synchronization.
The control box you choose should be able to provide sufficient voltage and current rating to your actuator. If you are unsure of the specifications, please contact us.
Alternatively, you can also find compatible control boxes on your selected linear actuator's product page.
Backdriving is when an actuator starts sliding down under load, when it is either overloaded or when the actuator has been damaged. Watch the video.
What Does Dynamic and Static Load Ratings Mean?Dynamic load rating is the amount of weight an actuator can pull or push safely when being powered. Static load rating is the amount of weight the actuator can hold or withstand without back driving when it is not being powered. For example, let's just say you have an actuator installed on a window and the static load rating of the actuator is 100lbs, it could experience backdriving when there is a high wind event, which means there will be more pressure exerted on the actuator which would exceed the 100lbs load rating of the actuator.
What Is Lateral Loading?Lateral loading is when the actuator experiences forces from the lateral plane. Actuators are not meant to handle lateral forces at all so if it experiences any lateral forces, it will likely damage the actuator or bend the rod. So it's advised never to use lateral forces and always make sure the actuator is fully in line or in sync with your application, so it does not take any load other than the axial load. Watch the video.